
Firstly, thanks so much to everyone for the lovely comments about my map cabinet makeover. I was seriously surprised and overwhelmed – you guys are just the best.

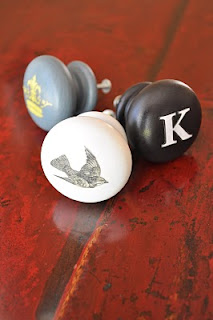
There was a lot of interest in the compass knobs I created and some of you wanted to see a more in-depth tutorial on how to make them, so here goes…
You will need….

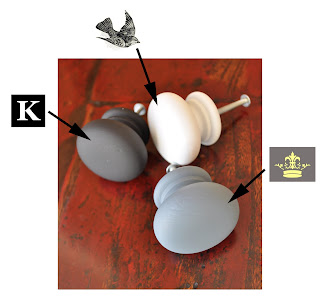
Plain Timber Knob/s

Image/s to Apply
Printer and Standard Paper
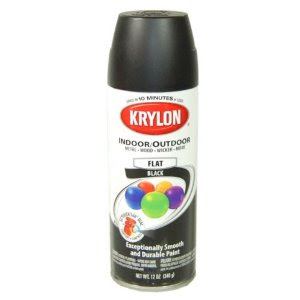
Spray or Craft Paint
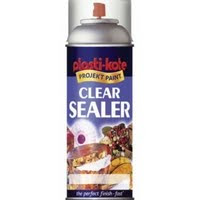
Clear Matte Spray Sealer

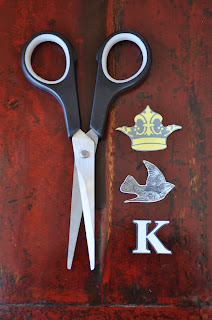
Scissors or a Craft Knife
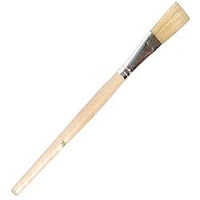
Paint Brush
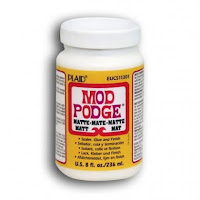
Adhesive
(such as PVA, Craft Glue or Mod Podge)
1. Using your computer, create or find an image you’d like to use and scale it to an appropriate size for your knob.
2. Print out your image onto regular copy paper.
3. Colour match the background of your image then paint your knob to co-ordinate.
4. Lightly spray your image with clear matte sealer. Allow to dry and then repeat the process.
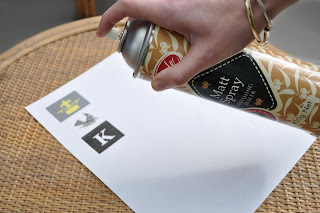
This gives your image a protective coating and stiffens it slightly to help prevent ink run and paper bubbling during the gluing process.
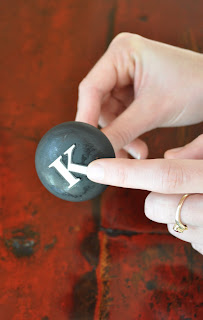
5. Once completely dry, cut closely around your image using sharp scissors or a craft knife.
6. Apply a thin coat of adhesive to your knob using a paint brush.

7. While the glue is still wet, position your image in place. Press down firmly and smooth it all over, paying special attention to any edges.
8. Once dry, give your knob two or three coats of clear spray sealer.
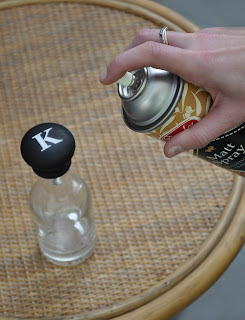
For extra protection I like to finish with a few coats of brushed-on clear acrylic poly too.
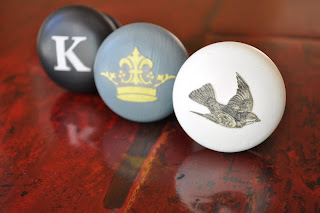
9. Fini! Admire your new custom knobs (oh yeah, and find some furniture to put them on!).


They look fabulous and what a great tutorial. Love them. Hugs, Marty
These are great! I love them!!
{Rebekah}
I loved your cabinet and the knobs. Thanks for the tutorial. Great job.
Brooke
Thank you for showing us this. You can bet that I will be making some of these. LOVE the idea! Diana
LOVE this and will be trying it out on a dresser that’s been sadly, knobless for months now!! Thank you!
That is SO clever!! I’m totally stealing this idea… many, many times. :)
Thanks for the tute! I think I’m going to use these on a couple pieces I’m working on right now. I’ll be sure to give you credit!
These turned out great, Kristine! Simple and quick, and you get a unique look doing your own this way.
Nice and easy… so much less expensive than store bought specialty knobs.
Di
Well, those are cool! Thanks for the tutorial.
Wonderful tutorial and great hand model too ;)
Kristine,
you are too sweet to share a tutorial on how you did this. I loved how that cabinet came out and those knobs with the compass were the perfect finishing detail for it.
Thanks again for sharing….and to your sister too. : )
Wow, those are great! I don’t think that I would have thought to spray the images before cutting and gluing. I will defiantly be giving them a try.
Cornflake cookies sound interesting. Are they homemade? If so, care to share the recipe?
I have been out of town, so I have a number of your posts to catch up on. Yay! :)
awesome! thank you so much for sharing! i really need to get a printer- love this project!
Salut!!!My name is bogdan from Romania!!!
We can be friends ???
http://bogdanstelistul.blogspot.com/
Those are great! So many possibilities!
Thank you so much for the tutorial! I see myself re-doing a lot of the knobs in our house in the near future. So easy!
Thank you! This is awesome! I’ve been searching for the perfect hardware, with out spending a fortune…and here you are the answer to my problems!!!! Thanks so much!
awesome… you make it look so easy.
Such a great idea!! As I said before, you are so clever!!
you are such a clever cookie..loving it Kristine!!XX
In love with these!!!!!
~Emily N. from “too Blessed to Stress”
Wow Kristine,
Thanks so much for sharing your amazing projects with us all. I for one really appreciate it as I’m sure fellow bloggers do too.
Wishing you a wonderful weekend.
Donnaxx
awesome lil tutorial. Love your cabinet. It looks right out of a magazine.
Fantastic, I will definately give these a try.
Such a great tutorial as always Kristine! I love your knobs and your cabinet is AMAZING!! Wishing you a wonderful week ~ Txx
Great tutorial. simple and precies. easy to follow.
Great job! Thanks for sharing! What on earth is a cornflake cookie? :)
He, he, you guys are too funny. Cornflake cookies…you know, like home-made cookies with cornflakes (as in the breakfast cereal) in them. Check this recipe:
http://womansday.ninemsn.com.au/food/everydayrecipes/998744/cornflake-cookies
Kristine
xxx
Cool! Now I gotta go find something to put custom knobs on :)
Glad you could Mi4M!
I love this idea & I love your map cabinet. Great job!
Have a wonderful day!
Monica
How very thrifty! I just love the idea, thanks for the inspiration =)
What a great diy project!
Shannon
http://www.akadesign.ca
Great tutorial, they are neat!
wow they look lovely! great job and thanks for sharing!
that is a great tute! must try this!
These are beautiful! thanks for the tips!
Where do you live? Do you have camp sessions? !
Liz
These are so cute!!! I have never seen someone do this before. This is a really good idea! I am wondering if you could do the same thing and use the vinyl letters that are all the rage right now. I need to find some knobs to redo.
What a great idea, Love it!
This is a very beautiful and creative idea! Love it. Love your blog, too.
Jami
Yeah! I love creative ideas that are simple yet chic!
Hi Kristine, great tutorial :) I’ve featured it at Craft Gossip this morning http://homeandgarden.craftgossip.com/customize-knobs-and-drawer-pulls/
If you would like a “featured by” button, you can grab one here!
http://homeandgarden.craftgossip.com/grab-a-craft-gossip-button/
What a wonderful idea! Thanks for sharing it.
Goodness Gracious those are adorable! I will be doing a nursery/big boy room for my 2 boys soon and I now I will be redoing the knobs of their dresser for sure! SO GREAT! Thanks for this!!
Mallory @ Classy Clutter
http://www.classyclutter.blogspot.com
Fantastic! I love that you showed the rest of us your secret! Thank You!
That looks so beautiful! LOVE it!
These are just lovely! Terrific job!
Thank you for the lovely tutorial. I am now looking around to see where I can do this neat finish!
Wow! Awesome knobs! Thanks for the tut!