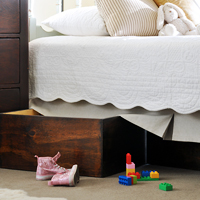
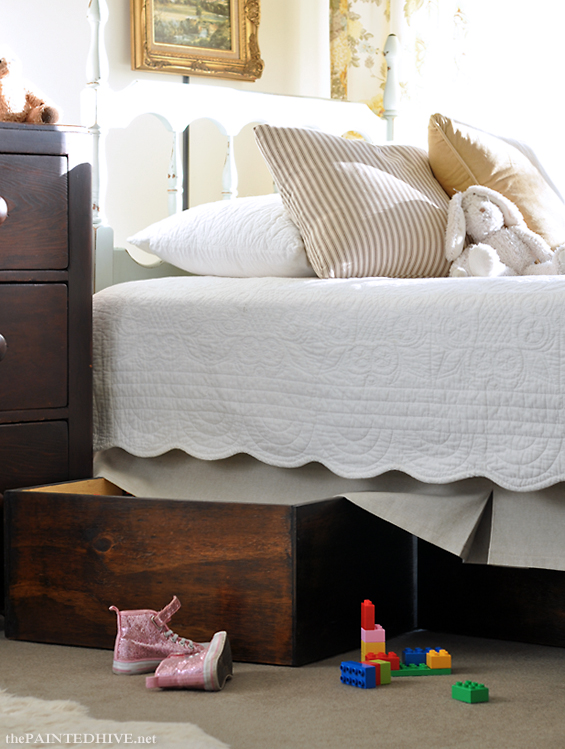
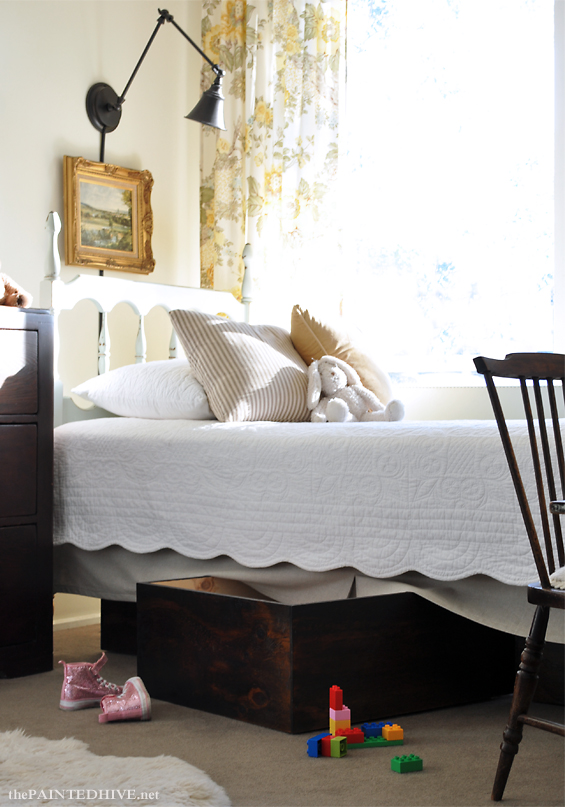
A few weeks ago I finally got to drag the mish-mash of plastic tubs and cardboard boxes out from under Charlotte’s bed and roll in some new, perfectly proportioned timber drawers instead.
Although original said “mish-mash” was jammed in there pretty tightly the additional storage these custom-sized drawers provide is amazing!
When I first started planning the (sorely needed) under-bed storage for Charlotte’s room, I had two main requirements; 1) it had to be pretty – as it would be somewhat visible, and 2) it needed to make the absolute most of the available space – because, heaven knows, we need all the storage we can get! With that in mind my initial idea was simple cane baskets. Surely I’d be able to find some appropriately sized ones which didn’t cost one zillion dollars. Right? Failing that, I was confident about the prospect of hunting down something ugly (again, appropriately sized) which could at least be made more attractive. Right?
Ah, apparently not. I didn’t go crazy with my search though everything I found was either too small, too big or waaay too expensive. Frown.
Sooooo, given my lack of success I decided it was time to pull out the power tools!
Now, if you’re anything like me, creating from scratch is probably a last resort. I don’t know what it is exactly, maybe the additional time it sucks, the likelihood of stuffing up or just the plain ‘unknown’ of it all, though something about it can feel all too hard. In this case, though, after months of fruitless searching, I came to the conclusion that custom building was actually the easier option. And, thanks to our new precision tools, it really was!
I didn’t write a complete tutorial for these boxes because, well, they’re boxes (I’m sure there are a heap of great tutorials out there already). On top of that, my husband actually did the bulk of the construction work whilst I kept the kids out of his hair and he employed some fancy techniques way beyond my usual cut, glue and screw comfort zone :-)
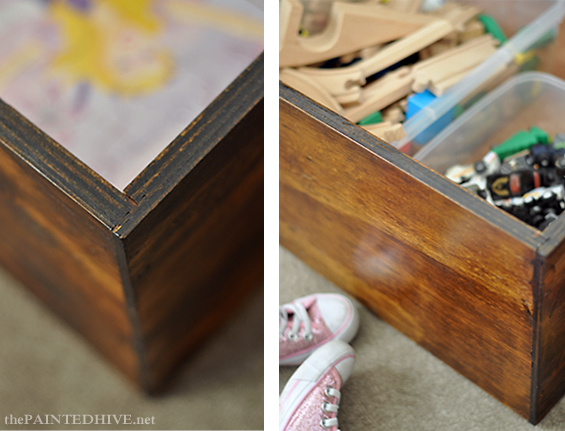
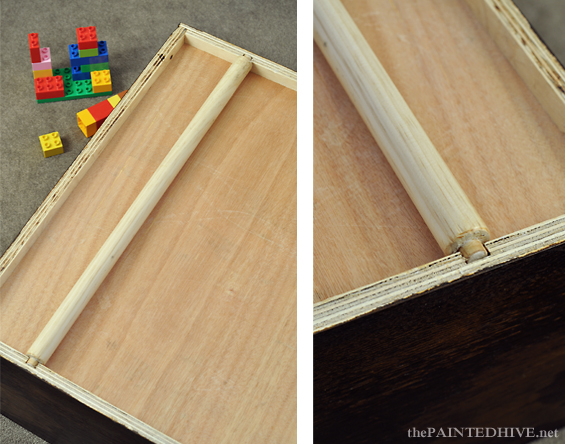
The boxes are made from ply (my go to), have provisions for dividers and neat little rabbet jointed corners (yes, I did just have to Google that!).
They also have recessed bases to accommodate clever spanning rollers – so they look like they actually rest on the floor though can be easily moved about.
Basic castors would suffice though I think my husband wanted to play around with our new tools. That’s probably part of the reason he went all fancy in the first place!
I went for three boxes so they aren’t overly heavy and can be maneuvered around one another and any overlapping furniture (a must given the tiny scale of the room).
I haven’t added handles or anything yet, and am not sure if I will. Aesthetically it would kinda be pointless as when they’re in place only the very bottoms are visible, and from a practical perspective it’s easy enough to reach under the valance, grab the top of a box and pull it out. Speaking of the valance, it’s a simple DIY made from an inexpensive linen-look tablecloth. We needed something to cover the metal bed rail and some ugly exposed brackets and although I really liked the idea of using a wooden rail I didn’t want something solid which would restrict storage height. Having a flexible skirt ensures no vertical space is lost.
I have dreams of painting the box interiors with a fun pop of pink – maybe that will happen one day – though given the exteriors are visible I did stain and seal them for a nice, rich finish.
I used some left-over Feast Watson Brown Japan stain, which I initially thought was way too dark, though it mellowed out considerably when I applied some Scandinavian Oil (three coats) and it actually works really well with the existing antique dresser.
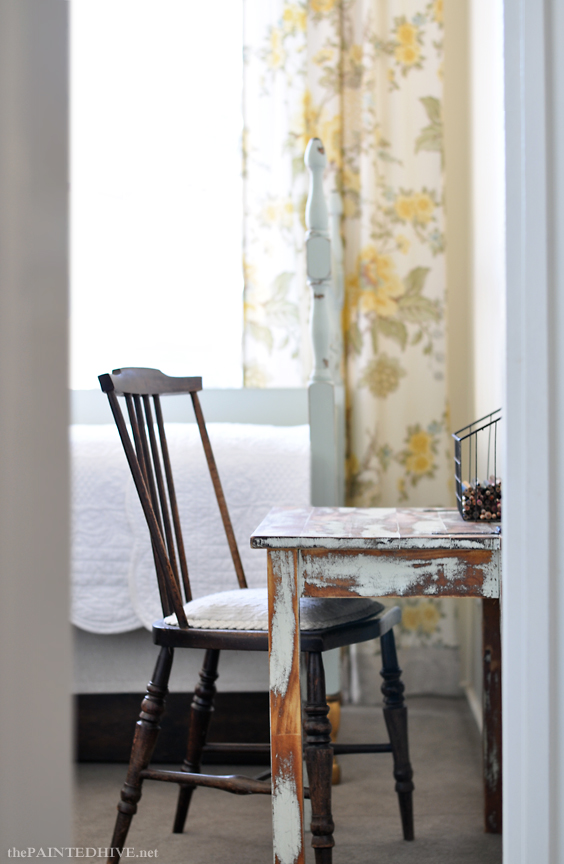
I’m loving how finished these boxes are making the room finally feel. That said, there is still a ways to go. When I started decorating this space Charlotte wasn’t even two yet. Well, she’s four next month. Four! When did that happen? Of course, with the ascent of her age comes the emergence of “her”. As such, what was initially my solo vision of a relatively neutral and quite simple farmhouse style room has evolved into a collaborative concept which now accommodates her blossoming sense of self…and I love that! Truth is, I’m not smitten with the current feel anyway. It is pretty though perhaps a little too so, and all I keep thinking is how it would make a lovely guest room – for an adult. It definitely needs a bit more playfulness and spunk. Stay tuned!




A beautiful post filled with beautiful photos as always. That last picture…oh, be still my heart! I adore this room though if you feel it needs some changing up then of course that’s what you should do! The boxes are a great solution.
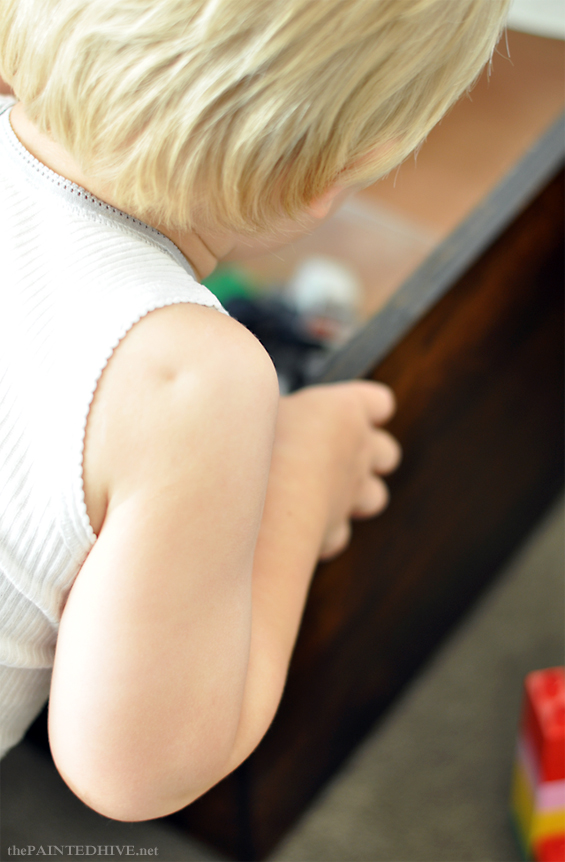
Those shoulder dimples!!! Beautiful photos and a beautiful room. Can’t wait to see it emerge.
Kristine, I am always so impressed with your posts.
Your words and honesty, the way you explain your design ideas and decisions so succinctly, along with the stunning photos never disappoint to inspire and uplift. Thank you. Love the boxes.
Such a great idea! The boxes look beautiful! xo
Thanks Karen :)
Such an awesome idea! Thanks for sharing this :)
these are amazing! they are so well-built….these are going to last forever and look good doing it!
Thank you Emily :)
I just had to tell you that you are a true inspiration. I am in the middle of creating my blog, my shop website, going thru a divorce, moving across country, frome Las Vegas, NV to Knoxville, TN, and I come across another DIYher who can’t let something end up in a landfill, who goes thru this transformation on a piece that I know actually has so many options to turn it into a beautiful new piece and you go with one that is one, lets say most time consuming, lol, you are everything I stand for. I am so happy I found your blog, I do have to say, you spent a few too long explaining why you chose to go that route instead of starting from scratch, I know your friends and the peeps on your blog that follow you, know how important those things like not letting it go to a dump or its for charity so you need it to be durable along with the uniqueness and beauty. I just had the need to share with you that being a lover of our earth and how its treated, the things that are filling up our landfills, if more people would donate, give away, instead of throwing out, those pieces they don’t want, someone like us will find it and give it a whole new life and turn it into a beautiful piece that will be enjoyed for many more years to come in someone elses home, that it was all for charity! No explaining why, explain the importance of the need that its got to be done more often! You are an amazing DIYher and I love your creativity and artistic talent for vision and so glad I found your blog. Keep doing you!!
Stay Colorful!!
Diana
Oh wow, Diana, thank you for your lovely comment :) It’s always so nice to come across someone who shares my passion and understands my intent.
I know, I did go on a bit about it, didn’t I? I decided to explain myself thoroughly because last year I received a few, let’s just say, less than gracious, comments about the nature of my Re-Love Project and the time and effort it involved. I simply think some people didn’t understand the environmental purpose behind it and failed to consider that my up-cycle was actually much easier (and cheaper!) than building from scratch anyway.
Thank you for reaching out. It sounds like you’re super busy so I really appreciate the time you took to contact me and I wish you all the best for the future :)
Kristine
What a great Idea! I may just have to try this!!!
I don’t have the means or tools to make my own boxes like this, but I just wanted to say that the ones you made are beautiful!
Thank you Audrey :)
I’ve been wanting to make some under-bed storage, and love the rollers you made. Can you give details about how they were made and how they attach to the bottom of the box? Thanks!
Hi Janet. Thanks :)
Hmmm, my husband made the rollers. I think he simply whittled down some lengths of dowel (using a small saw and a chisel then some sandpaper) to form the little ends – they are all one solid piece of wood. They merely sit under the boxes (not attached in any way) in the little square slots he checked out of the base. They are great and really add to the hand-crafted appeal of the boxes though standard castor wheels would function just as well.
Kristine
x
Very well presented in this blog and you are shown useful information for all the people.
Amazing idea! So creative DIY storage box. I like to make and invent some stuff at home, and I will try to make such box. Best regards
Great idea and the look so nice!! My niece has little shoulder dimples like that. So cute!
your hubby is so talented. but you’re my favorite DIYer.
nice article.
Nice post keep it up and make posts like these. Thanks for shearing it with us.
Thanks for sharing this amazing post, I really like reading it and wish you luck for more amazing work.
rgrgr
Thanks for sharing this amazing post, I really like reading it and wish you luck for more amazing work.architect in lucknow</a.
Beautiful idea! So creative DIY storage box which makes House designs very attractive. I like to make and invent some stuff at home.. Thank you!!
This is really very informative post. Thanks for the research and sharing the same with us.
These are really amazing design ideas.I loved them.
Thank you for sharing amazing design.