
Of all the ways to add a bit of custom charm to a standard DIY kitchen, I think shaker peg rails might just be my favourite!
This rail wasn’t part of my original plan for the suite extension kitchenette, but over the past few months it’s like they’ve been teasing me by showing up in every kitchen I’ve happened to come across! Of course, that’s not literally true, though in the kitchens they have appeared in, they definitely did jump out at me.
I think it was a sign.
But more than being a momentary flight-of-fancy, shaker peg rails are incredibly classic (and super lovely!) so will easily stand the test-of-time in this suite extension where longevity is an important part of the brief.
This was such a quick, easy and affordable little project, costing less than $18 all up!
Here’s how I did it…
YOU WILL NEED…
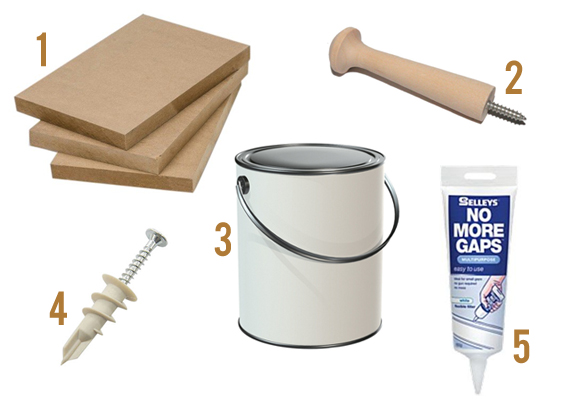
1 Wood
This is for the backing board. I used a sheet of 18mm/.7″ deep MDF which I got as an off-cut for $8. I found this to be cheapest and best-sized material but you could also use plywood, pine or hardwood.
Note: Ensure your backing board is deep enough to accommodate your shaker peg screws/tenons otherwise they will protrude through the back.
2 Shaker Pegs
I was so excited to come across these right here in Australia for such an amazing price! I found them at Wooden Bits & Bobs for under $2 each. I chose the 76mm/3″ screw option but they have a variety of styles and sizes to select from.
3 Paint
So that the peg rail fitted in perfectly with the kitchen I used the same paint we applied to the cabinetry (Dulux Aquanamel Semi-Gloss in ‘Oyster Linen’). Fortunately we had plenty left-over so didn’t need to buy a new tin.
4 Screws/Wall Anchors
We couldn’t locate our wall studs due to the pressed tin backsplash interfering with the stud finder (and my dad wasn’t keen on me making a bunch of holes trying to hit one!) so I used heavy duty wall anchors in the plaster. If you’re able to find your studs then screws alone will do the trick.
5 Filler/Caulk/Putty
I used timber putty to cover the screw heads, and filler to conceal any gaps around the edges of the peg rail.
In addition, you will need a saw, sandpaper, drill, paint brush/roller and screwdriver.
THE PROCESS…
STEP 1 | Trim backing board to size.
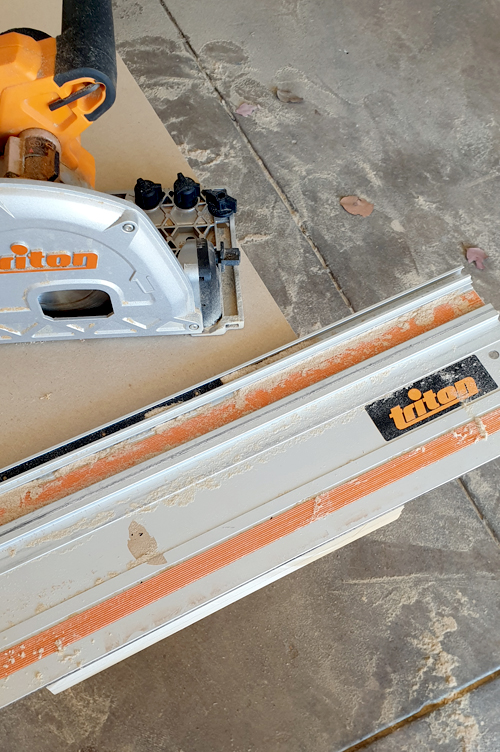
You may be able to have the hardware store cut your backing board to size for you, but I just trimmed it down myself using a track saw. I cut it to fit between our overhead cabinets perfectly (which was around 1100mm/43″ long) and decided to make it 110mm/4″ high.
STEP 2 | Sand and paint.
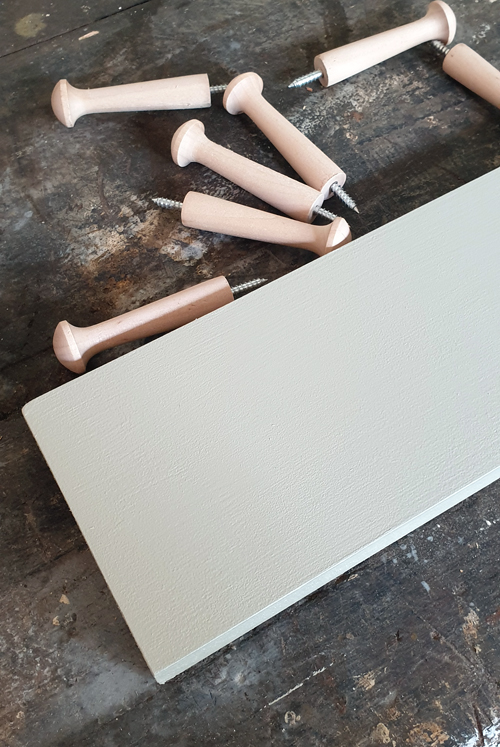
I figured it would be easier to paint the backing board before attaching the pegs so gave any rough bits a light sand then applied two coats of our chosen paint.
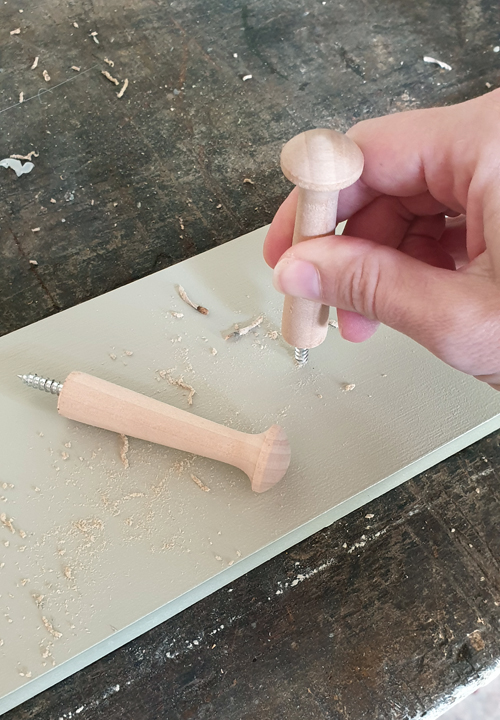
STEP 3 | Attach pegs.
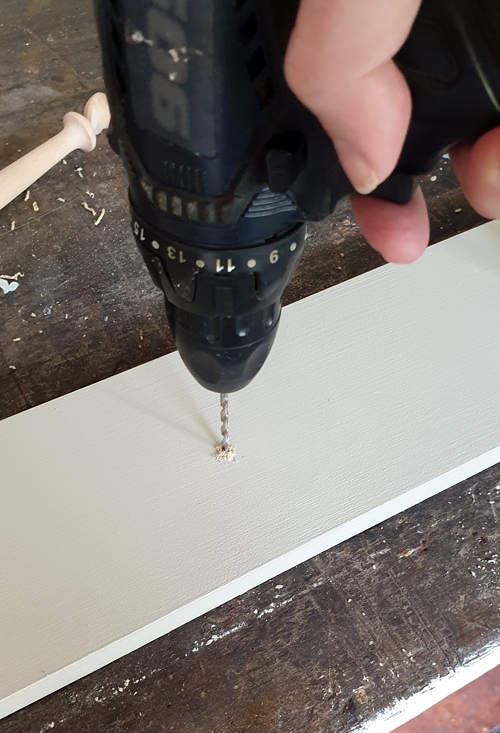
Once the backing board was dry, I measured out and drilled five holes for my shaker pegs before screwing them in by hand. It was super easy!
There’s no real reason I chose to use five pegs. I just wanted a nice spacious look. Here it is with the pegs still unpainted.
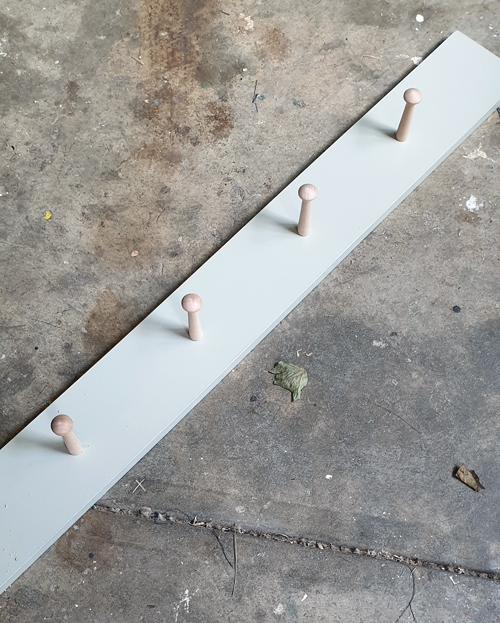
You could certainly leave the pegs natural, or stain them a deeper colour, if you wanted some contrast.
Note: Be sure to use a drill bit around two sizes smaller than your peg screws so they fit snuggly. You can also use some wood glue.
STEP 4 | Sand and paint pegs.
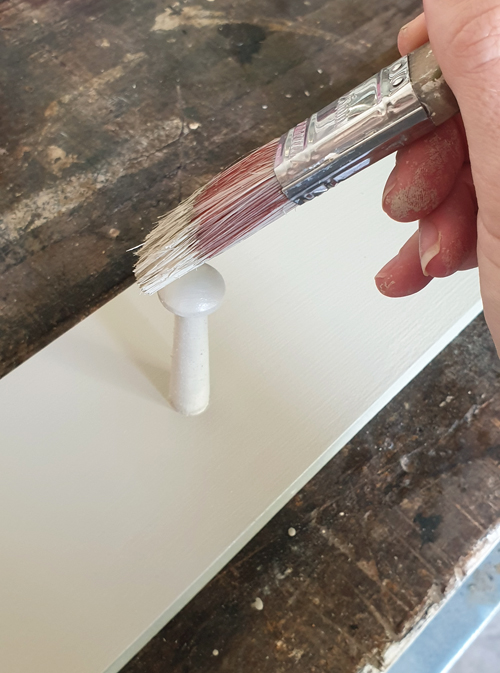
If necessary, give your pegs a light sand (I found some of mine were quite rough) then paint.
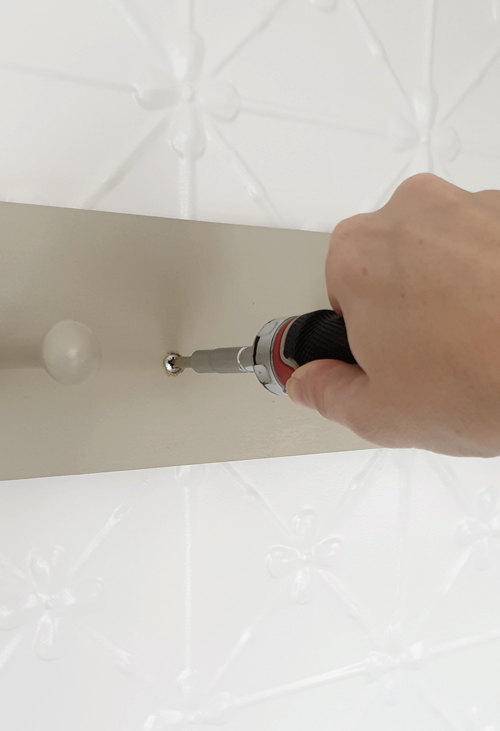
STEP 5 | Attach to wall.
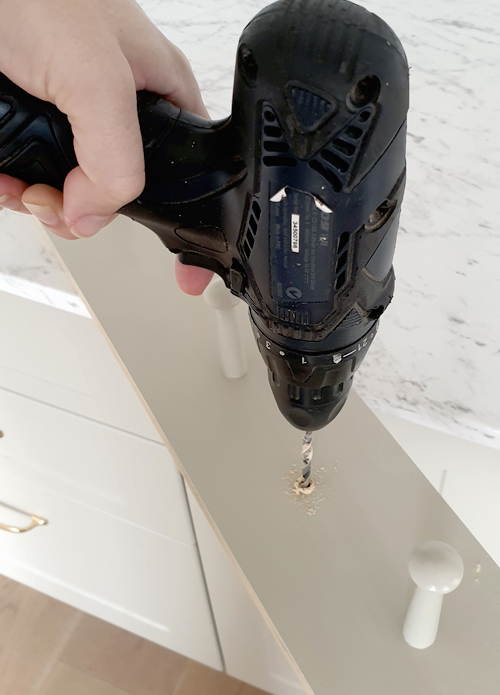
Drill holes through your backing board sized to accommodate your screws (I went with two holes for the length of my board) then hold you rail in position on the wall, making sure it is nice and level, and poke the drill bit through each hole, just to mark the points on the wall where you will need to drill.
Note: Yes, you can hold the peg rail in place and drill through both the backing board and wall together though as the rail is kinda long and awkward it can be tricky and things might shift. Doing it separately is just an easier and more fool-proof method.
Using those points you marked on the wall, drill holes sized to accommodate your screws (if going into studs) or wall anchors (if going into plaster). Not gonna lie, drilling through the pressed tin was a little bit daunting! If you make a mistake you can’t just patch it like plaster!

Note: Because wall anchors are so large I like to start by using a small drill bit to create a pilot hole before moving up to a larger drill bit. The smaller bit just allows for greater control and accuracy.
At this stage, if you are using wall anchors like me, push them into the wall until they sit flush.
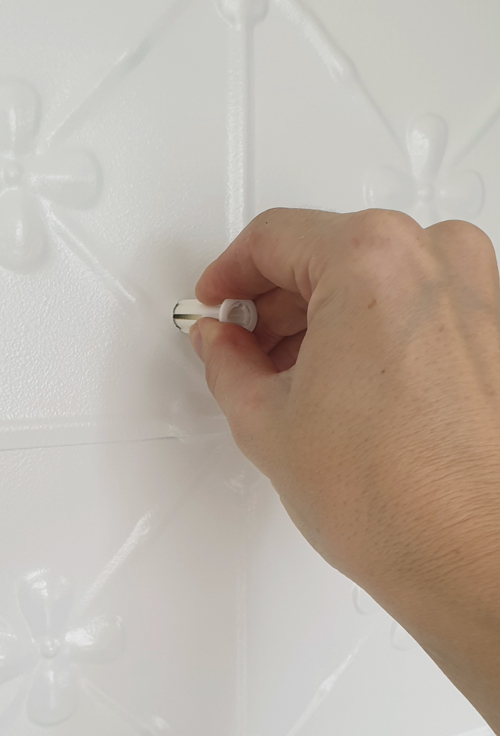
Sometimes you need to bang them with a mallet or hammer.
Next, using a drill bit slightly larger than your screw heads, drill shallow counter-sinking divots in the backing board at the point of each screw hole.

These will allow the screw heads to be recessed so they can be concealed later. If necessary, sand any rough exposed edges.
Note: Go slowly drilling your counter-sinking holes. Large drill bits can bite-in really easily and before you know it you’ve gone too far through! You can even try drilling in reverse to avoid this risk.
Finally, hold your rail in place so that the holes in the backing board and wall align, then screw in your screws so that the heads are recessed and the rail is nice and firm.
STEP 6 | Fill holes and paint.
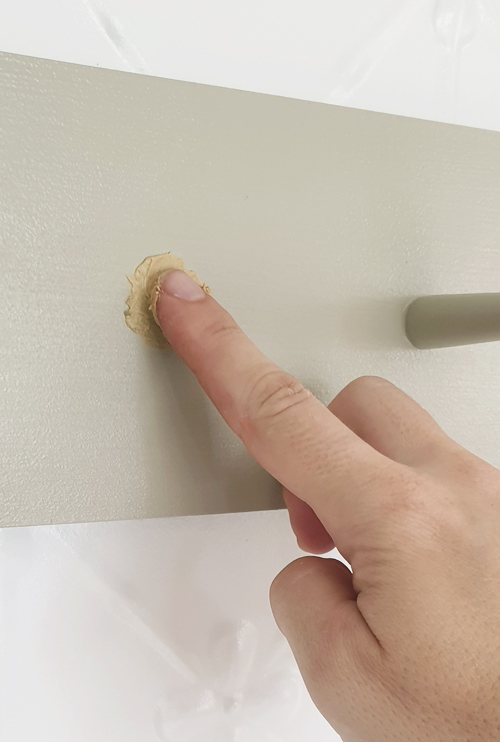
Use some timber putty to cover the screw heads. Once it’s set, sand it back as needed then paint to match the rest of the rail. If you find the finish is uneven you may need to repeat this step.
Note: You may find you also have some small gaps around the edges of your rail. If so, use some regular filler or caulk to conceal them before painting.
DONE!
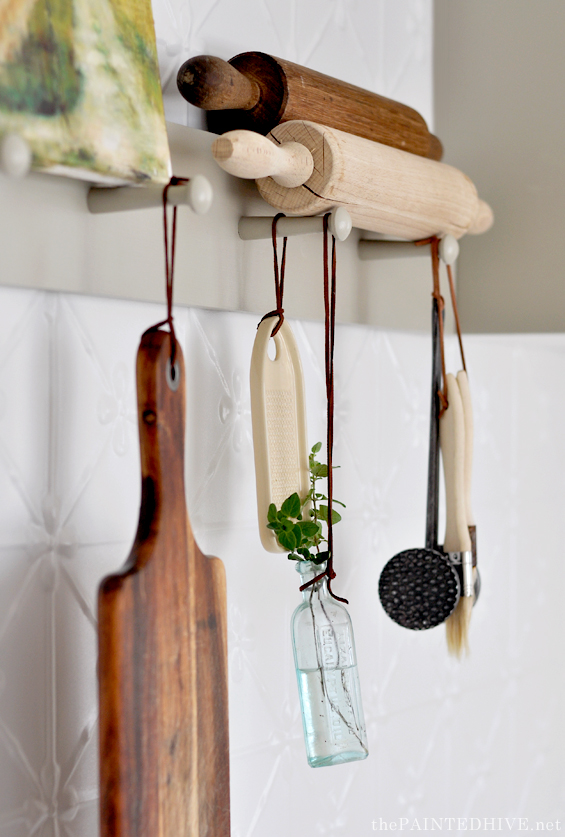
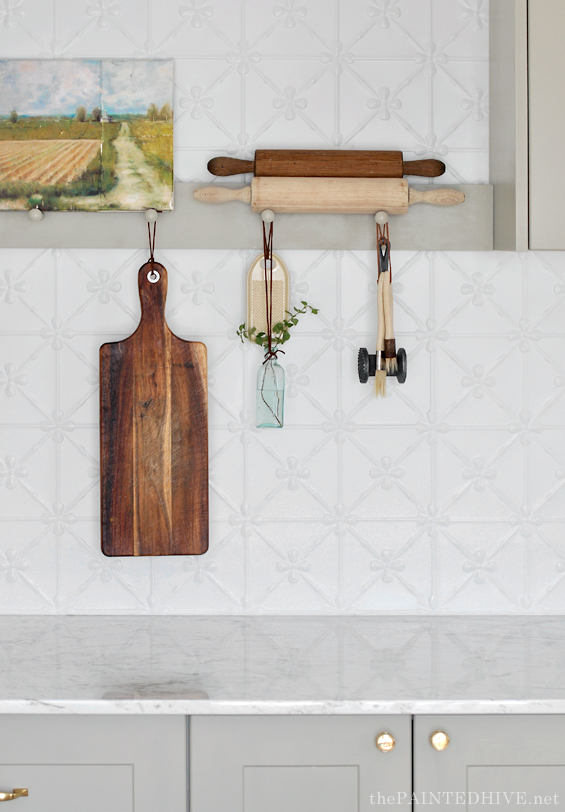
For under $18 it’s such a great little way to add some custom charm to a kitchen…or any other room for that matter!
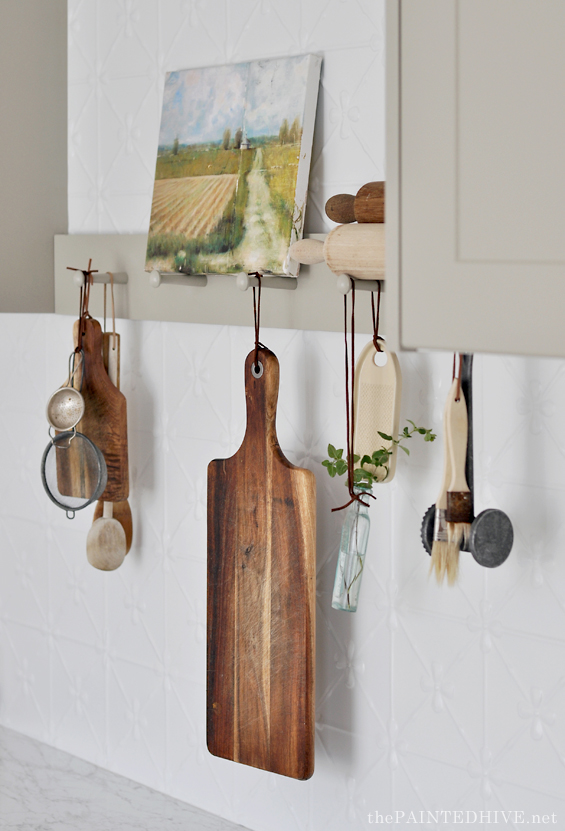
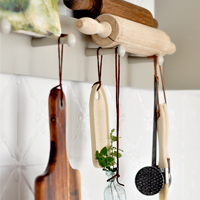
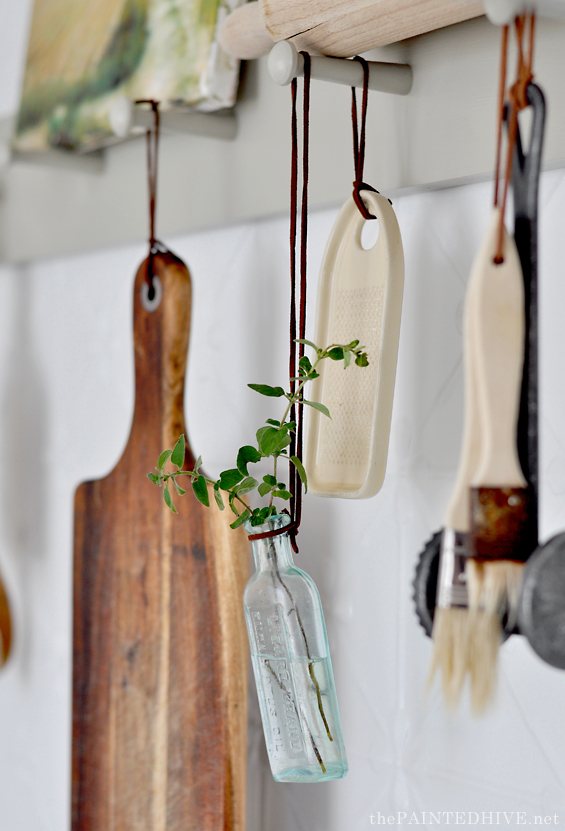
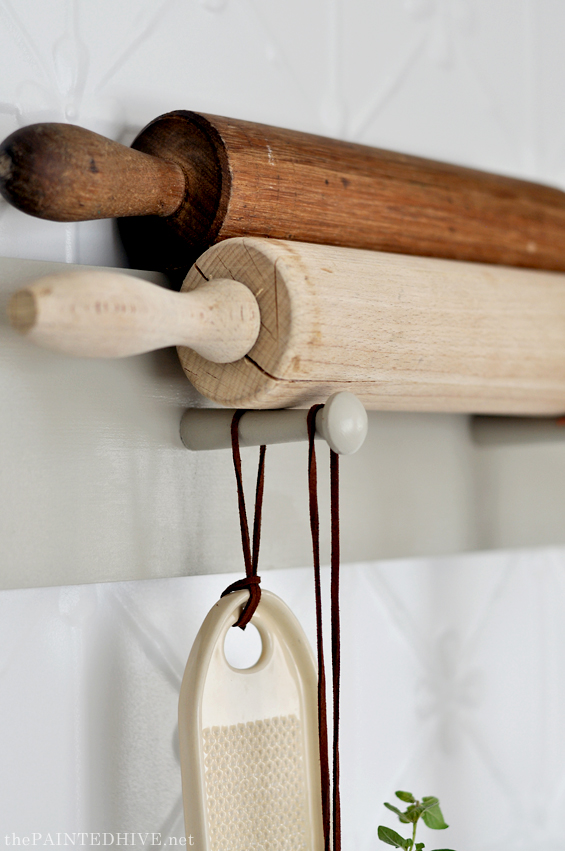
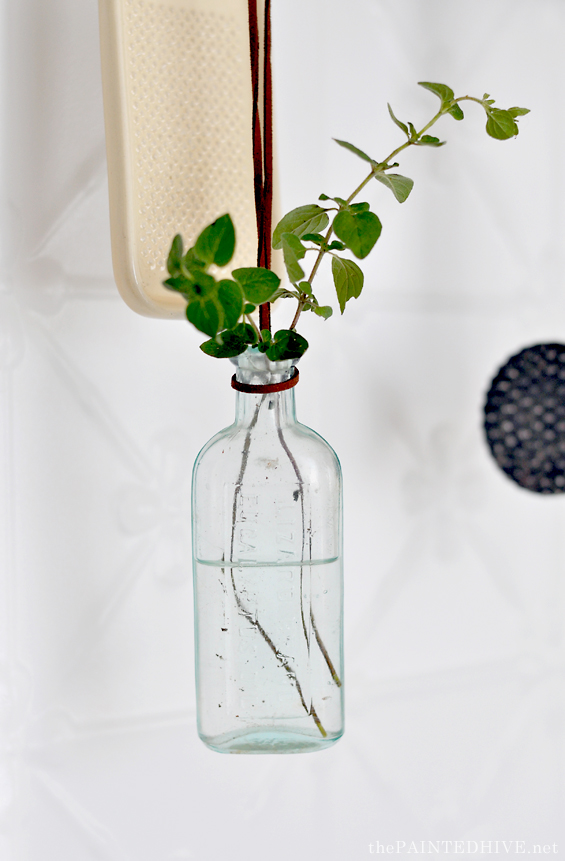
For now I’ve just used some random decor bits and pieces we already had on hand, but the pegs provide the perfect avenue for getting creative with pretty yet practical styling and storage. I’m especially enamoured with the little hanging herb vessel I attached. It would be cute to have a collection of these to hold a variety of fresh sprigs from the garden.
We will be adding some floating shelves above (in fact, I’ve already started on those!) so ignore the fact things are currently looking a bit sparse.
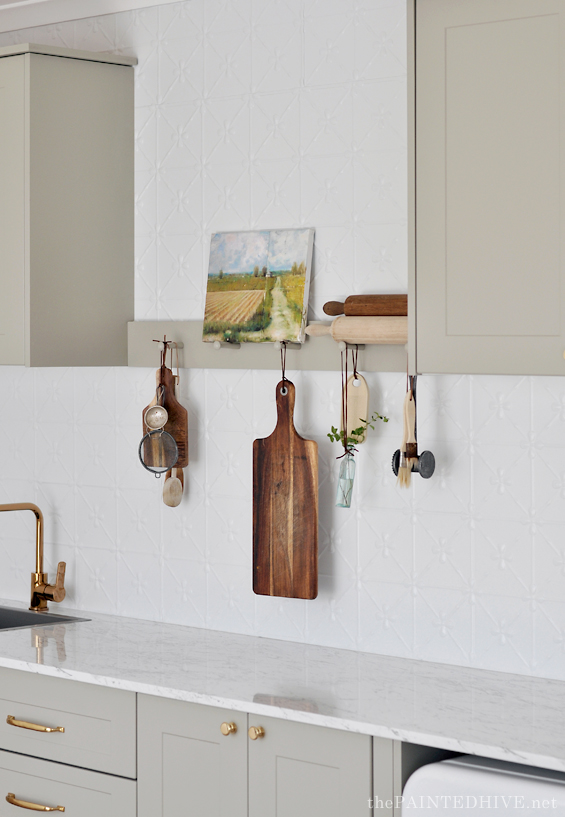
As you can glimpse, the handles I shared in my last post have finally arrived and are attached, plus I made a decision on the rug I asked you guys about…
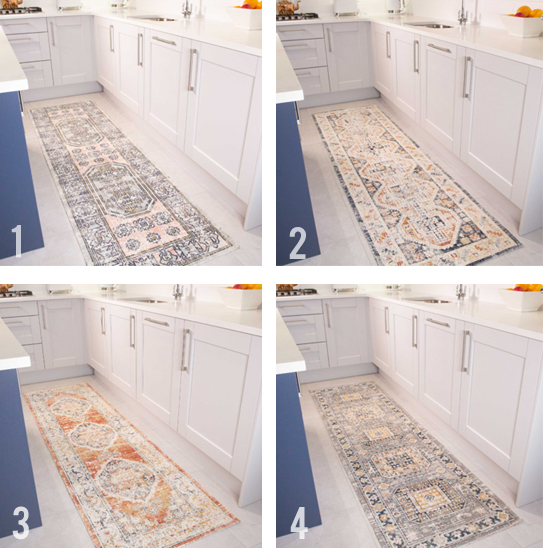
It was Number 1 for the win!
When I asked for opinions there was a really mixed response so I just went with my gut. Granted, I think Number 1 was possibly the least preferred option so if I don’t like it I guess I only have myself to blame!
But there are certainly no regrets concerning the shaker peg rail.
![]()
Catch up on all of the other suite extension posts HERE.


Cute rail, and top notch styling! Love the vintage glass bottle. The photography as well is very pro. And I’m loving so hard on the tin panels still. You gave me quite a start with the image of drilling into them. I might have theater-gasped and put hand in front of mouth :) but of course it looks fantastic. x
Ha, ha. Yes, it was a bit scary drilling into the tin!
Thanks Anna.
Fabulous as usual and kudos to you for supporting an Australian company.
Thanks Julie.
You are so right. Shaker peg rails definitely stand the test of time. We have had them in our kitchen and in our smallest bedroom since the 1990s. I wouldn’t even consider getting rid of them.
They are just so perfect!
You always give such great details of the process and end up with lovely results. Can’t wait to see the shelves.
Thanks Marm :)
Looks great! Terrific idea.
Thanks so much :)
Great job and wonderful tutorial. Love your tolling pins and collections hanging.
Pinned!
Cindy
Cindy
Thanks so much Cindy )
It’s really beautiful I love shaker pegs. Thanks for linking the wood place I’ve been after finials for ages and Bunnings have very few and they’re quite pricey. This was exactly what I was looking for.
Oh yay! It’s always nice to come across a place you never knew existed. They have some great stuff at great prices.
Yay! A new post! I so glad to see you posted today. Love the peg rail. I hope you find a beautiful and inexpensive (a.k.a. free) piece of live edge wood for a shelf or two over it. Love the look of the new cabinet hardware too.
Well, since I choose runner #1 too, I guess I can share in the blame as well. Hope you and your family are doing well.
Thanks Pat.
Yes, you were one of the rare people who sided with me on rug Number 1! Just quietly, I think we nailed it!
Did quite a bit of hunting around for timber to make the shelves and it proved much more tricky than I thought. I did manage to make them for free in the end, though alas, not live edge. Still, I’m happy with the way they are coming along.
You’ve given such good step-by-step instructions, including really helpful tips and suggestions – and photos! And the end result is charming, I can see why you’re enamoured with it. I can’t wait to see the whole finished kitchen all styled up!
Thanks so much :)
Your color palette and styling are spot on – as usual. :) Love the rug decision as well.
Thank you Deb.
These look wonderful! I’ve been keen to put a row of Shaker pegs in my entry way but could find any – thanks for the instructions and the local supplier
You’re welcome :)
This is very informative for us. I’m going to recommend this to my friends to read as well. Well done! Thank you very much!
What a great post! Love your style and your blog!
Love it and got a new idea from you….the tree in the demi-john! I am even going to try it with an artificial tree that I have…. why not? I’m just tired of the trees either in a basket or pot. I love the idea of using the demi-john instead! Thanks!
Thanks so much. Yes, you can totally do it with an artificial tree too. Something a bit different :)
Incredible article thank you!
I love your DIY Project!
Great Job
Love your project.