Thanks so much for all the lovely comments about my bedroom revamp.
One of the most mentioned and asked about items was the armoire. Well, ‘armoire’ is perhaps a tad too fancy, it’s just a plain free-standing robe really.
It was funny to read all the different comments eluding to its colour. Most of you thought it was a shade of blue, others blackey-grey and one of my friends who saw it in person was convinced it was actually green! Well, one of those is kinda right. I used a black base and a french grey wash so technically I guess it’s a shade of grey.
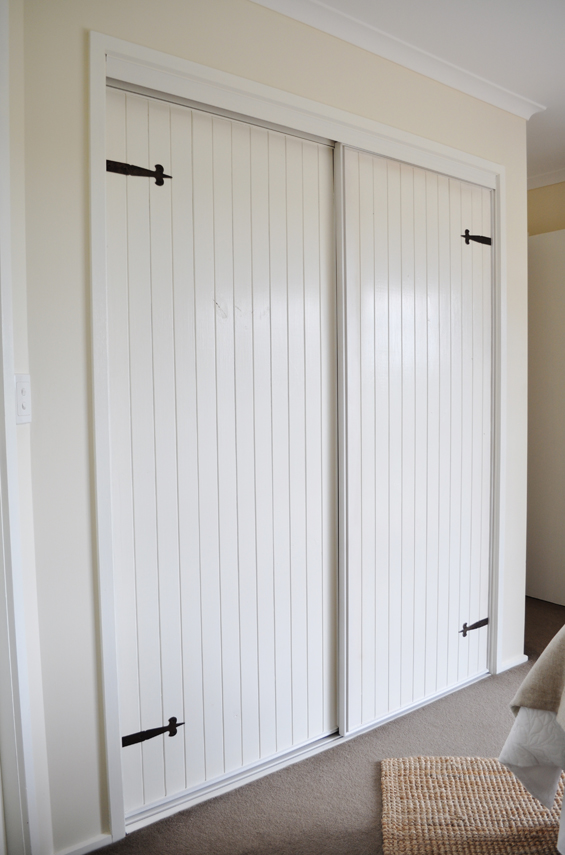
I picked this robe up for $90 off eBay. It was basically brand new and perfectly sized for the little nook in my bedroom. It was just a tad too “piney”.
Remember my inspiration board…

Even though the armoire I included was charcoal I ummed and ahhed for ages about what colour to finish my robe in. I eventually decided to stick with black to play off the white bedding and cream walls and add some depth and drama. So, after two coats of acrylic black and one acrylic seal coat I popped the robe in my bedroom…and hated it! It looked far too crisp and contemporary for the soft, relaxed feel I was going for.
Enter plan B. I carted the robe back outside and sanded it down hard all over, paying extra attention to the edges, then popped it inside again…arghh, still not right!
Plan C. Stuff taking it back outside again! I diluted some french grey acrylic paint with water (about 50/50) and working in sections – yes, right there on my bedroom carpet (I did put an old towel down) – used a cloth to wipe it on paying special attention to any nooks and crevices. I then wiped it back off again with a damp rag in the direction of the grain.
And it worked! After three or four coats I achieved the level of lovely soft chalkiness I was after (oh, and a very fashionable french grey palm too – mental note, wear gloves next time).
I had never attempted a faux finish like this before and kinda just made it up as I went along though it was super easy and the result is awesome (if I do say so myself :-) so I highly recommend just giving it a go!
To finish I simply added some new antique brass hardware and hey presto…

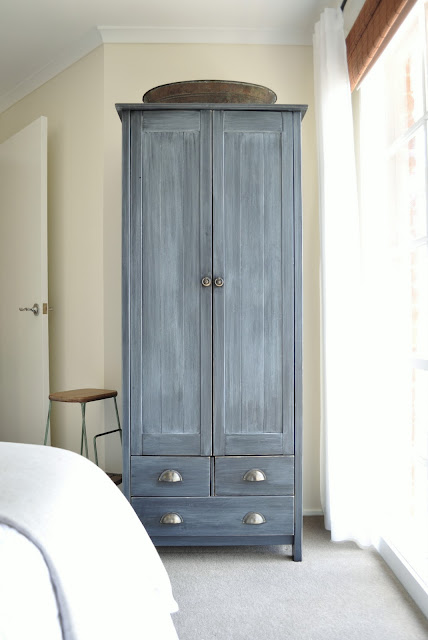
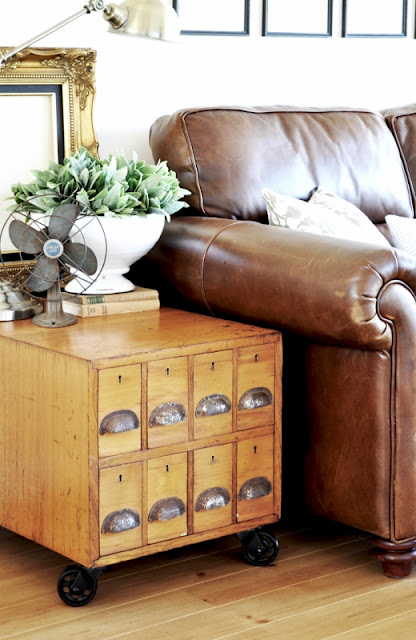


I love it! It just looks so amazing, you’ve managed to make it look like you didn’t try too hard and I agree with another comment I read, sometimes the best results come out of disasters :-) That certainly works for me.
I have had a pine wardrobe sitting in our spare room for 2 years now and it’s time it had a revamp! I have been umming and ahhing about the colour, the rest fo the room is white so I think a contrast would be nice. Where did you find french acrylic paint? I think I might give this finish a go, although I am a bit nervous!
Hi Kristy
It was just standard French Grey (in colour) craft paint. You could use any light grey, even white, acrylic paint though.
Seriously, don’t be nervous. Start with a ‘less is more approach’ and keep building layers up till you’re happy. If you find you’re hating it anyway, then simply re-paint however you want. Or try chalkboard paint and season it with chalk for the same kinda look.
Kristine
Thanks Kristine! I am tossing up between this or using chalk or milk paint. I love the Annie Sloan chalk paint colours and finish but of course victoria is the only state without a stockist, perhaps a business venture there for us ;)
He, he. There are soooo many gaps here in Oz when you start delving into the vastness of the US/UK market.
Remember though, chalk paint and milk paint aren’t exclusive to Annie Sloan and Miss Mustard Seed (I do know they have great quality products and a fab colour range though).
Try Googling (with pages from Australia checked) for Milk Paint or Chalk Paint. There are quite a few different brands and stockists you should be able to find :-)
I remember my Mum using Milk Paint (from Porters – I think) at least fifteen years ago! At the time the awesomeness was lost on me.
Kristine
PS Let me know how you go
Am loving your blog! It’s giving me motivation. Thanks
Oh yay. That’s lovely to hear Siobhan :) Thanks for taking the time to leave me a little comment.
I love the color it turned out to be! I want to do my dining room table. So you used a black paint base and painted it first and then used the Grey and a rag to go over it?
Is there any way you can post your step by step or is it somewhere already?
thanks!!
Hi Mandi
Sorry, I don’t have a step-by-step guide (this is an older post of mine before I started creating more detailed tutorials). It was really simple though. I first painted the piece flat black and then ragged on a light grey (watered down) wash. I wiped the wash on in the direction of the wood grain then used a clean rag (sometimes dry, sometimes damp) to wipe it off again. Just experiment with the dilution of your wash and have a bucket of water and a few clean rags near by, as well as some straight paint, so you can play with the finish and prefect the look as you go.
Remember, it’s only paint, so if you’re not happy with the way it’s turning out, you can always paint over it again.
Kristine
Love it! Really quick…in the detail of how you created the look you referenced Acrylic Paint. Did you mean chalk paint? Thanks so much! :)
Hi Stephanie
Nope, I used regular water-based craft paint. I’m not even sure chalk paint was around when I did this project (at least certainly not in the same wide-spread capacity it is nowadays). Standard craft paint can produce the same chalky look when applied as a wash. Oh, and the robe itself is finished in acrylic too though not craft paint – I used black water-based wall paint for that.
Kristine
Really nice project!
Ummmmmm…..Kinda Perfect, the work that you put into it definitely payed off….Great Job!!! I am about to do something like that for my daughter, she fell in love with it!!
LOVE this! I imagine the process was exhausting, but the final product is amazing!
Thanks so much. Not exhausting at all. Just painting and wiping :)