Hey guys!
Just popping in with a quick update about some progress in Charlotte’s bedroom – it’s soooo nearly done now!
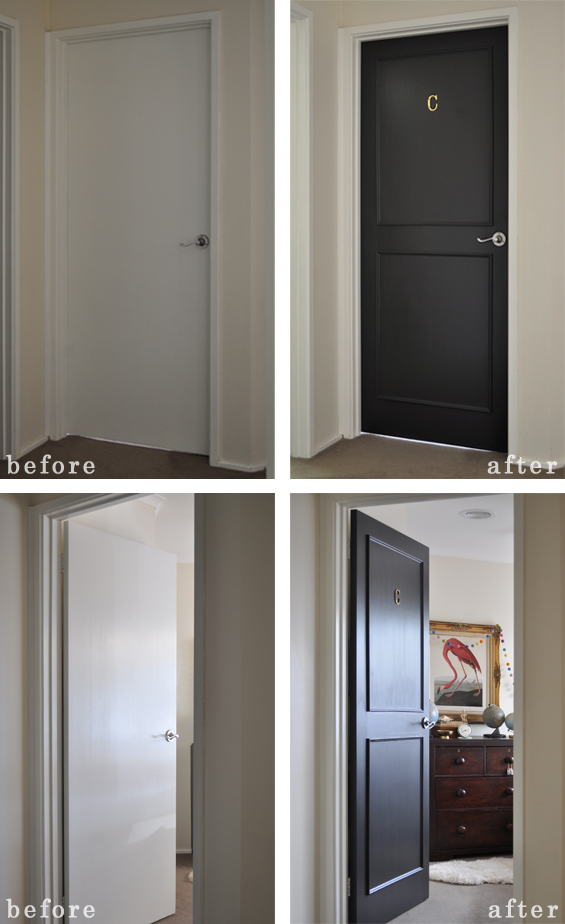
If you follow me socially (on Instagram or Facebook) you may have already seen a little sneak peek of this door makeover.
I tend to procrastinate over painting decisions though this time around I managed to go from concept to completion in just three days. That’s kind of a record for me.
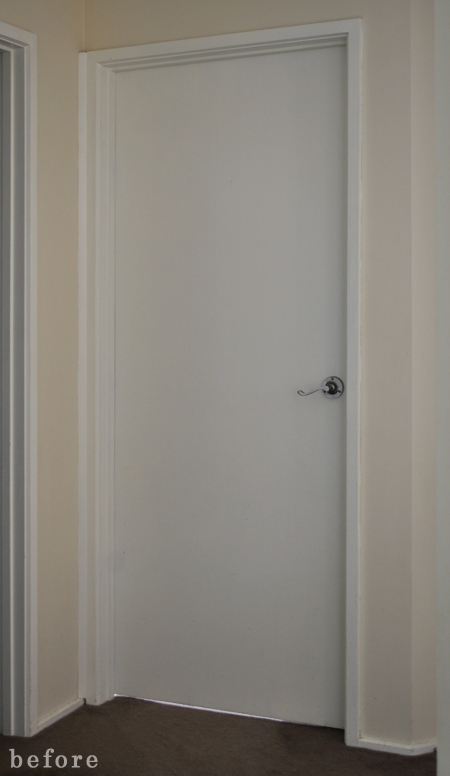
Though let’s not go getting too smug…the boring state of Charlotte’s plain hollow core door was a pretty convincing catalyst!
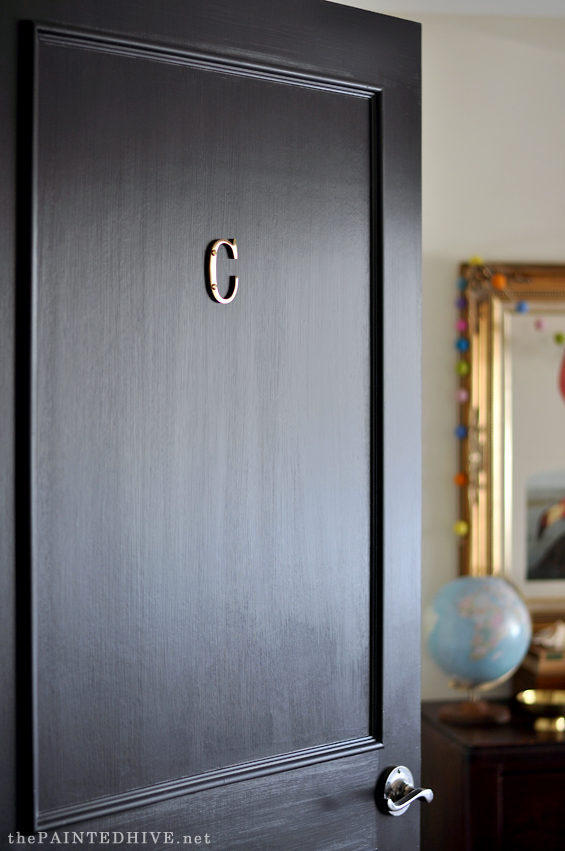
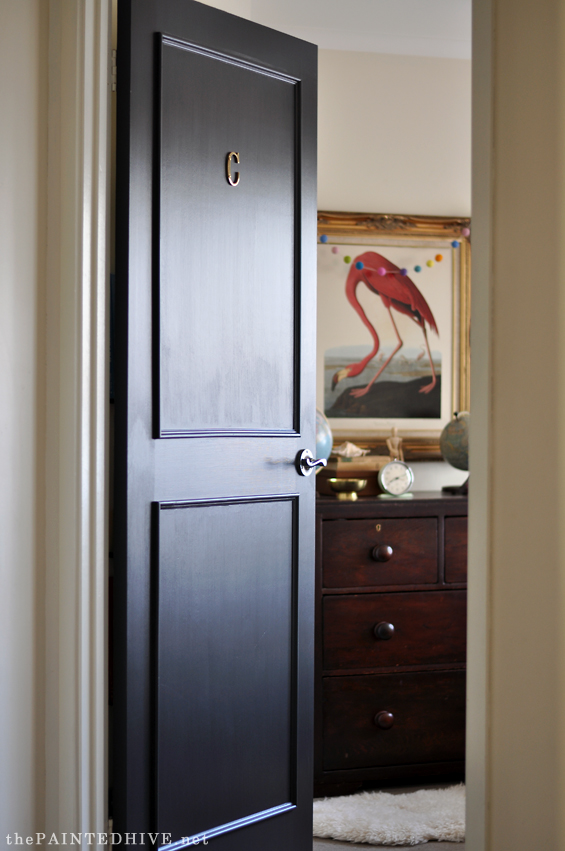
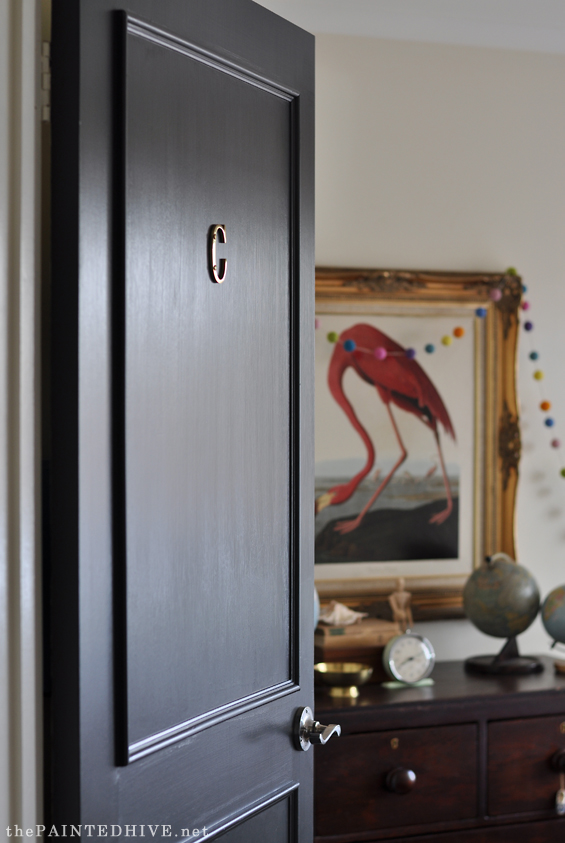
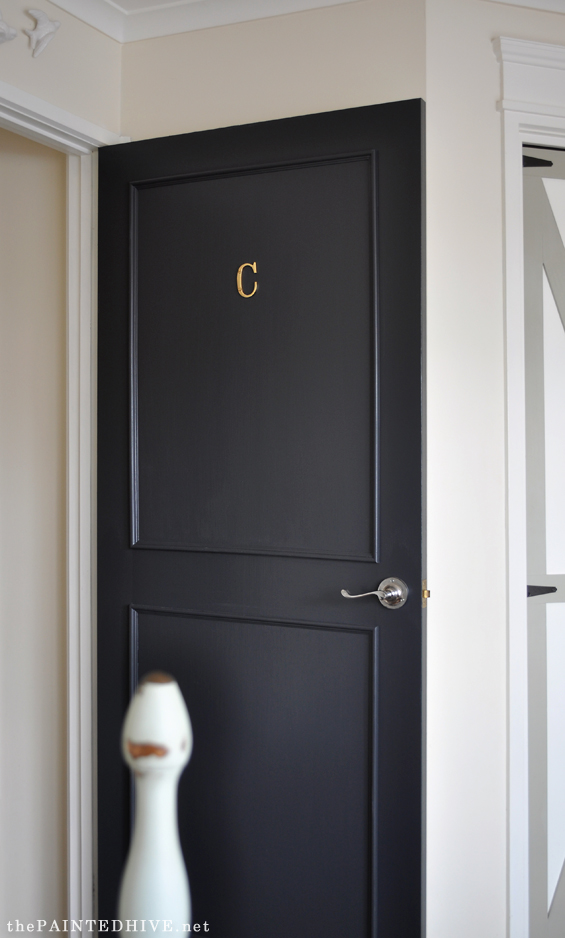
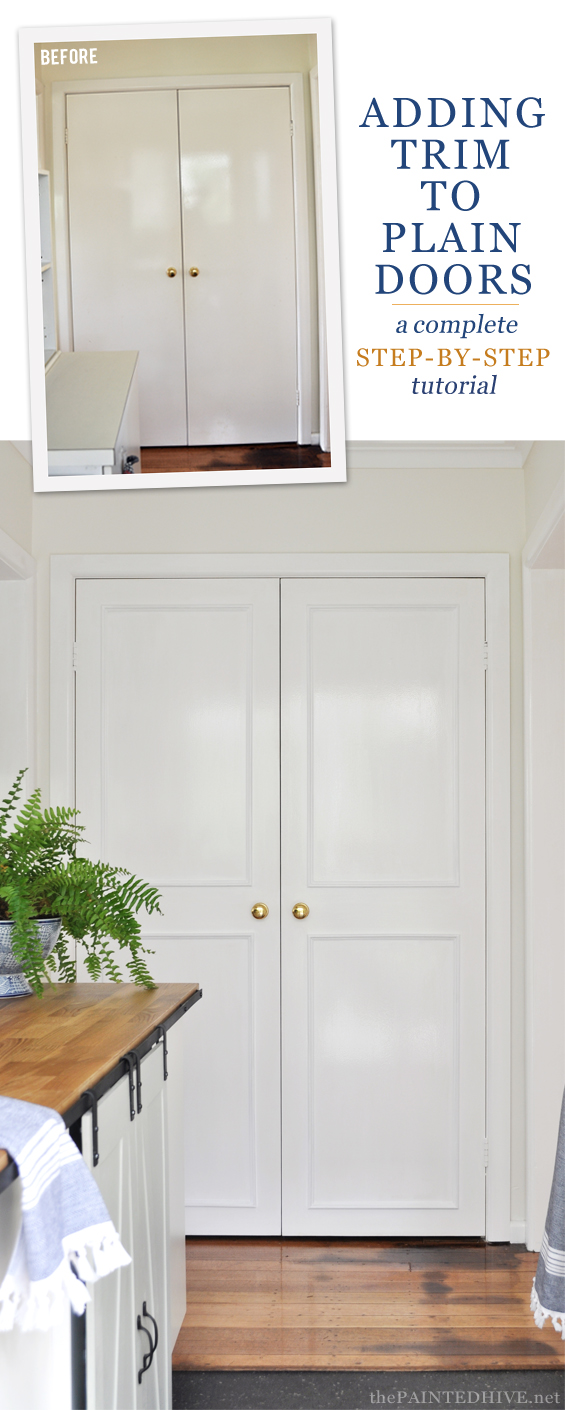
To add some character I attached some simple pine moulding (you can find my step-by-step tutorial for adding trim to plain doors here) then painted the whole door “Domino” by Dulux.
“Domino” is a super dark charcoal with a slight hint of navy.
I used a semi-gloss paint, for its gentle sheen and hard-wearing nature, which I applied in two coats using a brush. The glow of a semi-gloss can be a bit more critical in harsh light than a matte finish though it’s easier to maintain and does provide a nice subtle lustre which imparts a touch of glam.
And there’s just something nice about the way some brush strokes can make things feel “real” and a little more loved.
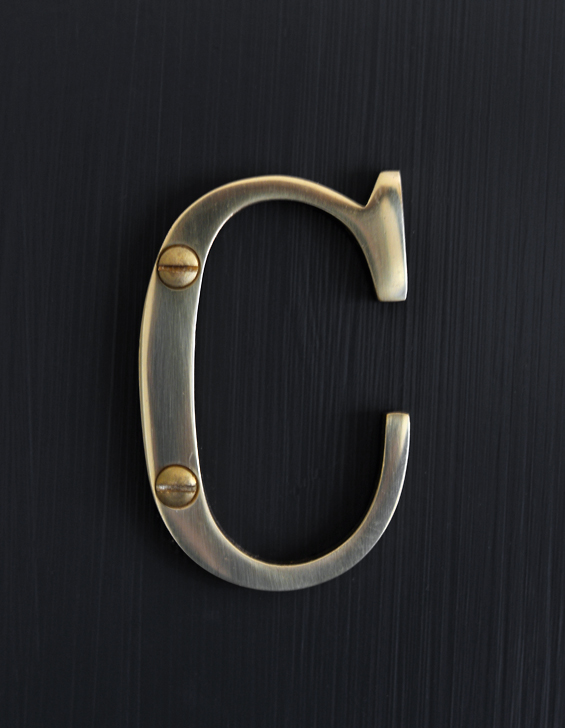
To finish things off I added a shiny brass ‘C’.
I contemplated switching out the door handle for a brass one, or even painting the existing one gold, though decided I actually quite like the eclectic mix of metals. Plus, I now plan to trim out and paint the other five doors in our house and don’t really love the idea of changing all of the handles as well!
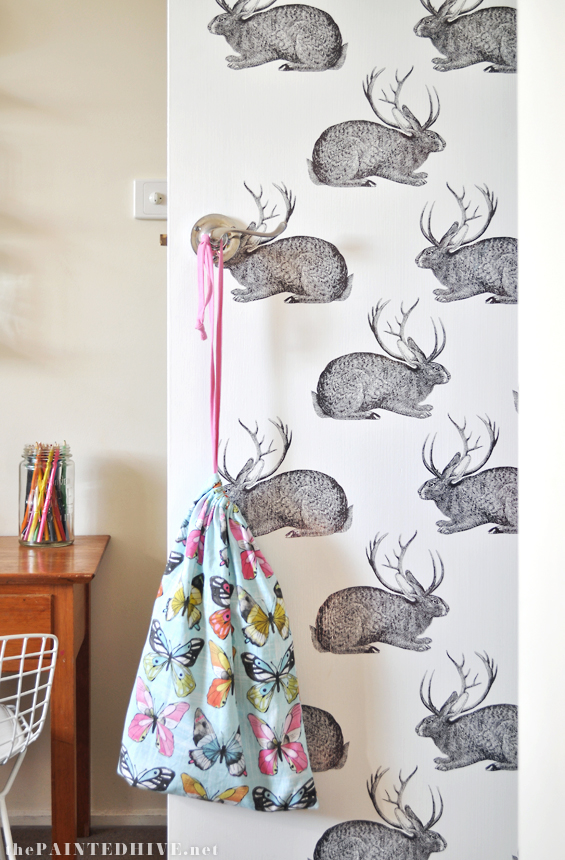
Although you don’t really see both sides of the door at the same time I love the way the black echos my DIY decals on the rear…
So, there you go. A really simple, affordable and fast project which packs a lovely little punch.
You can see just how impactful it is below…
I only have a few little projects to go then Charlotte’s big girl’s room will be ready for its final reveal. Yay! Can’t wait to share some of the other elements I’ve been working on!
If you’d like to learn more about adding trim to your plain doors, click the image below for my full tutorial.



So lovely. And it’s refreshing to hear you talking in that conversational manner that “regular” bloggers sometimes have. Makes me feel like I can look forward to more frequent updates from my favorite blog.
I meant that in a nice way. Just re-read and realized it sounded a bit critical.
What a fantastic change! I loved your comment about brush strokes, I feel the same way. 🙂
Thanks Patricia. Yes, there’s just something wholesome about them! :)
It ist a wonderful idea and inspires me to do the same with my doors!
Nice update! A little change that makes a big impact. Thanks also for the description of the paint, I’m loving me some charcoal color these days, but have been intimidated with the differences in hues. I now know that I like dark charcoal with a bit of navy. I have the same feelings about brush strokes -sometimes things needs to look loved in. ;)
Thanks Deb. Yes, I thought I’d just go and choose “black” though all of the paint cards I looked at had some kind of hue. It can be hard to make the right choice!
Did you end up painting all of the doors that color? I noticed a door next to it. (maybe another bedroom door) I love this idea but I am curious if I should do all of them?
I did paint the door beside it to match. You can see some glimpses of it here: https://thepaintedhive.net/2018/11/boys-tiny-lodge-style-bedroom-reveal/.
My initial idea was to do all of the doors in the house but I haven’t gotten around to it – and to be honest it doesn’t really bother me (but that’s probably because our house isn’t finished properly and due for a renovation anyway).
I am a new subscriber to your blog and it is rapidly become my favorite! Always look forward to it coming into my email.
Aw, thanks so much Sandy. What a lovely little compliment :)
Love it, what a treat transformation.
Thanks Marty :)
The brush strokes look like wood grain, very beautiful!
Yes, I suppose they do Ale. Thanks :)
I have been contemplating painting our bedroom doors a dark color, but I was so worried it would look odd next to the cream colored trim. Seeing your finished product inspires me to give it a try! I love the added detail of the brass letter too!
Yes, I wasn’t sure about that too Alisa though it looks fine. Nice and crisp.
:)
Absolutely gorgeous work! Its amazing how changing even just one element of a room can give so much character and warmth to the living environment! Very well done. Thanks for sharing!
well done! Looks so much more special! Love your ideas!
Thank you. Yes, it helps take things up a notch.
Really lovely Kristen!!! As usual!!!
Thanks so much :)
I love the black doors, and with having plain doors, I would like to do the same with molding & paint on mine. However, to replace my doors with new 6 panels, would only cost about $40 a door at Lowes. Do you feel doing your own molding is less than that with paint and all, & still worth the time?
Hi Tegma
Good point. To me it’s worth it. Part of my design/decorating philosophy is “making the most” which in this case meant working with what I already had.
The moulding cost me around $14 and I used maybe $8 worth of paint (however the cost of the paint isn’t really a factor because if you bought brand new doors you would still need to paint them anyway – particularly if you wanted a black finish). Yes, adding the moulding takes a little bit of time and work though hanging a new door does too. You need to add the hinges, add the handles, get everything properly aligned (which can actually be quite tricky, especially if the door frame is out of square) then paint. To me, adding the moulding not only saved sending my existing door to landfill, though it also saved me some money and wasn’t difficult. Plus I love the custom look.
Of course, it’s totally up to you though I would personally avoid buying new doors. It just doesn’t seem necessary enough.
Best
Kristine
Wow what a transformation. Beautiful job with paint and trim detail.
Great job! Trim makes such a difference. Love how it turned out.
I love, love, love it ~ and adding the trim makes the door especially classy. And hopefully, without sounding negative, I would change the door knob ~ it’s too modern for the classic, traditional looking door and perhaps in a brushed brass tone to coordinate with the brass monogram. Just a thought and regardless of the knob, the door is beautiful!
Hi Melinda
Thanks so much. I love to hear others’ opinions so please don’t worry about sounding negative :)
Yes, I did briefly mention the door knob in the post. It’s actually a traditional style lever handle which is quite classic and the chrome finish has began to wear so it doesn’t look too modern in person. I did contemplate painting it gold or replacing it though decided I quite like the metal mix – saves everything from being too matchy-matchy. I agree that a brass handle could look lovely though I don’t think the current one detracts enough to warrant changing it.
Best
Kristine
x
Kristine, beautiful job! I like the brushstrokes as well. What a transformation!
That is quite a transformation. Absolutely fantastic! I love the addition of the C.
:) gwingal
I am planning to do something similar to all 10 doors in my house. Did you add trim.to the backs as well or just paint them? I can’t decide which to do. I hardly ever close the doors on most of the rooms.
I just trimmed the external side :)
I love the proportions of your door here! The measurements look a little different from when you did the white laundry room doors with a similar treatment- would you mind sharing what measurements you went with here? Wonderful job!!
Thanks. These are around 10cm/4″ in from each edge and 20cm/8″ in from the base with a 13cm/5″ gap in the center :)