It may have taken way longer than I imagined, and used about 200 times more rope than I anticipated, though I’m still glad I did it, and I wouldn’t hesitate recommending it as a great DIY project to try.
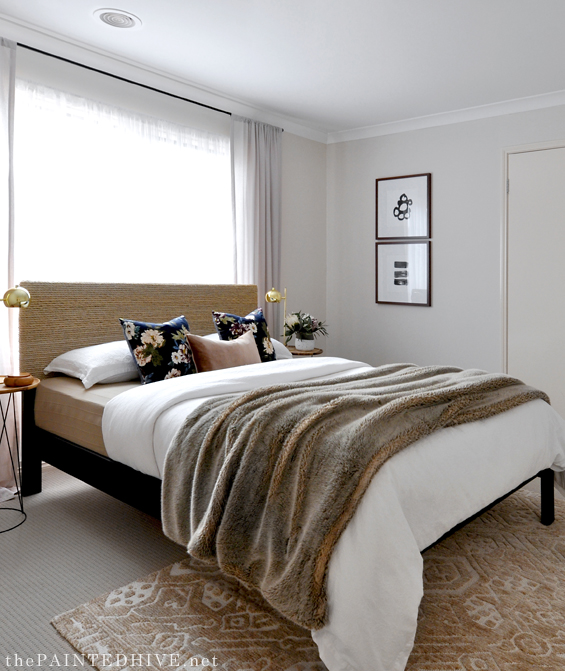
If you missed the initial reveal post, this is the bed from the ‘guest room‘ at the flip house.
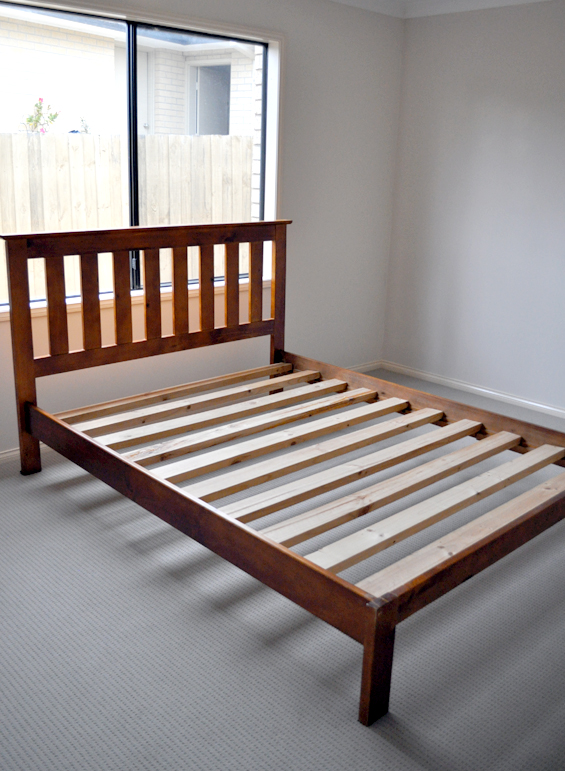
We started with this basic pine bed which we picked up for free from a Facebook ‘Buy, Sell, Swap’ group.
It was okay as is, though it just felt a little generic.
There were a million different ways I could have upcycled it, but for some reason I can’t even explain, wrapping the headboard in rope needed to happen!
As with most of the projects from the flip house, I didn’t have time to stop and take millions of progress photos, so I’ll do my best to explain the process using the pics I do have.
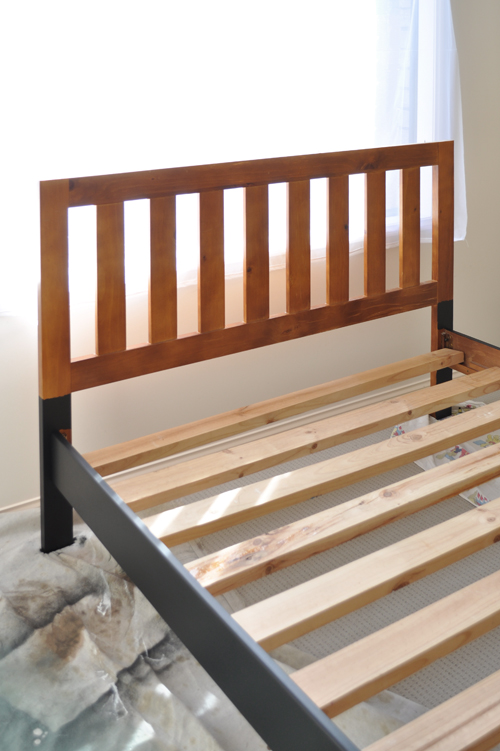
The first thing we did was lightly sand the bed base and paint it black using some left-over paint I had.
Next I removed the length of capping from the top of the headboard. It was just screwed on so came off easily.
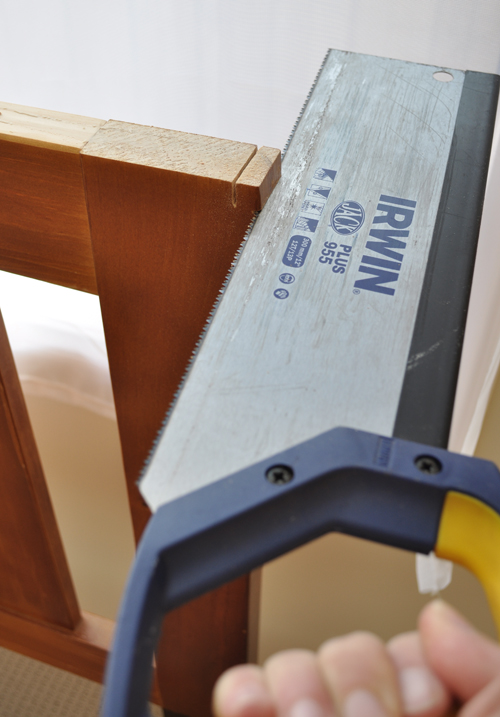
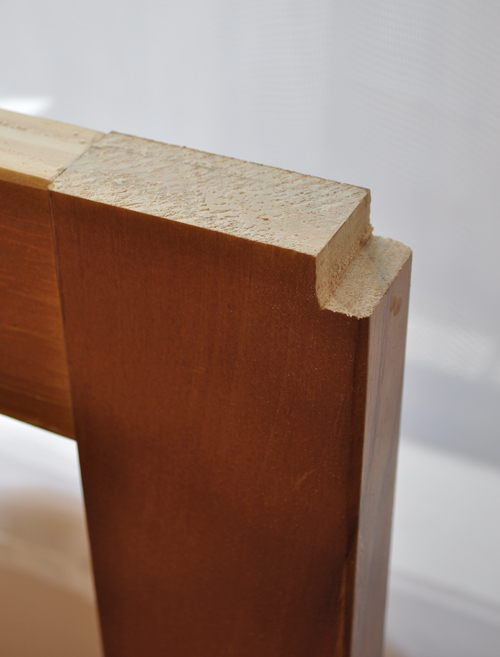
Due to the way I wanted to attach the rope, I then notched out a section at each corner of the headboard using a hand saw. It literally took thirty seconds.
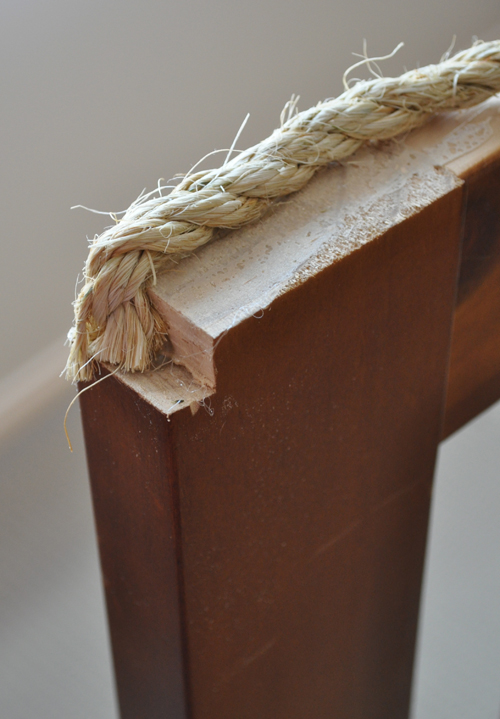
They provide a perfect little niche to house the ends of the rope running along the top of the headboard.
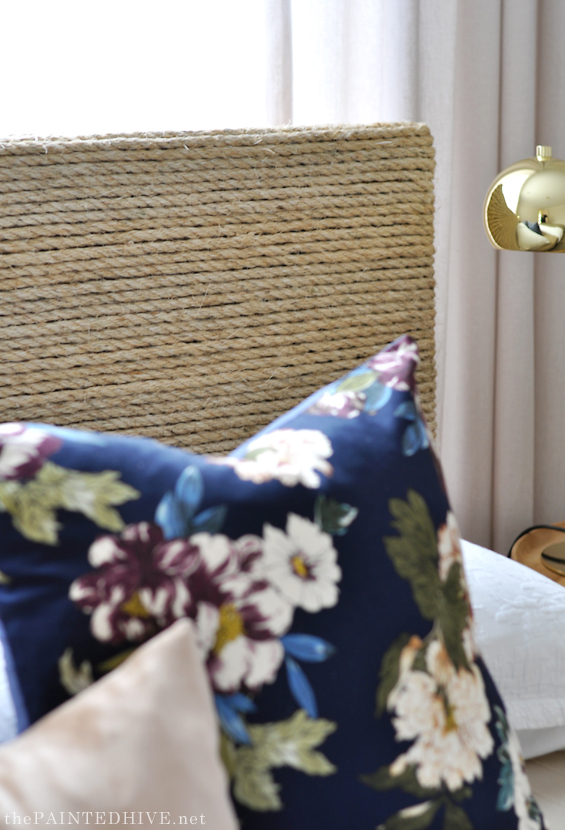
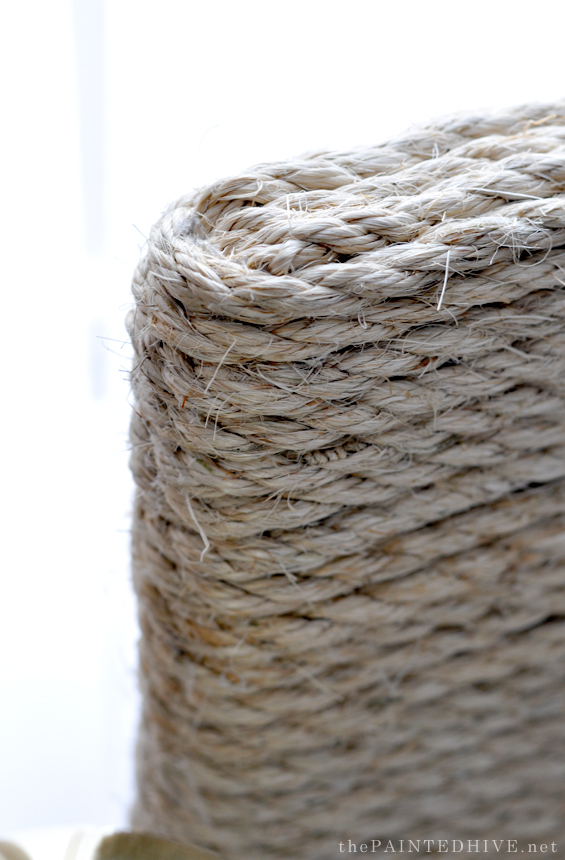
I used 10mm/.4″ sisal rope which I bought on a 100 meter/32′ reel from Bunnings. I haven’t calculated it exactly, though in the end I think it probably took around 90 meters/29′ to cover the entire headboard!
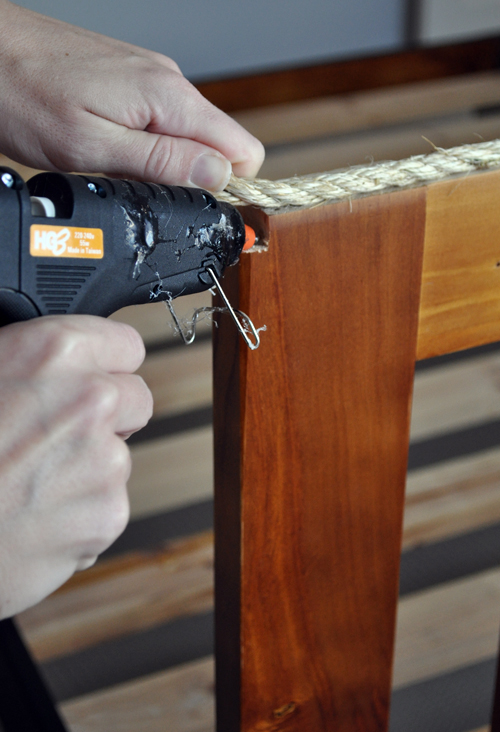
And to attach the rope I simply used about one exact truck load of hot glue.
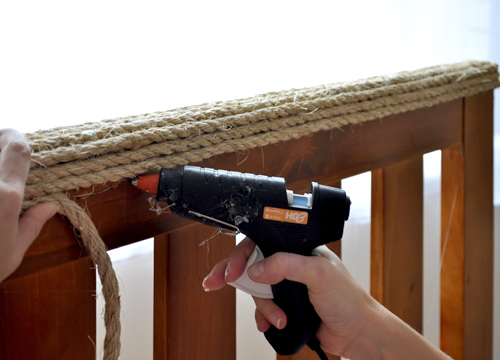
Basically, I simply applied glue where needed, pressed the end of the rope into it, allowed it to set (which only takes a matter of seconds with hot glue) then stretched the rope tightly along the headboard. If needed, I used a few extra dobs of glue here and there to keep things flat and in place. Once I established the length the rope needed to be, I trimmed it to size with sharp scissors then glued it in place at the opposite end. Pretty straight forward.
Once the top was covered (which only took three lengths of rope) I moved onto the front.
Although it was initially tempting to wrap the rope right around the entire headboard, I worked out it was just going to use waaaaay too much rope – and the rope isn’t cheap! Instead, I simply wrapped it about 6cm/2″ around each side.
So, using the same process as already explained, I applied glue to the rear of one post, pressed the rope into it and allowed it to set, then pulled the rope tightly across the headboard before trimming it as needed and securing with glue to the rear of the opposite post. Easy.
No matter how tautly I pulled the rope it still sagged a little in the center due to gravity. And no matter how closely I attempted to position each length, there was still some separation between them. I could have remedied these issues by gluing along each length of rope, though to save time (and glue), I just glued along each third length (making them the ‘anchor’ points). This worked perfectly to keep everything straight and snug.
The glue worked well for the most part, though it’s not magical. If you pull on the rope super hard, especially before the glue has had a chance to properly set, it has the potential to fail. For this reason, if you can wrangle in a second person to hold the rope in place whilst you stretch it across the headboard, this project will be soooo much quicker and easier. My initial idea was to use a staple gun in conjunction with the glue – just for extra insurance – though I found the staples too shallow. I did use a few nails in places, hammered into the actual glue (not the rope), to secure some areas which were lifting a little.
So, I just continued attaching rope in this manner until I got to the vertical slats where a small problem emerged.
Being slightly recessed (as they are shallower in depth than the end posts) the rope had nothing to attach to across the middle of the headboard – unless I pushed the rope back, which created a noticeable dip. An easy solution was cutting pieces of corrugated cardboard and gluing them to each vertical slat to bring them up to the same level as the end posts.
With that issue resolved, I continued attaching rope until the entire headboard was entirely covered.
At which point I stood back to admire my work and noticed another small problem.
This wouldn’t be an issue if your bed is going to be positioned against a solid surface, though as ours was in front of a window, there was a pretty obvious inconsistency with the way the light shone through the headboard. I don’t have a pic though I think you can probably imagine that the rope over the timber slats appeared opaque and somewhat dark whereas the rope over the open gaps was semi-translucent and quite light. Basically, you could clearly see the outline of the slats.
Again, there was an easy fix involving cardboard. We simply cut pieces to fit between the slats and glued them in at the rear of the headboard to block the light. I can’t say it’s the most professional solution, though it did the trick for us (keeping in mind this was done purely for house staging purposes). Of course, you could use MDF or plywood or block-out fabric or any number of more proper materials – LOL!
Although I was conscious of keeping things neat and tidy, for obvious reasons the rear of the headboard isn’t exactly pretty (raw rope ends and copious hot glue!). I was planning on attaching some fabric trim or even a full fabric sheet (similar to what might be used on the rear of an upholstered headboard) though for our purposes it wasn’t really necessary. If you wanted to do something like this for re-sale, or to keep for yourself and it was going to bother you, then it’s a pretty easy finishing touch.
All up I probably spent around $80 on rope and $20 on hot glue. At $100 I can’t say it’s the cheapest project I’ve ever done, though I really love it and think it was worth it.
BEFORE
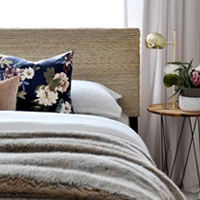
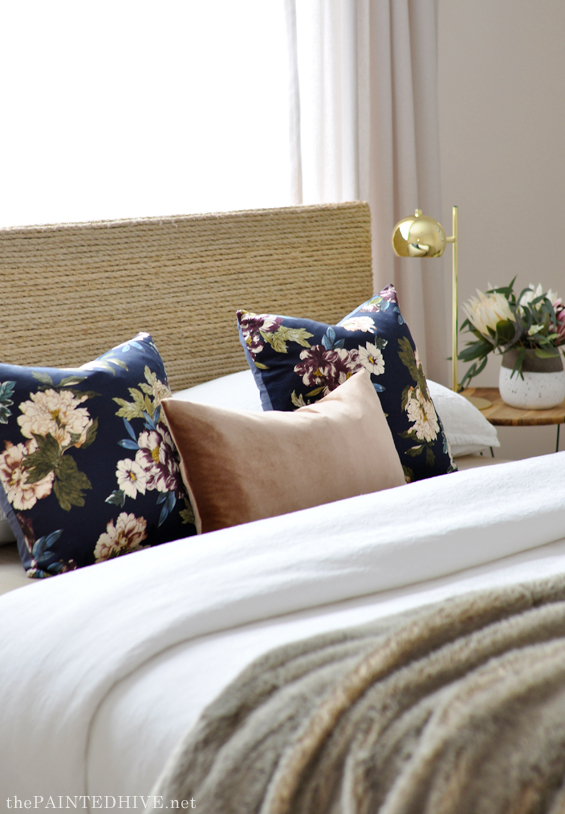
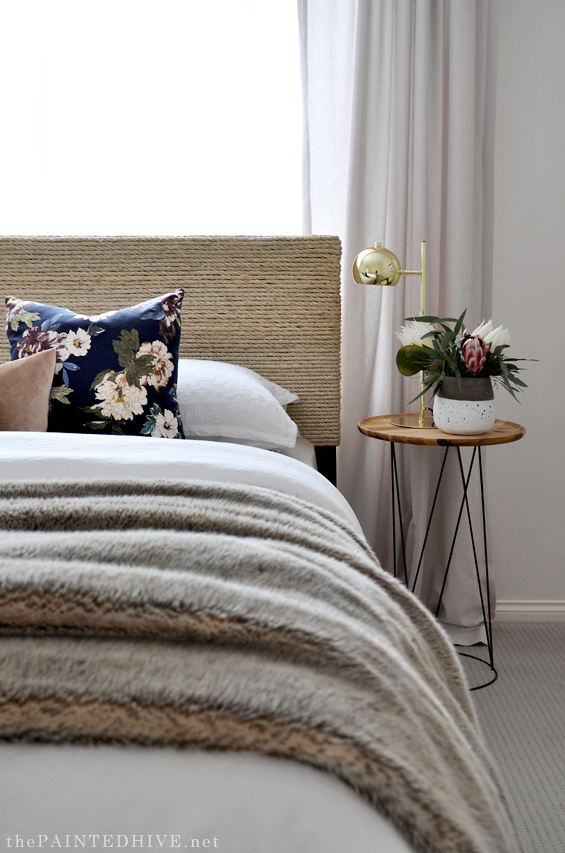
AFTER
So, that concludes the flip house posts!
Now, onto the next project…
Find all of the flip house posts HERE.
I know some of you were keen to see a tutorial for the “brass” dining room light, though I didn’t take any progress pics of that project at all, plus it was really just a matter of me experimenting with paint until I achieved the look I was after. Sorry. If I create a similar finish in the future I’ll be sure to document it for you.



I love this and am going to attempt it myself….one day. 😆
Yay, it’s a great little DIY :)
This is just beautiful! Thank you for sharing!
Thanks Leslie :)
I love your projects and your tutorials are so well done. Thanks for taking the time.
Thanks Marm :)
LOVE THIS. Just gorgeous! I think I might try something like this to my inexpensive Target “X” back chairs that I’ve had forever. They’re a very dark brown, so this could bring in some color lightness and interesting texture. Not sure I want to notch out any of the chair back though. Any advice or ideas? Maybe instead of glue I should try using little nails?
Hmmm, feel free to forward a pic (via email – thepaintedhive@gmail.com) or a link to the chairs so I can see how they look exactly. Sure there is a solution :)
Very well Explained! Great work!
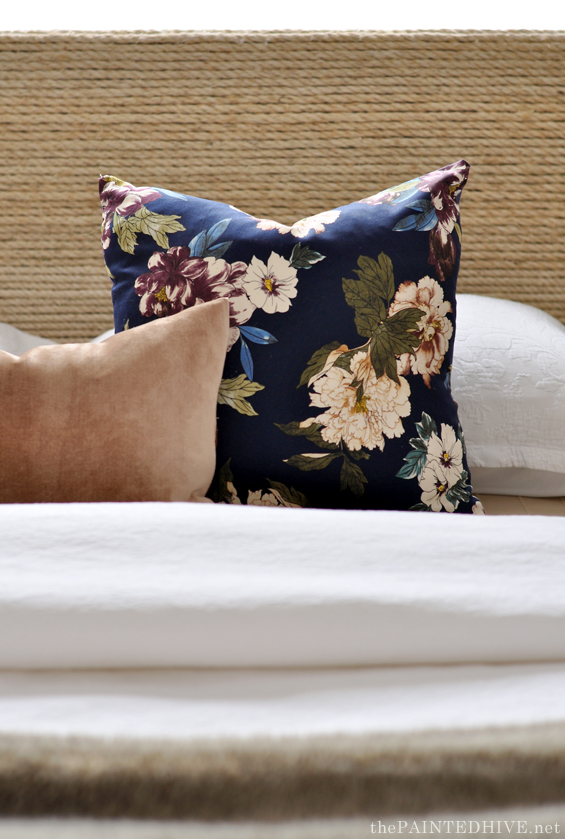
Would love to know where those navy floral pillows are from!
Thanks Cindi. I actually made them. The fabric was from Spotlight.
Hey there!!! This hack is a life saver and I’m sooo excited to do it. I can’t get a new bed or do anything drastic to my old one because it’s struck to a wall so this is perfect. Wondering how many gluesticks you used for this project? My head board is 19×64 inches and the cord available here is 4 mm thick. I’m
Bad at math. Could you tell me how much cord I should order and how many glue sticks I can use for this?
You will need heaps of glue sticks. I think I used about three packets more than I thought but I don’t actually recall how many exactly.
Math isn’t my strong suit either though based on some rough calculations you will need a minimum of 35 meters of rope. But please don’t take this as a set recommendation, I would definitely suggest trying to work it out properly first.
Good luck with it all! It’s a really easy and effective project.
I am creating a “coastal” style room for myself and I came across this post. Just the look I want!! I am a caregiver for my adult, disabled son, and have moved into the bedroom next to his to be closer to him. I don’t have an existing headboard to work with, but my husband is going to help me build a freestanding, plywood structure (I have an adjustable bed…so can’t attach it to the bed.) I’m so excited!!! Thank you for sharing this project.
Hi Tracie. I’m glad my tutorial is helpful. It will work perfectly over a plywood base structure.