Why, hello there! Remember me?
I’m sorry I’ve been so absent.
Things have been busy, just not in a super productive way. With summer holidays comes lots of family time which means completing projects and writing blog posts isn’t always a priority, or sometimes even a possibility.
Still, I have quite a bit of suite extension progress to share and thought I’d ease into things with this simple stool hack I finished a few days ago.
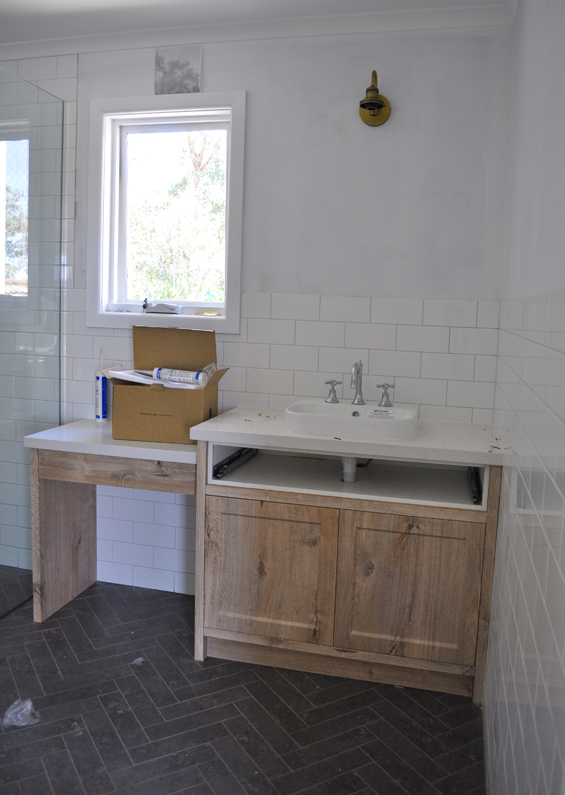
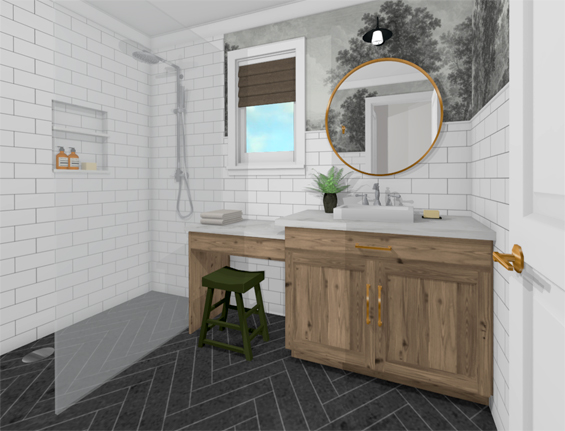
From the start we knew we needed some kind of seat in the bathroom to partner the make-up vanity we had designed.
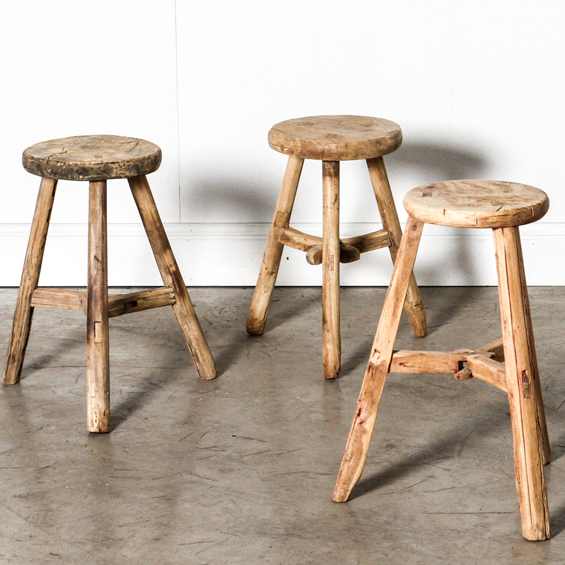
I was envisioning a gorgeous primitive style stool – like the eastern elm ones you often see – but man, those things aren’t cheap!
Plus, I didn’t love the idea of painting over the lovely rustic timber (as I knew we needed something with some colour to off-set the wood vanity).
In my rendering I had included a basic curved milking style stool.
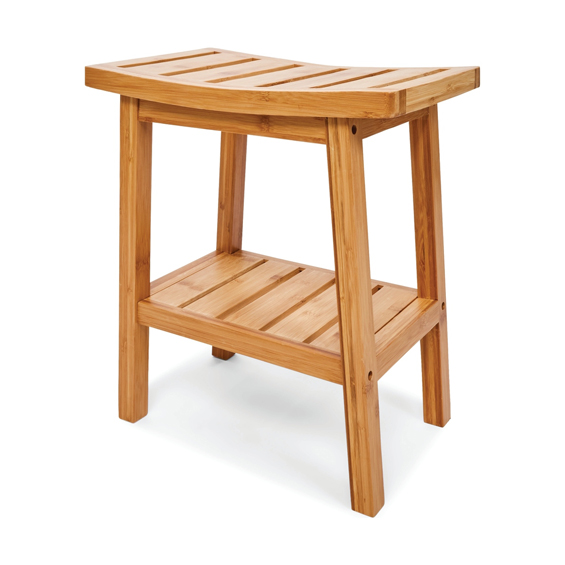
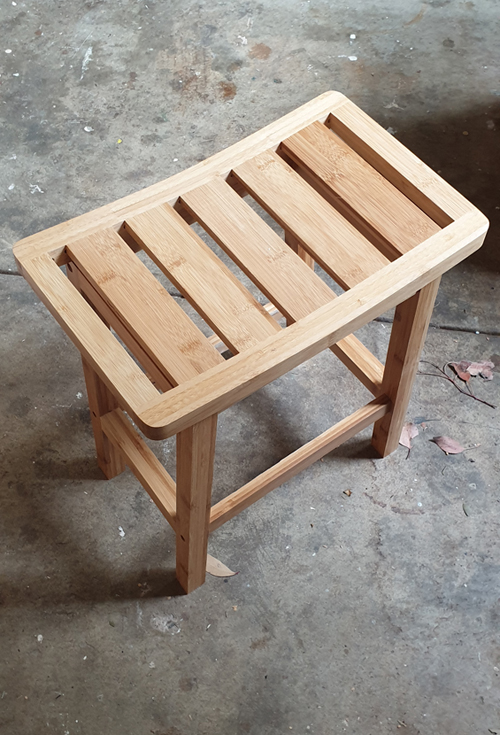
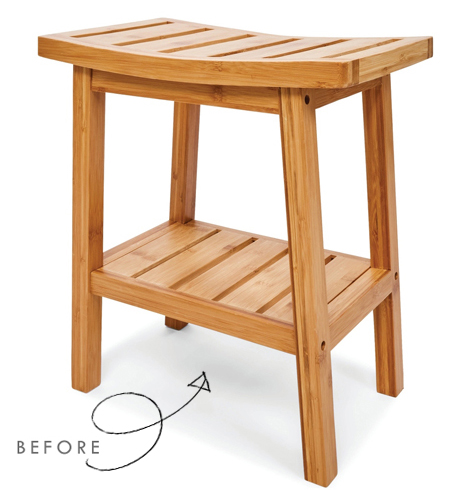
And although I never really considered it ideal, just by chance I happened to notice a very similar stool at Kmart which got me thinking.
Whilst it wasn’t perfect, it was only $25, so I figured I didn’t have much to lose by playing around with a few modifications.
This was a super easy, and very affordable, little project.
All I really wanted to do was lose the slats and paint the bamboo.
Not that there was anything wrong with either of those elements, they just weren’t what I wanted in this case.
1 | REMOVE SLATS FROM LOWER ‘SHELF’
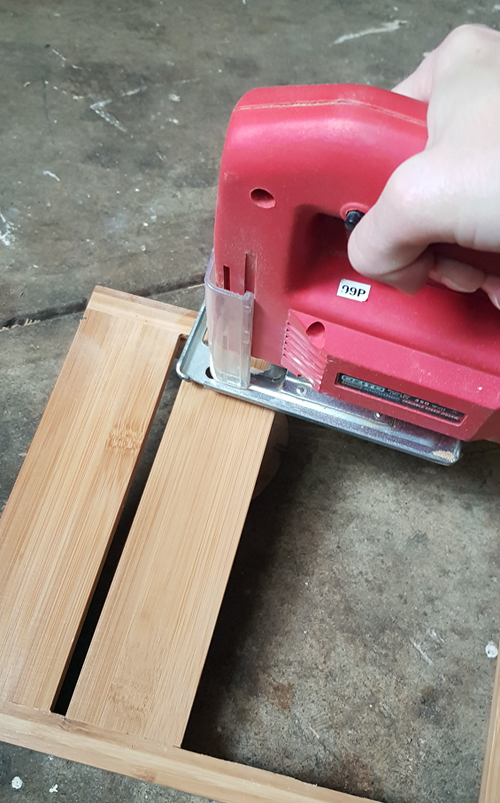
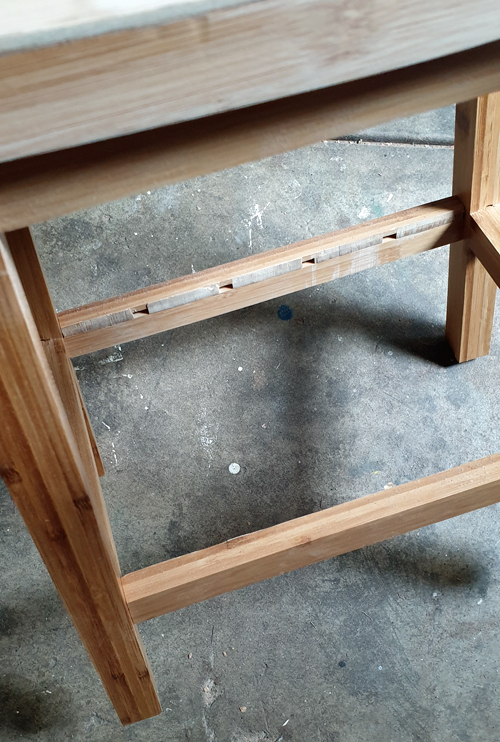
The stool comes unassembled which is handy. The first thing I did was cut the slats out of the lower ‘shelf’ component using a jigsaw.
I was hoping they might just tap out though they are partially glued.
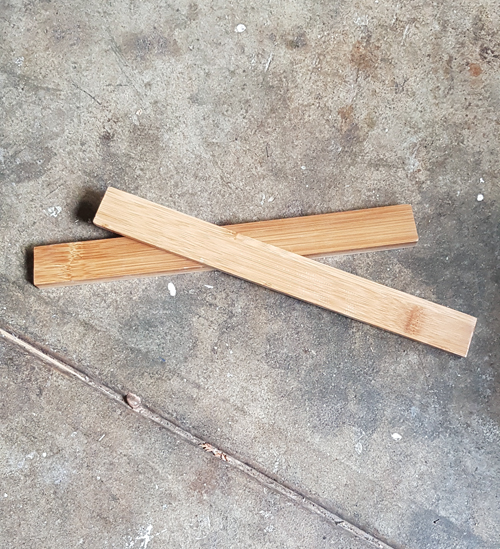
This left me with just the two side rails.
2 | ASSEMBLE STOOL AS PER USUAL
Next I simply assembled the stool as per the instructions. Not having the lower slats made no difference. It was really easy.
3 | CUT COVER PIECE FOR TOP
To conceal the top slats, I decided to cut a piece of thin timber to fit snugly over them. I just used basic 3mm plywood which I had left-over from a past project.
First I positioned the plywood on top of the stool, pressed it into the shape of the curve (this is important), then marked out a template on the base of the ply by tracing around the stool top with a pencil.
TIP: Line up a corner of your plywood sheet with the stool edge so you have two nice straight lines to begin with. I know it sounds like a no brainer, though it can be an easy thing to forget.
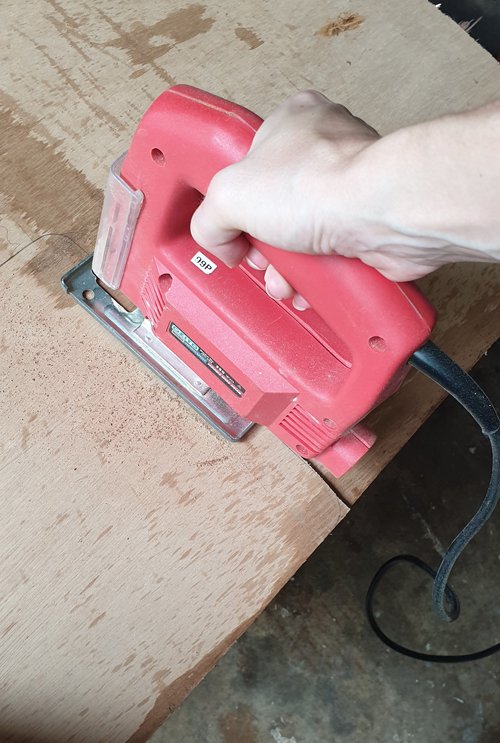
Then I simply used a jigsaw to cut out the shape.
Please ignore the mankiness of my plywood. It’s been sitting in the shed for a loooong time.
Although you want to be somewhat accurate with this step, you can always finesse things once the top is attached. If in doubt, always go slightly larger. You can easily trim or sand back excess timber though you can’t add more!
4 | ATTACH STOOL TOP
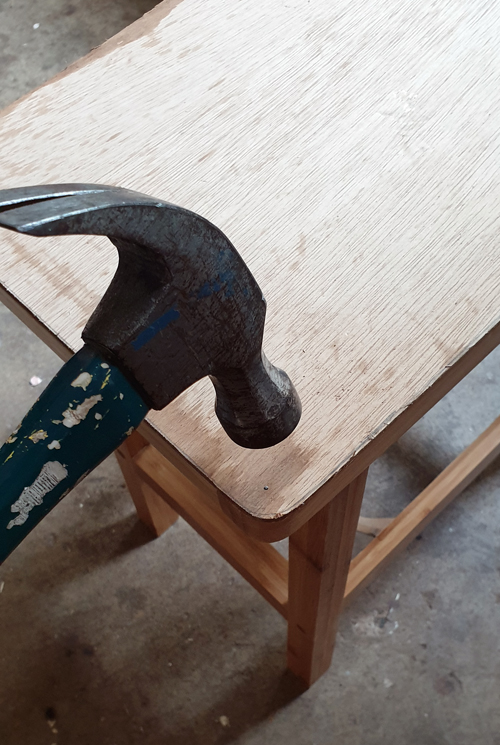
To attach the top I applied some wood glue to the slats, positioned the piece of plywood in place, then hammered in a few small finishing nails to keep everything secure.
If needed, you can recess your nail heads using a prick punch.
5 | FILL & SAND
Using some wood putty, I filled my little nail holes and also the large screw holes on the legs. Filling the screw holes just helps make it look less like a flat-pack.
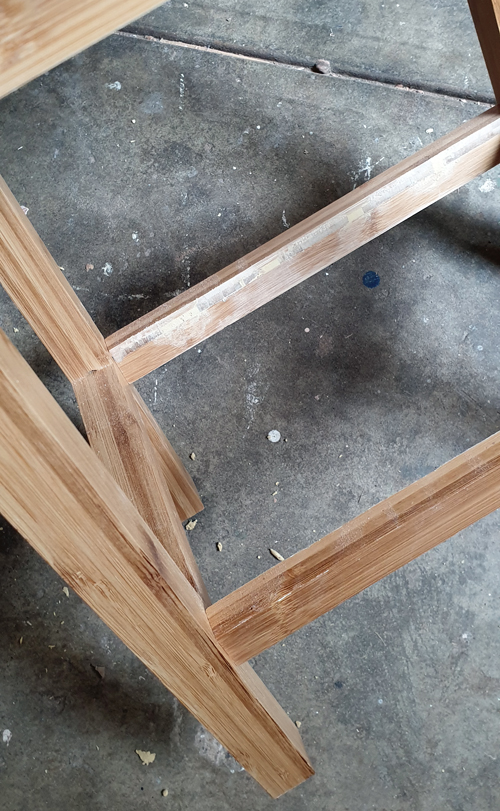
I also filled the little gaps in the lower rails where I had removed the slats.
BEFORE FILL
AFTER FILL
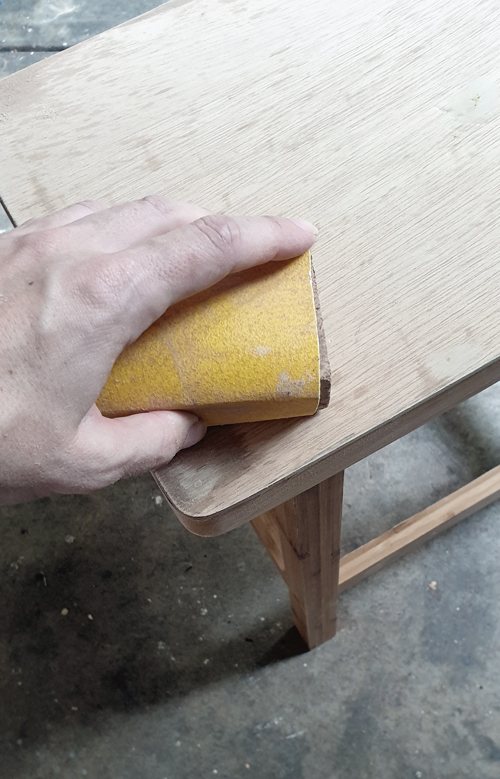
Once the filler was dry, I sanded the excess back before sanding the stool all-over to provide a good surface for my paint.
6 | PAINT
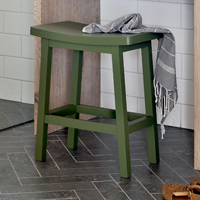
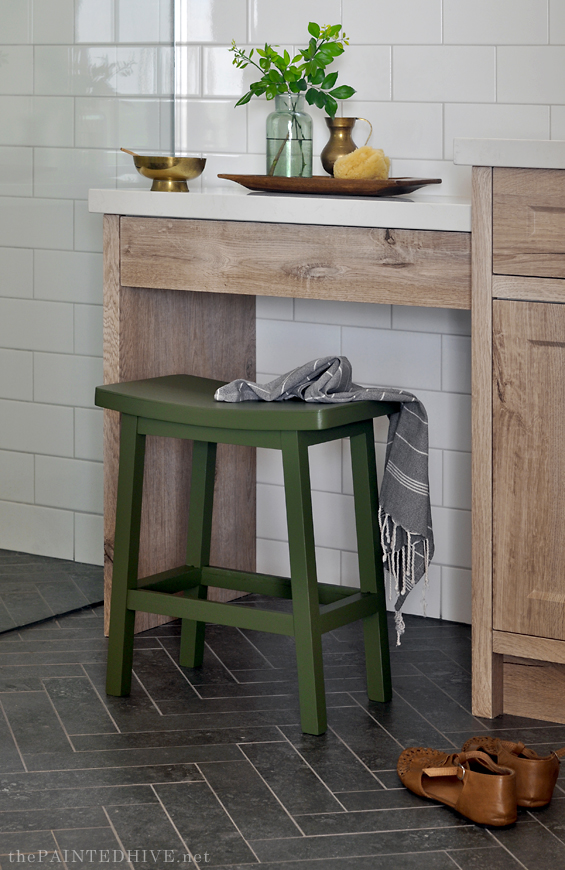
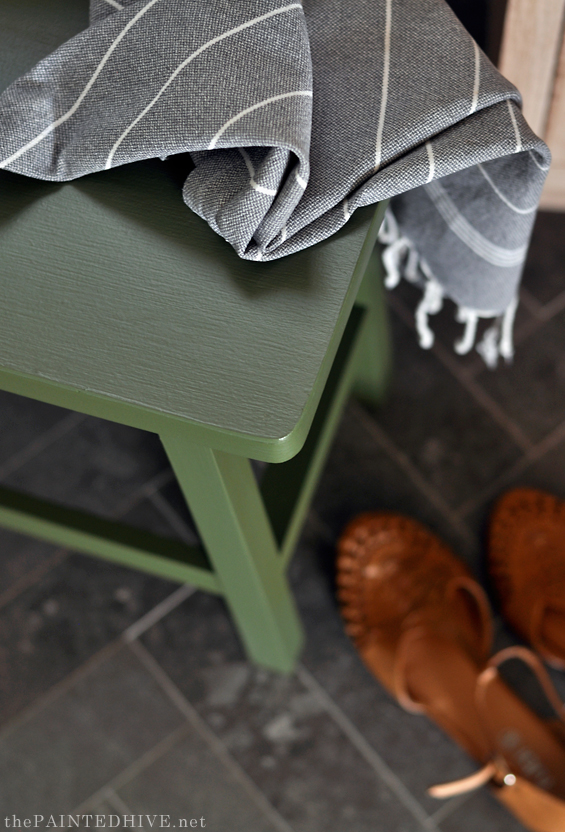
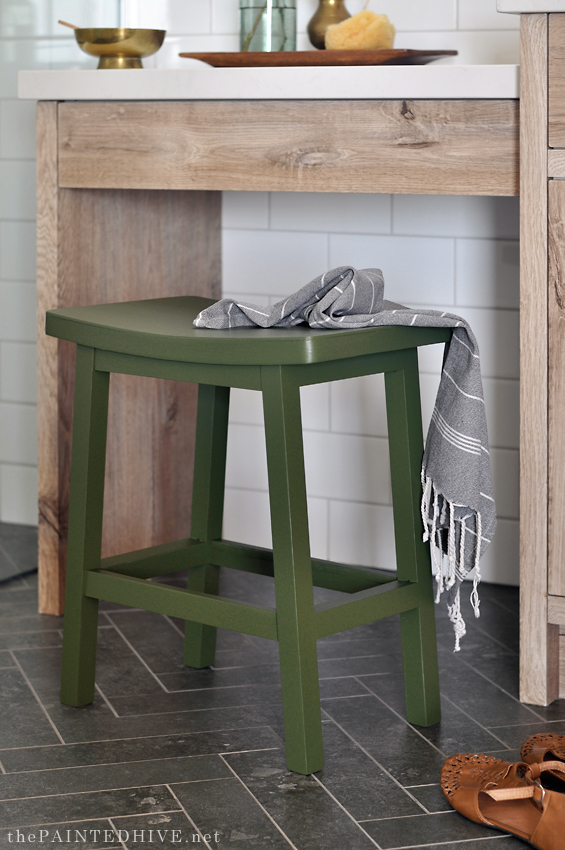
I knew I wanted my little stool to be green and settled on Dulux ‘Shallot Leaf’. I simply used a sample pot then sealed it with a clear matte poly to provide some protection.
DONE!
I know it’s not the most earth shattering project, but it was just right for what we needed.
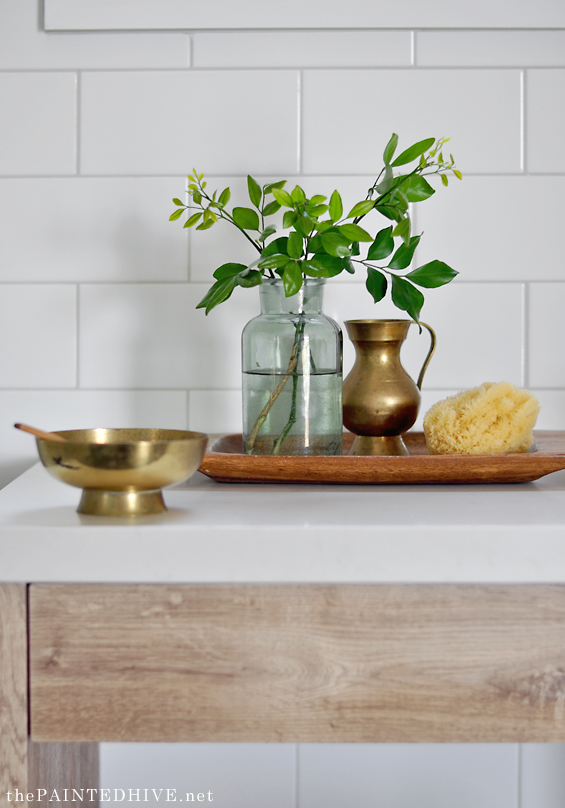
And of course, although the bathroom’s still not entirely finished, it was fun to play around with some pretty styling.
In other suite extension news, we have just been granted the COO (Certificate Of Occupancy) so can now move on to fitting out the interior. Yay!
I’ll be back soon to share some of the progress.
Catch up on all of the other suite extension posts HERE.



It looks fabulous, and even better – more comfortable to sit on. Great update!
Thanks so much :)
Isn’t it a shame how life has the audacity to interrupt diy and blogging. Tsk, tsk.
It’s a great redo and it’s good to hear from you and see another awesome project.
No apologies necessary:).
LOL, yes, how dare loved ones and beach trips get in the way of decorating. Ha, ha.
Thanks so much :)
I agree, it looks better and more comfortable! I really like it, a lot!
Thank you :)
The stool looks perfect and the colour is great. Well done.
Thanks Di :)
Love the green so much and the styling is spot on. Can’t wait to see more of this room!
It’s so good!
Thanks so much :)
Always amazing! Good for you for taking some time out.
Thanks Julie :)
In Egypt, there is no paste to fill the holes in wood, which is formed and is it a war secret
Hellooooo darling, you are always like a wonderful gift in my email list. The stool is cute, it’s my favourite colour too, this project has reassured me that school holidays hasn’t done your head in, high five Girlfriend.
LOL, yes, still kicking over here. Thanks so much Carol :)
Oh my goodness, this is an amazing transformation and you make it sound so simple I’m tempted to even give it a go myself! Love the colour too.
Thanks Abby :)
Every little detail…takes your project to the next level. This is the perfect color and I love you were able to use a sample pot of paint. 💚
Thanks so much Jeri :)
I love that you chose a vibrant green paint to add contrast yet totally cohesive with the whole scheme. Wonderful project… and inspiring :-) Warmest, Penelope
Thank you so much. Lovely compliment :)
Yay you’re back! Love your styling
Thanks :)
This is really amazing, stool looks stunning and the green color is the perfect touch, i just love it. Thanks for the share.
thank you for sharing how to maintain our home it is beneficial for me.
This is one of the best articles I have seen in a long time! Thank you for sharing~
Great fabulous, and even better – more comfortable to sit on. Great update!
The best I read till date!!
The stool looks lovely! Green colour one of my fevourite! 😃