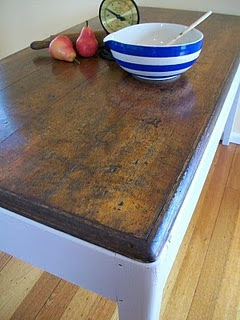
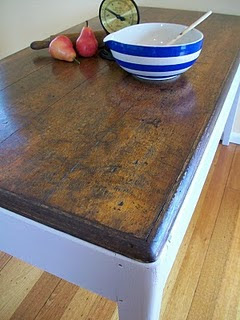
Firstly, thanks to everyone for the lovely comments about my farmhouse dining table makeover.
I received lots of questions, one being how I scored the top to create the impression of old planks. Given the amount of interest, I though I’d post a quick and easy tutorial.
DISCLAIMER – I am not, nor have I ever been, a professional craftsperson (whatever that is).
The following method is simply the easiest and fastest process I could think of to achieve my aim.
Amateur?…probably. Effective?…definitely!
If you’re a carpenter, please look away now!
You will need:
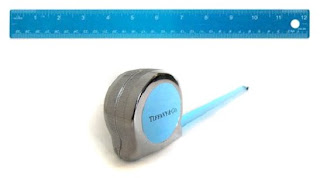
Ruler or Tape Measure

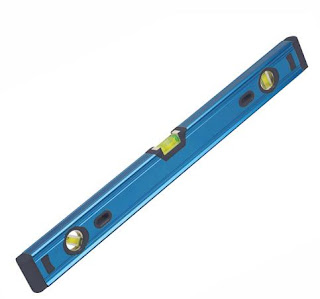
Spirit Level (or something long and straight to use as a guide)
Prick Punch (or something hard and sharp to use as a scorer)
The process:
1. Measure and mark out in pencil the lines on your piece of furniture. You can create as few or as many ‘planks’ as you like at even or odd intervals.
2. Line up the spirit level against your first line and drag the sharp tip of the punch along the line on the timber using the spirit level as a guide (just like using a ruler and pencil to create a line on paper – only you need to press quite firmly with your ‘pencil’ and hold the ‘ruler’ down hard).
3. Create a shallow score line the whole length of your item by moving the spirit level down as required. Now that you have a starting point, go over the line again (still using the spirit level as a guide), pressing more firmly this time.
4. Once you’re happy, move on, repeating the process until all of your lines are scored.
5. Fold a piece of sandpaper in half and run it along the length of each new score line to smooth out the new raw grooves and remove any possible splinters.
Fini! You are now ready to stain or paint your newly ‘planked’ piece of furniture!
Some tips:
– It’s pretty easy to get off line when scoring so you do kinda have to concentrate.
– The depth of your score will depend on the density of the timber and how hard you can push; softer timbers are much easier to score deeply.
– This effect works best when finished with a timber stain or painted then glazed. The lines can get lost in flat finishes.
– Make sure your spirit level or guide is completely straight. I know, duh right? Though if you’re using a piece of timber they can quite often be bowed. I’m just sayin’ – it doesn’t hurt to double check.
– For added character, I sometimes like to hammer in a row of nails at either end and/or in the centre.

.jpg)



Thanks so much for posting this tutorial! It’s soemthing that I have wanted to try, but have been a little bashful about poking old furniture with something sharp.:) Now I can do it and trust myself a little more! Thanks, Kristine!
Wow, this is amazing! Thanks for sharing!
Nancy
Hi, I found your blog from Savvy Southern Style blog. I became a follower and have your blog in my sidebar. I really like what I’ve seen so far. I’m off to check out more older posts. Take care and stop by anytime.
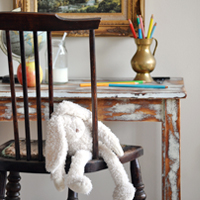
Thanks for the tutorial! I love what you did with that old desk and all your old furniture. You present everything so beautifully, also, in your home and for sale. It really makes me want to take a paintbrush to something!
I will try this!! Wow, a great tutorial and a great idea! When I do do this (no rush) I will definitely let you know!! Can I share this with my readers on Delicious-ness Tuesday?
– Christin
Thanks so much for sharing Kristine, your table looks amazing!! Happy Monday to you ~ Tina xx
Aren’t you a clever one Kristine! Looks great and thanks for the tutorial. K xx
Thanks for correcting that! I was reading your blog at the same time.
Thank you so much for popping in to say hi – i am in love with that table – funny because that technique never even occured to me lol It turned out awesome! I just had to comment right away but now i am going to check out the rest of your blog – i am going to ad myself as a follower forsure!!! Come back anytime for a visit.
Linda
Beautiful! Thanks so much for sharing, I will definitely have to try this out!
-Ann Marie
Ok this is OFFICIALLY on my to-do list! Going to Pin it so I can remember to give it a whirl. Sounds totally doable. Thanks for the great how-to
Dana @ craftedniche.wordpress.com