
This project has been on my “to do” list for waaaaay too long.
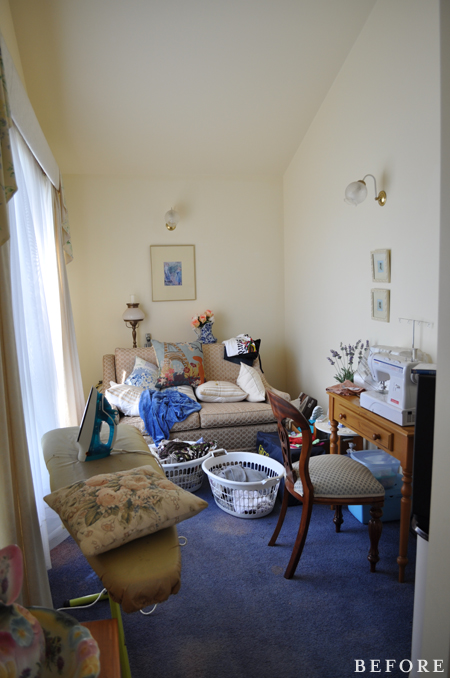
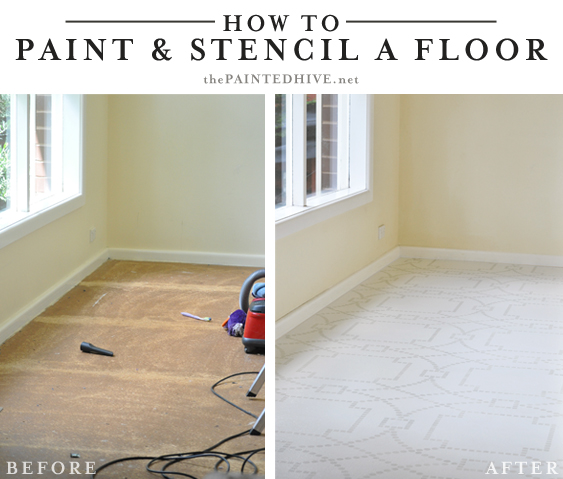
Over three years ago now we ripped up the terrible old carpet in my parent’s retreat (“retreat” sounds super fancy though it’s really just a modest sitting room adjoining their master bedroom) then pondered what we could do to cheaply and easily jazz-up the ugly sub-floor.
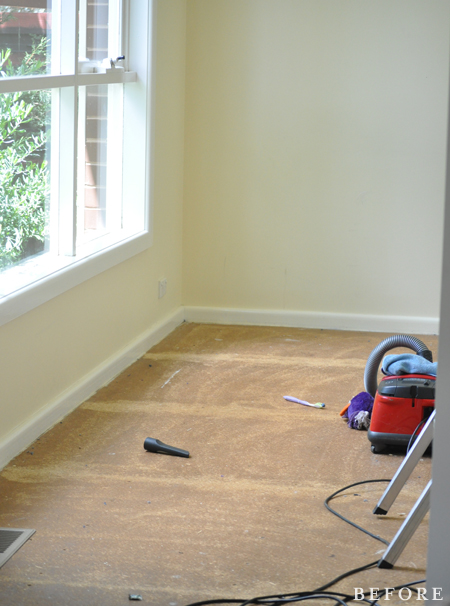
Sub-floors are commonly plywood though ours was particle board (yellow tongue).
Oh, and please excuse the messy nature of the before pics! I didn’t anticipate I would be sharing them on my blog when I took those photos over three years ago!
I was so excited when my mum actually okayed painting it. Ah, the possibilities!
Long story short, at the time things were busy so we opted for something quick – a plain white base with simple green stripes.
It looked fine, though was never quite right for the space. Sometimes “fine” is perfectly okay, though in this case I felt the need to take it up a notch. Plus, I just wanted to have some creative fun!
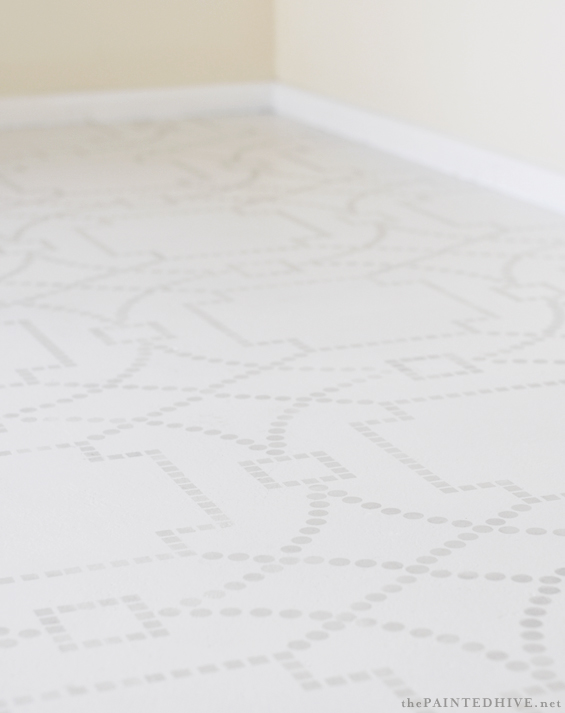
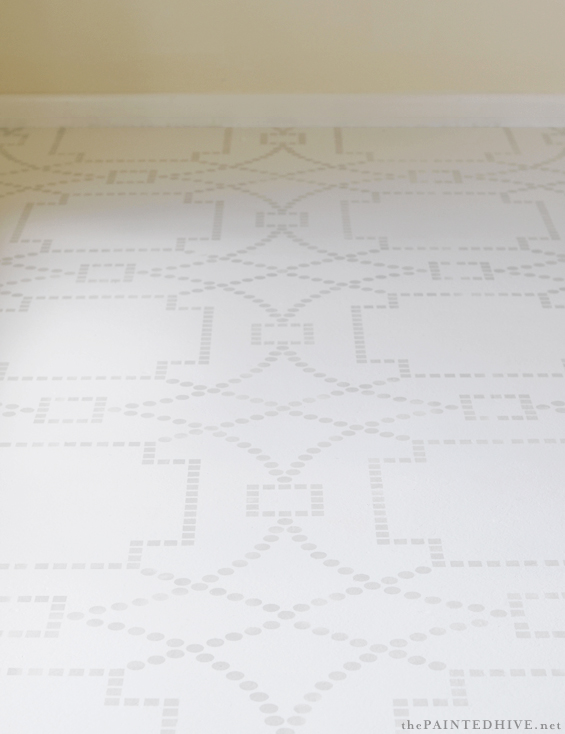
So, around a year later I started looking into alternatives, and fell in love with a geometric trellis stencil I found on Etsy. If you follow me closely, you might recognise it from this Ikea curtain hack. Sadly, that particular stencil is no longer available however you can find similar ones if you search for “trellis stencil” or “moroccan stencil”.
Don’t ask me why it then took another two years to actually get around to re-doing the floor. I guess these ideas just need to marinate…for exceptionally long periods…in my case.
Anyhoo, I got there in the end, right? And it looks awesome (if I do say so myself)!
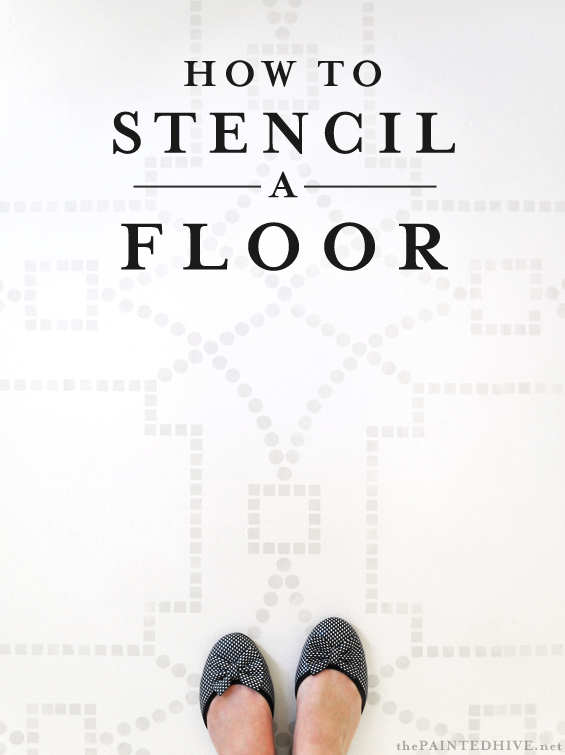
If you’ve ever wanted to paint your floor, here’s the process we used…
Although this time around we weren’t starting from scratch for the purpose of this tutorial I’ll detail everything from the beginning.
As mentioned above, our floor was particle board. You may need/want to tailor my specified products to suit your particular substrate.
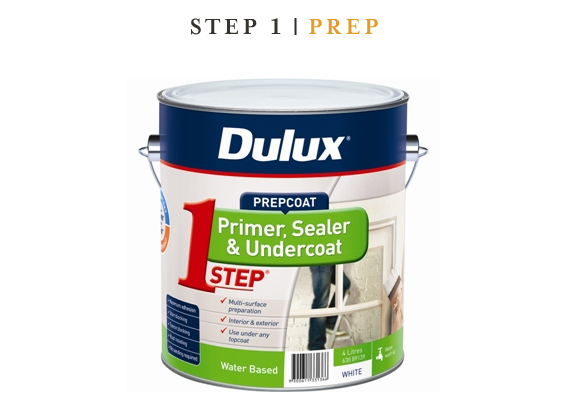
STEP 1 PREP
Basically, you just need to ensure that your floor is clean, smooth, even and ready to accept paint.
Depending on your substrate and how fussy you want to be, the type and degree of prep may differ. As mentioned earlier, our sub-floor was particle board (yellow tongue). This accepts most regular paints. It has an inherent ripply texture which we were happy to embrace and there are also a few subtle join lines though nothing major enough to warrant patching. If your floor has large divots, obvious gaps or is just plain uneven, you may want to fill areas first using some purpose caulk.
We simply lightly sanded, vacuumed thoroughly then applied one coat of primer (Dulux 1 Step Acrylic Primer, Sealer & Undercoat) to help block stains, boost coverage and assist the base paint to adhere.
Painting a floor is much like painting a wall. We cut in around the edges first using a brush, then filled the rest using a fine nap roller.
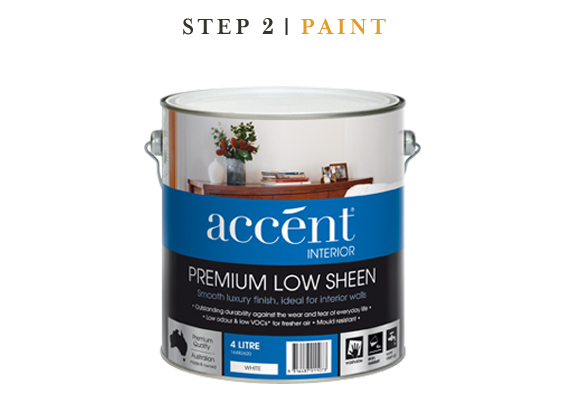
STEP 2 PAINT
This is where you apply the base colour for your stencil.
You can get all types of fancy specialty paints, however we simply used regular wall paint (Accent Premium Low-Sheen in “Natural White” by Dulux). We applied two coats in the same fashion as the primer; cutting in with a brush around the edges first, then filling the rest using a fine nap roller.
Note: No matter how well you clean the floor and isolate the room, you’ll probably notice that fresh dust, hairs, small insects and other fine particles will magically appear to be smooshed in with your paint. Just keep a damp cloth on hand to wipe them away or pick them up as needed.
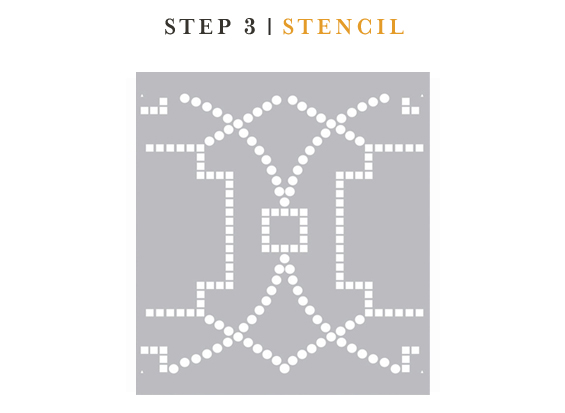
STEP 3 STENCIL
The cool (and potentially fiddly) bit!
Getting started can feel daunting though the best advice I can offer is to think about your pattern placement then just go for it – in a careful, considered kinda way. It’s only paint so you can always re-do any major stuff-ups. Just remember that it doesn’t need to be perfect to look great.
To begin with we laid down the stencil at our desired starting point, making sure it was nice and straight, before taping the corners to avoid accidental shifting. Next, I evenly primed a small dense foam roller with regular acrylic wall paint (in a custom colour I mixed-up using left-overs we already had) before off-loading any excess on a folded old bed sheet. Then I began painting. Once one pass of the stencil was complete, I lifted it carefully then realigned it, making sure it was still straight and square. Then I taped it down once more and proceeded to paint the next area, continuing in this manner until the entire floor was complete.
The edges are a little tricky. The corners are especially hard. You can flex the stencil to almost 90 degrees however you don’t want to crease it. There are a few different ways you can tackle the edges however I found that it worked well to use a long narrow implement (such as a window squeegee, plaster float or simply a rigid sheet of card) to push the stencil into the edge and then a stencil brush to stipple up to the implement as best as possible. If you’re fortunate enough to have a second person as a helper, it does make things easier. You will almost certainly still have to hand fill some areas though if you take your time it won’t detract from the overall design.
Note: If you’re not sure where to start looking for stencils, simply have a Google around. eBay and Etsy are both great sources. As mentioned earlier, my particular stencil has now been discontinued however you can find similar ones if you search for “trellis stencil” or “moroccan stencil”.
Note: When deciding where to begin, keep in mind that the room may not be entirely square and try to avoid leaving slivers at the edges as these are hard to fill and can make the design look stunted. We started stenciling at the entrance and along under the widow to ensure the most visible area of flooring would look neat and square. You can measure and mark if you’re not confident with repositioning the stencil by eye and for a large room I would probably recommend this. Smaller spaces are a little more forgiving and there is some wriggle room for adjusting things if they start to get off-track.
Tip: I found that the paint dried super fast so didn’t notice any issues with smudging though you can use a hairdryer before lifting your stencil if you’re experiencing paint transference problems.
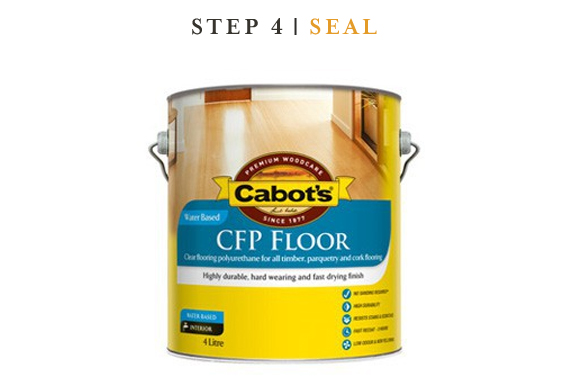
STEP 4 SEAL
To protect the paint, provide a subtle finishing sheen and make cleaning easier, we sealed our floor with three coats of clear acrylic (Cabot’s CFP Floor in Satin).
We first ensured the floor was clean of dust and marks, then applied the sealer in the same manner as the primer and base paint; cutting in around the edges first with a brush then rolling the rest using a fine nap roller.
If you use a specialty floor paint with a built-in sealer, you may not need to worry about this step.
Note: Most sealers will yellow over time to some extent, though some are by far worse than others. Do a bit of research, ask an expert and choose carefully.
Tip: As with the base coat, you will probably notice fresh specks of dust and hairs when applying the clear sealer so keep a damp rag on hand to wipe them away as required.
And that’s it! As you’ve probably garnered, painting a floor is really not that different to painting a wall. The main difference is ensuring the finish is durable enough to withstand use and can be easily cleaned. Definitely a DIY anyone can have a go at!
As soon as I complete my parent’s living room (which should happen some time in the next week or two!) I will get onto finishing and sharing this space too.
![]()


So, so inspiring as always. Thanks for sharing.
Thanks so much Rosey :)
Just gorgeous. I can not wait o see the finished room. I know it will be lovely.
:-)
I love this idea and the floor turned out gorgeous. I am pinning this awesome project.
Thanks Vanessa :)
Wow! What a difference! Looking forward to seeing the finished room!
Thanks Randi :)
It just goes to show that hardwood floors, travertine and carpet are not the only solutions out there! What a wonderful solution! Now more than ever, I am looking forward to painting and stenciling my basement laundry room floor! Thanks for the inspiration! 😀
Oh yay! So glad to have helped inspire you Patricia :)
You did an awesome job!
Thanks Anne :)
Totally awesome floor! I bet your parents are thrilled to have such a beautiful floor… looking forward to the full reveal.
Thanks so much Susie. Mum loves it!
Hi Kristin!
Wow. This looks great! The tone on tone vibe is a great way to add pattern without making it a “thing”. Just what I’ve been looking for – once I take the plunge and rip up the carpet in my Master. Hopefully not sounding weird in any way, but – you are my actual decor spirit guide! ;) Thanks for what you do.
LOL! I love that! Totally not weird. In fact I consider it a really lovely compliment. Thanks so much Deb.
What a great project. It’s refreshing to see that projects take other people 3 years to get around to as well ;-) I love seeing these updates- and am looking forward to seeing your finishing touches on your parents living room!
Thanks so much Ash :)
BTW I hope it doesn’t annoy you that I always seem to shorten your name. It’s an Aussie thing.
Your floors turned out amazing! Now I want to do that too.
Thanks so much Kati :)
Looks great! I have been trying to decide if I will paint the floors upstairs in our house, OSB board is under the carpet though. Any thoughts on painting OSB rather than plywood? Thanks!
Hi Sam
Well our floor isn’t plywood. It’s particle board which is similar to OSB.
Our floor has a subtle ripply texture (orange-peel like) due to the nature of the fine compressed material it is made-up of. As mentioned in my post, this doesn’t detract from the look of the floor.
I would imagine OSB might have a more obvious texture as a result of the larger strands it is composed of. You can sand thoroughly and use a “filling primer” when you prep (applying two-three coats for good coverage) to help even-out the surface a bit if you think it might pose a problem.
Otherwise, I would suggest simply giving it a try. If you are planning on replacing your carpet anyway, there’s no harm painting a large test patch and seeing how it looks. If you don’t like it you can simply cover it with some new flooring like you ordinarily would have.
Hope this helps a bit.
Kristine
Thanks Kristine for the ideas! A filling primer sounds good, for I really did not want to see the OSB grain pattern.
Your floor looks really great! I would like to try a similar thing but I’m not too sure how easy to clean would it be..
It’s completely sealed so is just as easy as cleaning vinyl Maya.
That looks beautiful! Stencilling is such a great trick and goes well in all rooms as long as you have the right pattern, whether its a master bedroom, a “retreat” or even a garden shed transformed into a home office. Well done!
Thanks for the tips for Sam. I have been wanting to try this out at home too!
This is amazing! I love that you went with more neutral colors, makes it easy to pair your home decor with! Great tip on keeping a damp cloth near by when painting the floors. I have three dogs and no matter how much I vacuum I seem to always have dog hair, I swear it is painting onto everyone of my walls.
Thinking about this for an outdoor covered porch. It is concrete & has been painted many times in the last 50+ yrs. It is open to the elements & in full Fla sun for much of the year, so the paint never seems to hold up. Any recommendations for an outdoor high traffic sealant?
Hi Stacey
My parents painted their concrete in a full sun outdoor area too. Like yours, it has faded over the years though it looked great for a long time. They used a proper paving paint which I’m pretty sure didn’t require sealing. What type of paint do you use?
Kristine
The fellow who painted used a Kilz (mildew resistant) primer and paint for painted concrete surfaces. Not sure beyond that.
Sounds like that would be the right kinda product. I think it’s just perhaps the nature of the beast! Sorry, not sure what else to recommend.
STUNNING!! you are so talented x
Hi Kristine
Just wondering if I could do this with cork floors? They are in very good condition but they just make the rooms feel dark and dated …. any advice would be gratefully received.
Kyanne
Hi Kyanne
Definitely. You might have some texture come through however so does my particle board floor and it’s not necessarily a bad thing. Most cork is sealed with poly so just ensure you sand it well to allow the new paint to stick.
Kristine
Thank you for your advice. Much appreciated 😊
Where did you get the stencil?
From Etsy.