
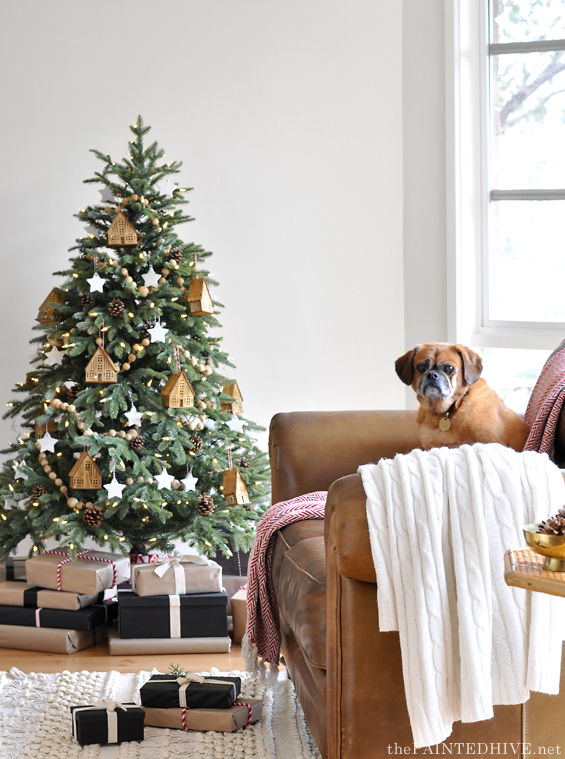
I wanted a really simple Christmas tree this year.
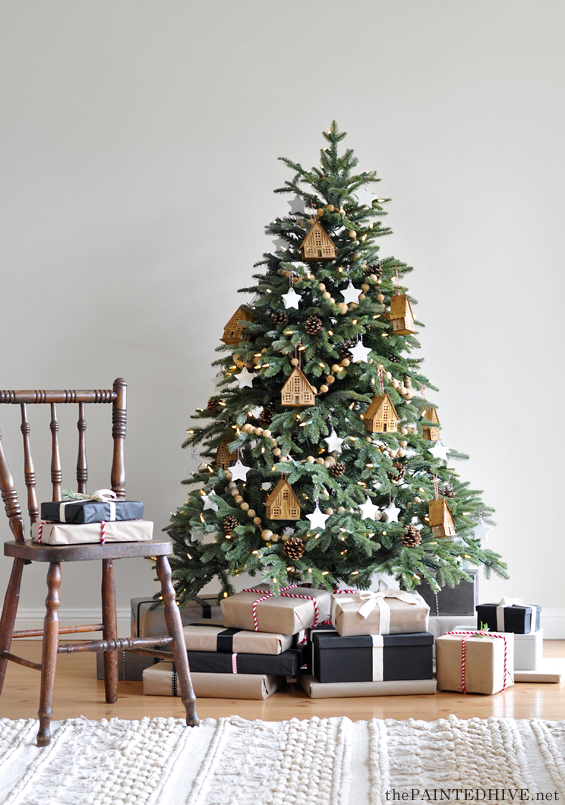
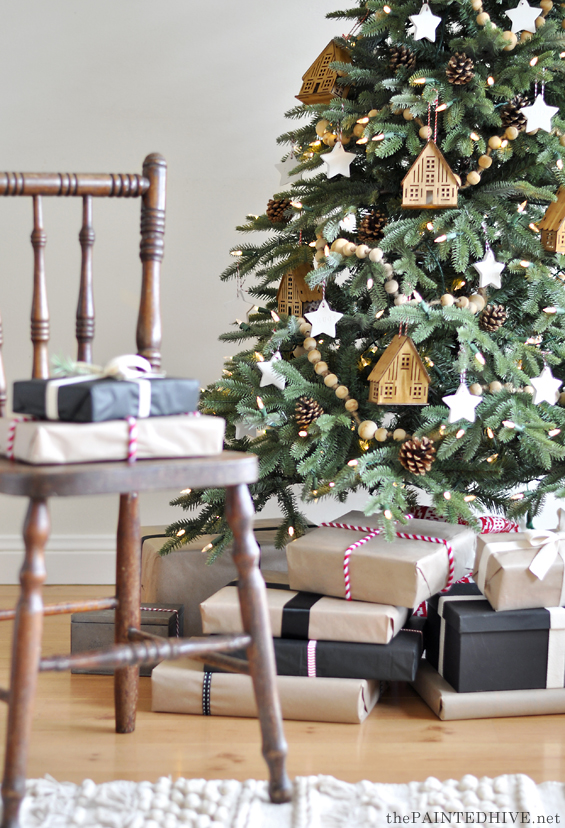
Complete with earthy tones and natural elements off-set by a delicate smattering of little white stars.
However, when I couldn’t find any said little white stars, I figured I’d have a go at making my own.
And I’m so glad I did!
Not only did it give me the opportunity to personalise my ornaments as desired, it was so quick and easy.
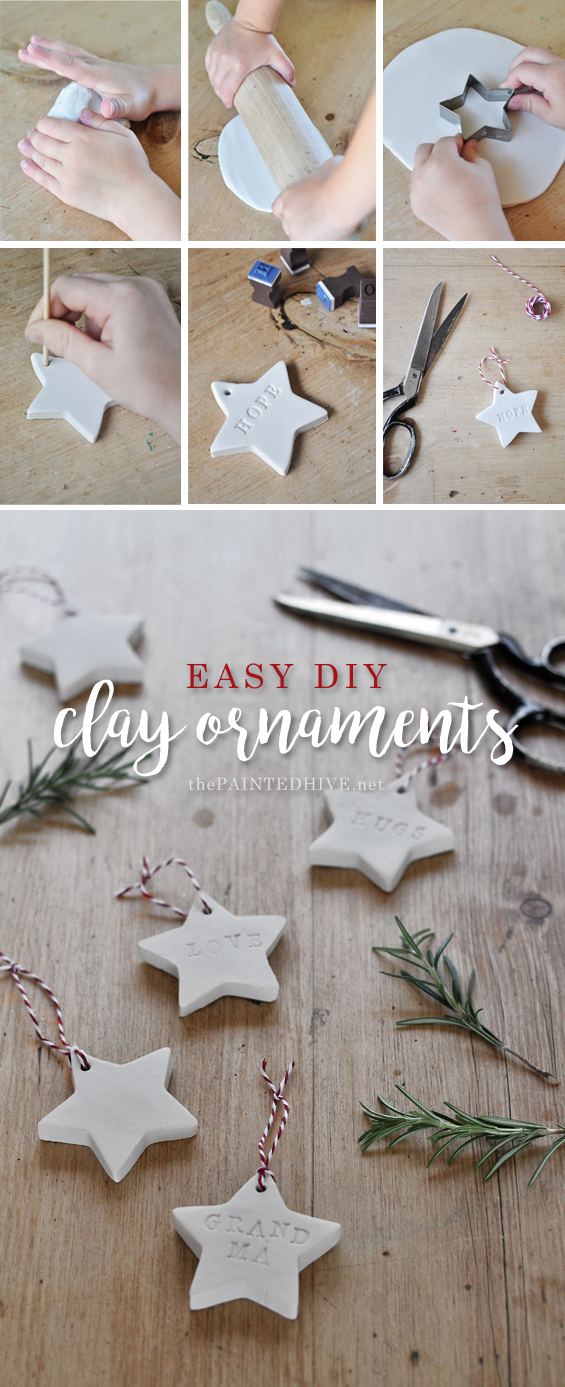
The possibilities are virtually endless plus it’s a great project for the kids to get involved with too (as evidenced by the little hands in my tutorial pics!).
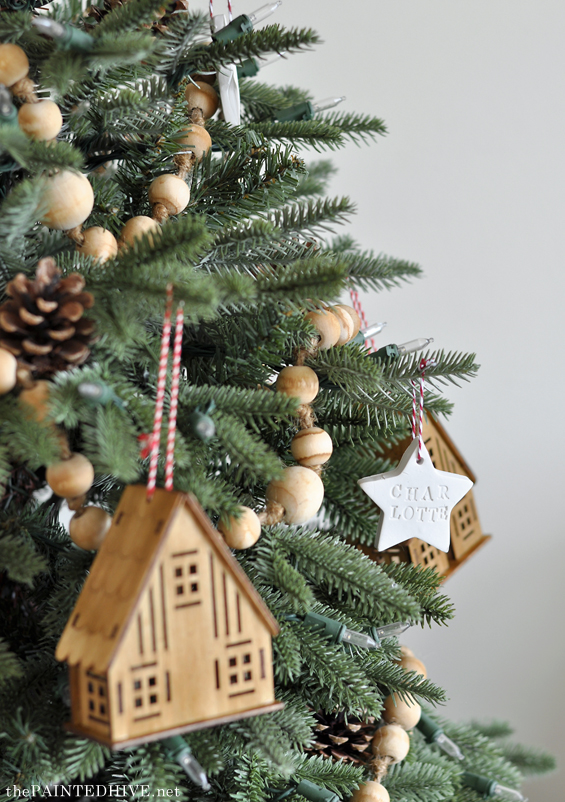
As a side note, I love the quirk of ‘Charlotte’ needing to spill over two lines…and the fact it took her a moment to recognise it was her name :)
YOU WILL NEED…
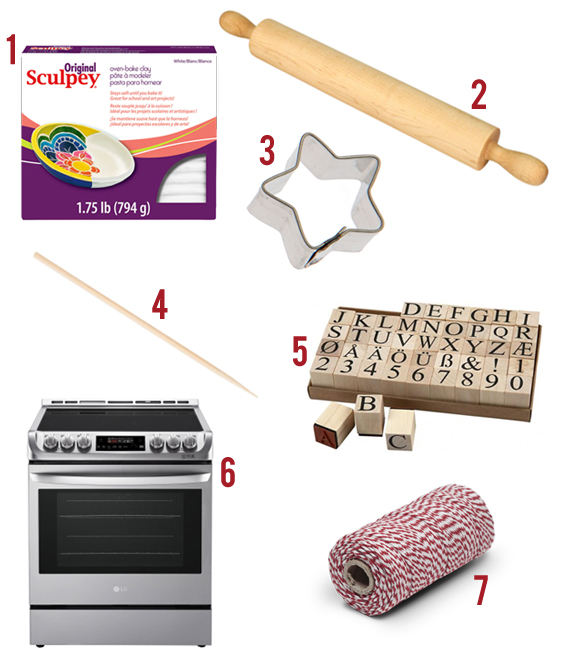
1 OVEN-BAKE CLAY
I used Sculpey Oven-Bake Polymer Clay in White (794 g/1.75 lb). I must admit, the price seems steep for the size of the pack and I hesitated at first though it goes a long way. I made close to 50 stars at a cost of around just 45 cents each.
Or course, you could also use air-dry clay, salt dough, baking soda dough, or other similar hard-setting mediums.
2 ROLLING PIN
Just to flatten out the clay.
3 COOKIE CUTTER
I used a simple star though you can get as creative as you like or go free-form!
4 SKEWER
Anything round and pokey should do the trick. This is just to create a hole for the string. I used a bamboo skewer though you could also use a knitting needle or drinking straw, or so on.
5 STAMPS (OPTIONAL)
This is entirely optional. I used some basic rubber letter stamps to create words and names. You could also use shape, image or pattern stamps, and even other textured items, like lace or leaves. I wanted a simple embossed look so didn’t use any ink though you can use regular stamp ink too if more defined markings are desired.
6 OVEN
To bake the clay.
7 STRING
I used my favourite; red and white baker’s twine.
THE PROCESS…
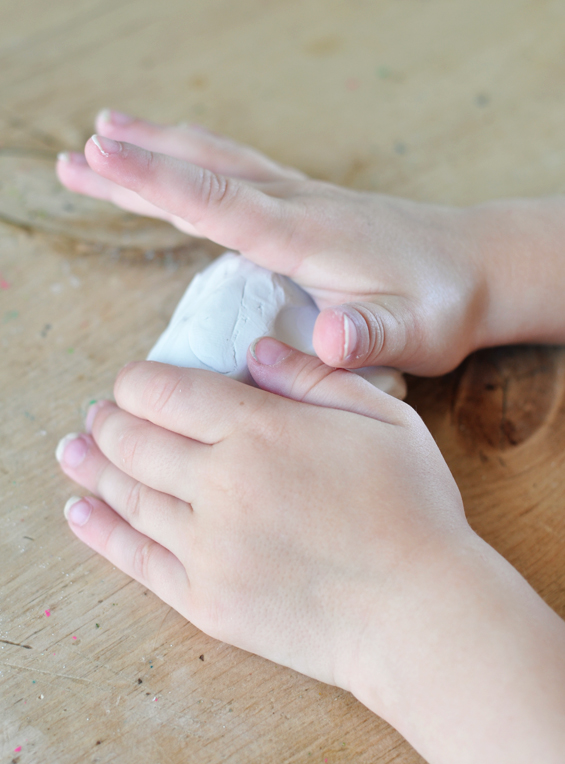
STEP 1 KNEAD
The clay is quite firm to begin with so knead it for a minute or two until it becomes smooth and pliable.
Use a clean, non-pourous surface to avoid soiling the clay or having it stick. You may even like to lay down some grease-proof paper.
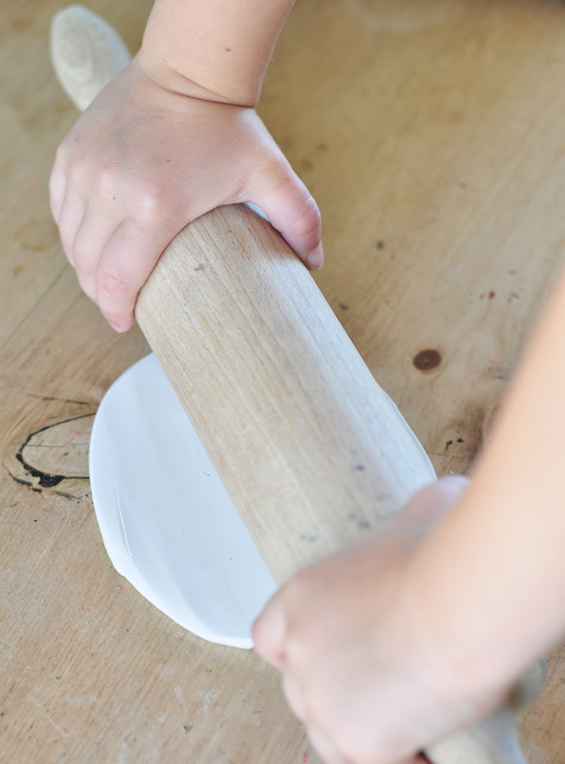
STEP 2 ROLL
Flatten out the clay using a rolling pin.
The thickness is a personal preference. My stars vary a little though on average are around 6mm (1/4″) thick.
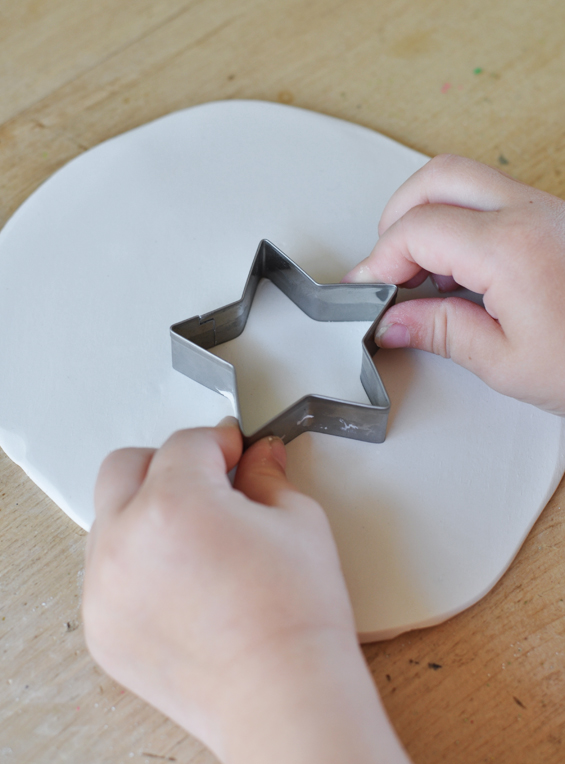
STEP 3 CUT
Just like making cookies, use a cutter to create as many ornaments as desired.
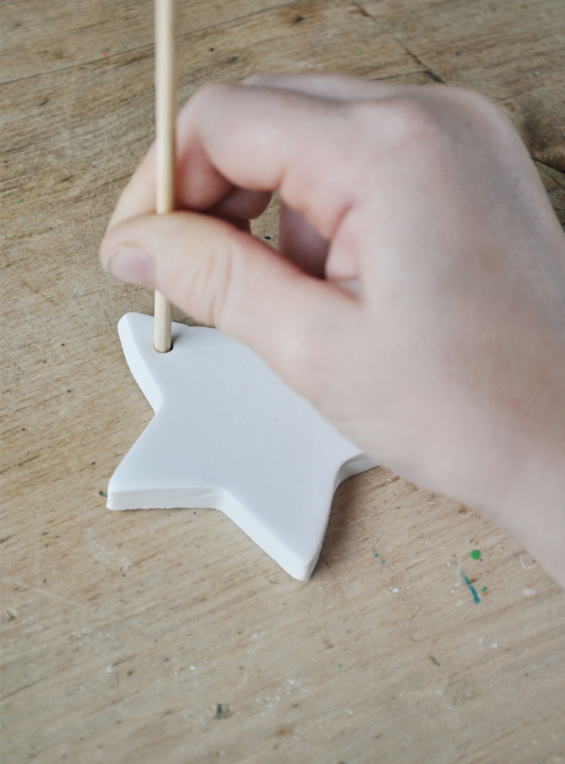
STEP 4 PIERCE
Press a skewer through to create a string hole.
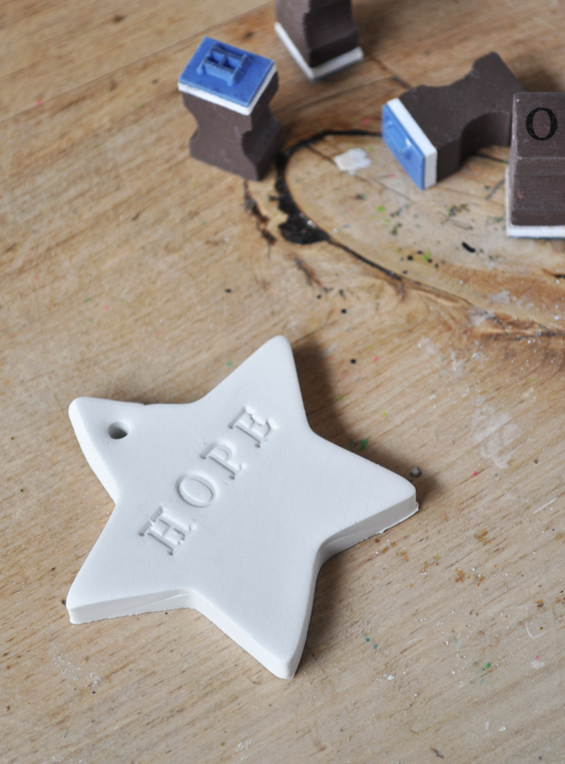
STEP 5 STAMP (OPTIONAL)
If desired, embellish your ornaments with some words, patterns or textures.
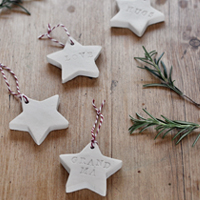
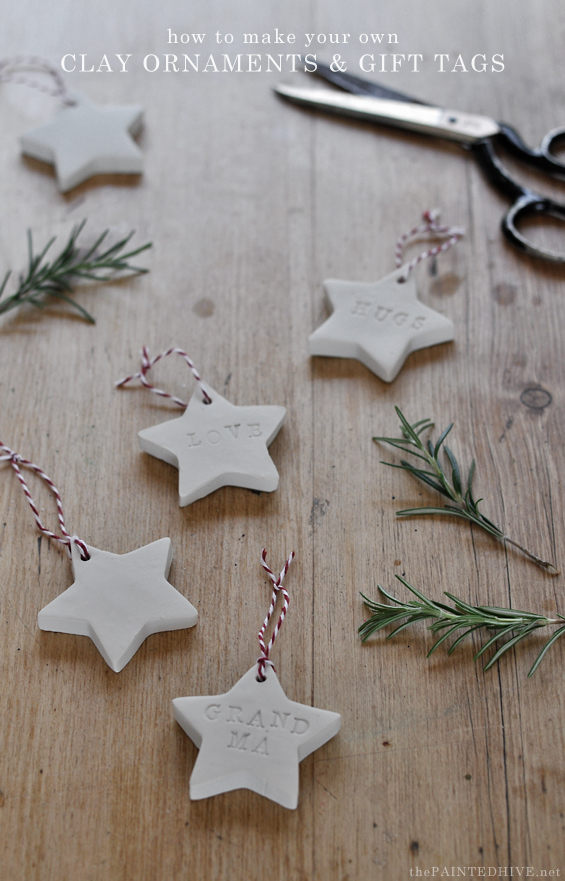
I left most of my stars blank though stamped several with Christmas-y words and family names. I also created a few to use as gift tags. They aren’t perfect though that’s the point – they have a lovely, organic, homespun quality which, ironically, is in fact perfect :)
As mentioned in the ‘You Will Need’ section above, I wanted a simple embossed look so didn’t use any ink though you can use regular stamp ink if a more prominent design is desired.
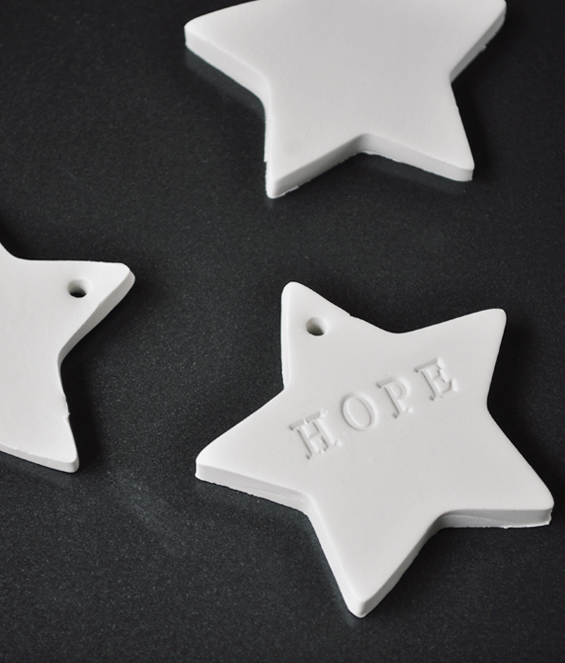
STEP 6 BAKE
Place on a baking tray and bake at 130° C (275° F) for around 15 minutes per 6mm (1/4″) of thickness.
Try not to over-bake as the clay may brown and bubble and can become brittle.
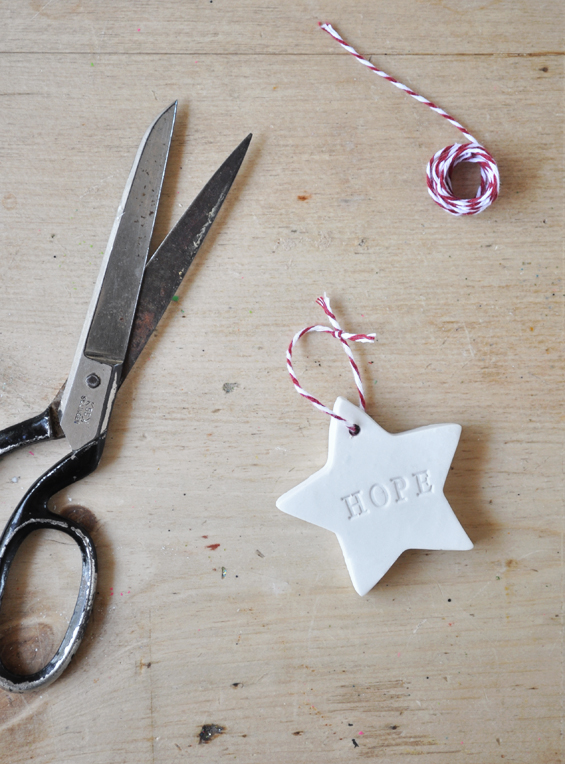
STEP 7 THREAD
Once cool, attach some string to form a hanger.

STEP 8 HANG!
It’s really that easy!
Of course, this is just one basic example of what you can do with oven-bake clay. Like I mentioned earlier, the possibilities are virtually endless.
You can also paint or seal the clay if you’re after a different colour or sheen. Just have a play around!
And remember, although I’ve used my clay stars as tree ornaments, don’t forget that they also make really beautiful gift tags.
![]()
If you’d like to save this project for later, feel free to pin the image below.


Nailed it! I’ve seen a few clay tag tutorials though no-one lays it down quite as clearly as you. You make everything so doable. Thanks.
Thanks Sarah :)
I haven’t had my nose out of your blog all day! ( make that statement 20 years ago and they’d put you in a padded cell!) I’ve just discovered industrial style and steam punk and somehow through some miracle of google I found your amazing adventure. Every project I’ve read – and I read each and every word, is not only fascinating, inspirational and super informative, it’s a delightfully absorbing! The reader feels as if they’ve very much brought along with each project. Your written style actually ‘injects’ you with DIY confidence of a whole other dimension. I’m a confident designer of old into new but you are something else! You are truly ‘Kristine the repurpose Kween’ and I applaud you. Never ever stop what you’re doing, ever. You’ve just turbo boosted all of my projects. So thanks! Best regards, Alex.
they have a lovely, organic, homespun quality which, ironically, is in fact perfect :)
I couldn’t agree more, plus I love the (complex) simplicity of the tree. I mean simple and interesting at the same time.
Thanks Alessandra :)
This seems so do-able even for someone who is not crafty! I wondered if you wanted a glossy finish what could you use, and what is you wanted to add color to the names or letters/words what cyou suggest? Lastly, where did you find the stamps?
You could use any clear, non-yellowing, glossy sealer to give them some shine. You can actually buy specialty polymer clay ‘glaze’ too.
To add some colour to the stamps, you can use regular stamp ink :)
Oh, and I bought the stamp set from Kmart. They should be easy to find in most craft stores or online.
The dog is just too much. such a cutie. oh, yes and i enjoyed the info on star ornaments.
Sometimes the simple things are the most wonderful! Love them! I wonder if you could paint them with chalkboard paint and use them as gift tags – chalkboard paint would allow you to change the recipient reuse them every year.
Of course, once baked you can decorate them however you like. Chalkboard paint would be a sweet touch.
So pretty and well set out. How do you get your dog to look at the camera though? Ours looks everywhere but the camera!!
Ha, ha. He’s a brilliant poser and so easy to photograph. Not sure why, though he just usually does as I ask (well, for long enough that I can usually snap at least one decent pic anyway!).
So beautiful and simple. Love these. Pinned. Thanks for sharing at our link party!
Thanks so much Stephanie :)
Hi: These are lovely. Just wanted to caution, that you shouldn’t use your regular rolling pin, cookie sheet, etc. with polymer clay. It isn’t safe. You need to dedicate a sheet for this, or line it. Also, I wouldn’t roll it out of a surface that will have food contact.
Thanks Lisa. Although most manufacturers need to specify this, as long as you thoroughly clean any surfaces and equipment, all should be fine. Polymer clay is non toxic.
You’ve done a great job. These look lovely and beautiful Kristine :) I love it. Merry Christmas for you and family.
is there any alternative of using an oven?
You can use air drying clay instead of polymer clay. Just takes longer to cure.