

Before I hit publish on the full before and after reveal (coming next week – yay!) I wanted to share the last few projects.
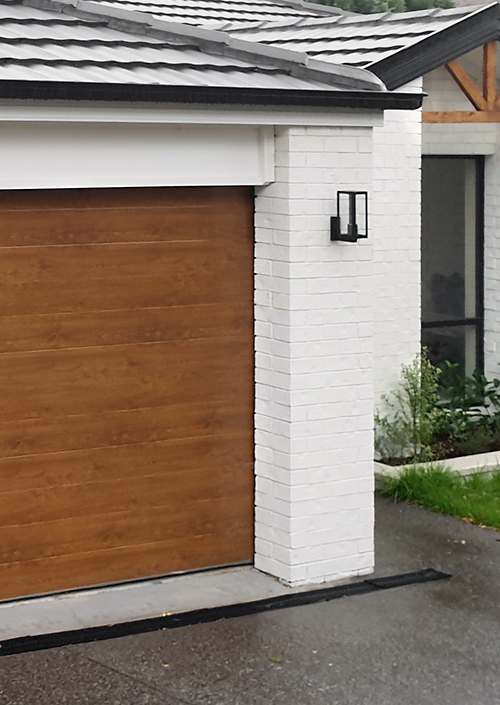
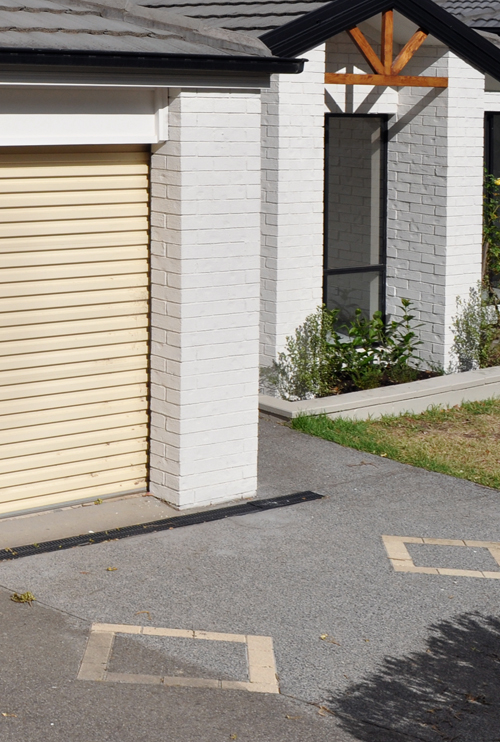
The Gliderol garage door from Bunnings was installed a few weeks back and I absolutely love it!
Sorry about the quality of this photo. I had to crop it down from a crappy phone pic.
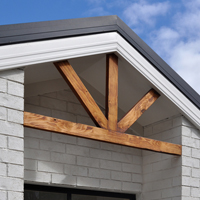
I wasn’t sure what to expect from the timber-look finish though it has a random grain pattern, subtle raised texture and lovely soft lustre which gives it a nice authentic look. It totally changes the feel of the house – in a decidedly good way!
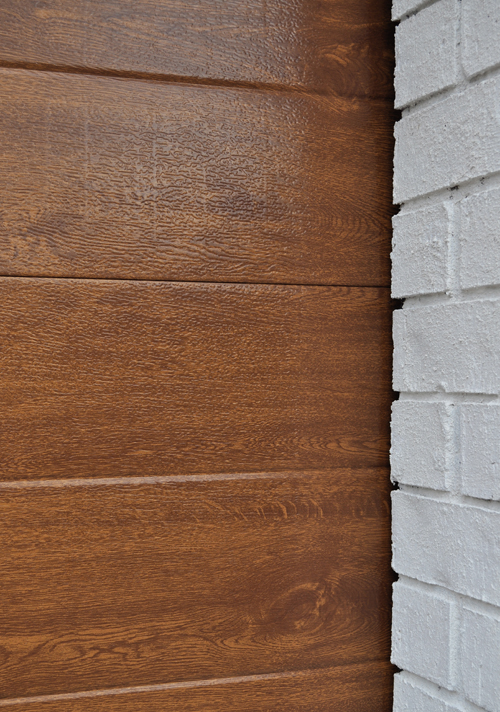
I ended up going with the Golden Oak colourway, which was my favourite from the start. It’s beautifully warm, compliments the white brick, and ties-in with the gable pediment perfectly!
Replacing the garage door, even in a frugal manner, was always going to be one of our more expensive undertakings so I’m incredibly relieved to know that it was undeniably worth it!
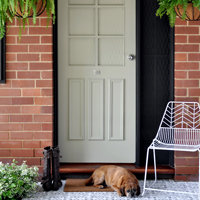
I also installed the new sconce lights from Bunnings.
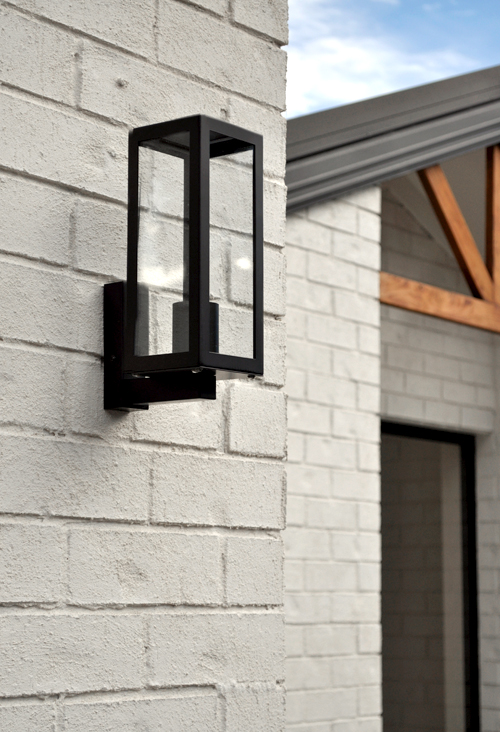
When I was originally painting the brick I took down the previous sconces flanking the garage door, which I assumed were hard-wired, to discover they were merely solar.
Unfortunately I couldn’t find new solar sconces I really liked, and running all new electrical was going to be too costly, so I decided to go with these regular sconces and try using solar light bulbs.
I’m still waiting on the bulbs to arrive though will be sure to share more once I’ve installed them.
A really quick and easy little project was painting the feature diamonds in the driveway.
They appeared relatively subtle at first, so altering them was never even on my radar, though after the driveway was pressure-washed they became quite prominent. In the below pic you can see how much more distinct they looked after one pass of the pressure-washer.
Given we’d eliminated almost all of the cream from the house I decided they just felt a little lost, dated and distracting.
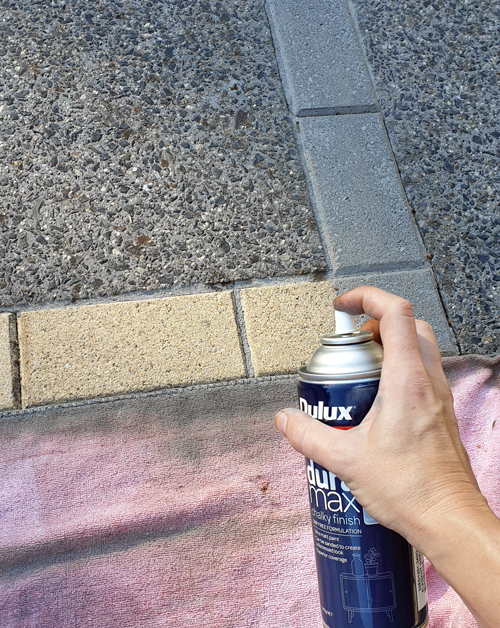
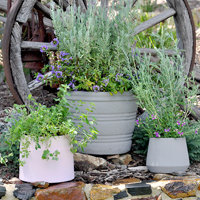
To paint them I simply ensured they were nice and clean, laid down a towel to protect from overspray, then carefully hit them with two light coats of Dulux Duramax Chalky Finish in Elegant Greige. This paint is exterior grade, which I know first hand from the plant pots I painted several months back which are all still perfect!
The diamonds blend in soooo much better now!
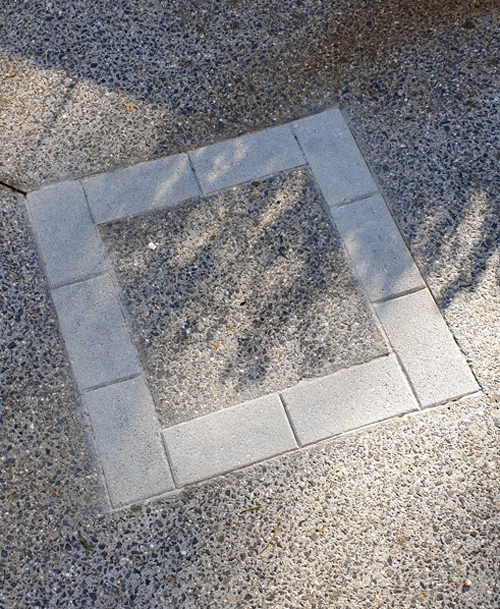
Sorry about the sunlight and shadows in this pic.
And never mind that brown stain in the top right corner – it’s from some timber which was left on the concrete and will be cleaned prior to selling.
Finally, the new letterbox is in!
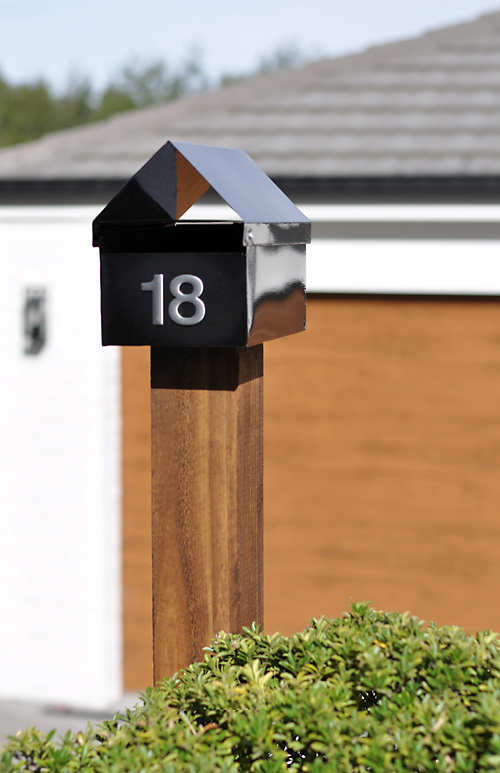
I never even captured the original letterbox in any of my before pics because it was on the far left of the driveway. Just imagine a battered cream cube, lounging drunkard-like, on the boundary fence.
It was always my intention to move it to the right side of the driveway to give it more presence and a stronger relationship with the house.
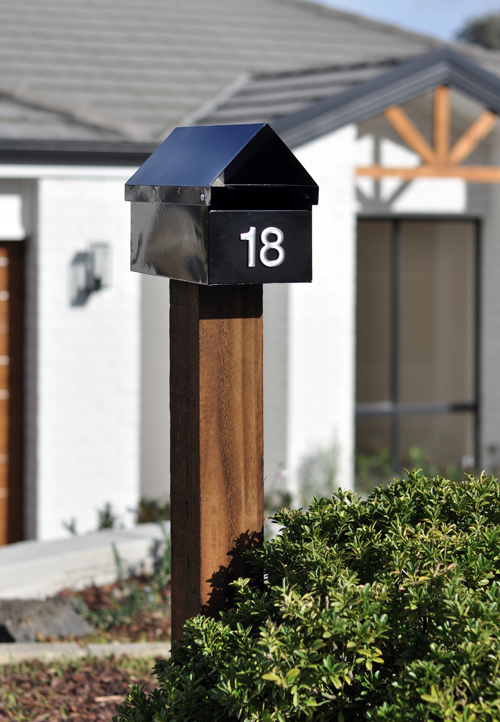
The side looks a little “wavy” here though it’s just reflections.
I know it’s basic though that’s exactly what I wanted – something simple and understated. Using a rough sawn post, in place of a standard metal stake, provides just enough individuality and a reference point for the other timber elements.
![]()
So, that’s pretty much it!
Of course, there have been some other changes, mainly involving gardening, styling and general tidying, though I’ll share all of those pics and details next week with the full reveal.
Can’t wait!
![]()
Catch up on all the flip house posts HERE.


WOW! The garage door looks better than I imagined. Seeing it makes me think a black door would have been okay, but the wood ties in the gable and balances the front of the house. This is going to be the longest week ever! I can’t wait.
Ha, ha. Oh, I hope everyone doesn’t have their hopes set too high! It’s still just a standard suburban house refreshed DIY style on a tight budget. Still, looking forward to sharing :)
So nice! The wood gives it a really warm look – looks beautiful. As always, can’t wait to see the rest!
Thanks Leslie :)
Love it all!
The week seems so long away Kristine, lol.
But for some reason my gut tells me, we might see this all. In the new Bunnings magazine.
Keep posting , we are all hooked
LOL! I move way too slow for publications.
Oh the teases! Everything looks great. Love, love, love the metal mailbox on timber – it’s a statement just by being so minimal. The color and texture on the garage door is spot on – and good call on the color for the diamonds. As usual, you’ve styled homey and modern / new yet classic. Trust your gut it will never lead you astray!
Thanks so much Deb :)
WOW! Huge difference. Can’t wait to see full reveal.
Thanks Amy :)
You can’t wait; what about us? Your friend must be over the moon with the transformation. We’ve only seen little snippets but have no doubt that the rest will be just as good. Last week I painted a daggy old ceramic pot with that lovely pale pink Duramax chalky finish recently and it looks fab. :)
Yes, I love my pot painted in the Pink Splendour. It’s been sitting outdoors for nearly six months now and is still in perfect condition – wish I could say the same for my Oregano plant! LOL!
It’s been four days! This is torture. :(
LOL! It’s live now!!!
I know from doing a few rehabs myself how hard you’ve worked. Loved the garage door!!! Good job.
Thanks so much Vikki. Yes, it’s been a lot of work and pretty slow going though we’re getting there – yay!
You have done a wonderful job with the street appeal of the house. I am loving that garage door. I will be heading down to Bunnings to see if I can get one for our garage. Love receiving your emails and seeing what you are up to. Thanks.
Thanks Susan :)
Can’t wait to see how you get the lights to work, loving the lights where did you get them? It all looks fabulous!
Thanks Lee. The wall lights are from Bunnings. Will be sure to share more when I’ve had a chance to test out the solar bulbs. This aspect gets full northern sun, and obviously the light fitting has a clear glass casing, so I’m thinking they should work.
Oh Kristine, everything is looking great. You provide just the right amount of photos to drive my husband nuts with too. I had no idea Bunnings sold garage doors. Lol the shopping list for Bunnings is bigger then the grocery list in this house.
I never would have thought to spray paint concrete! What a great idea.
https://www.southpacificprints.co.nz/
Once again, you’ve nailed it! Fabulous job. This house has curb appeal, now. Those garage doors look amazing!