

What better thing to do when stuck at home than have a go at laying your very own floor.
I mean, what a fun little isolation project to get stuck into? Right?
And surely not difficult at all? Right?
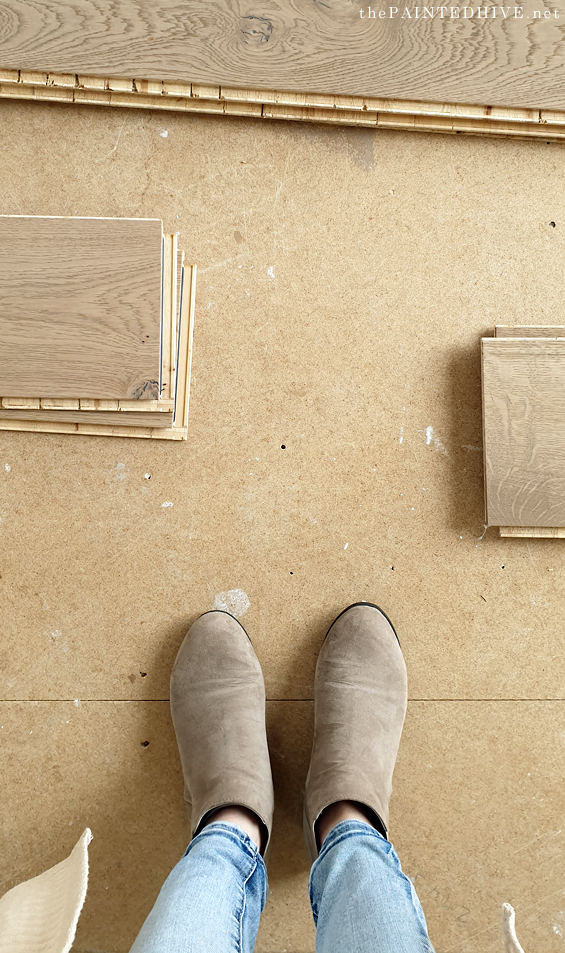
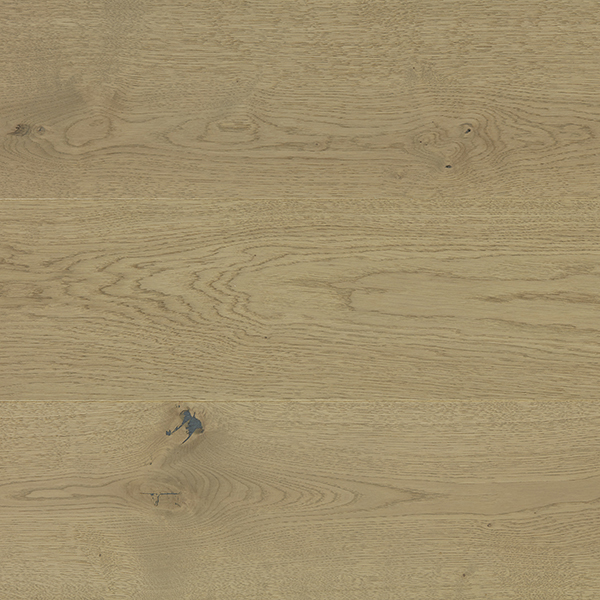
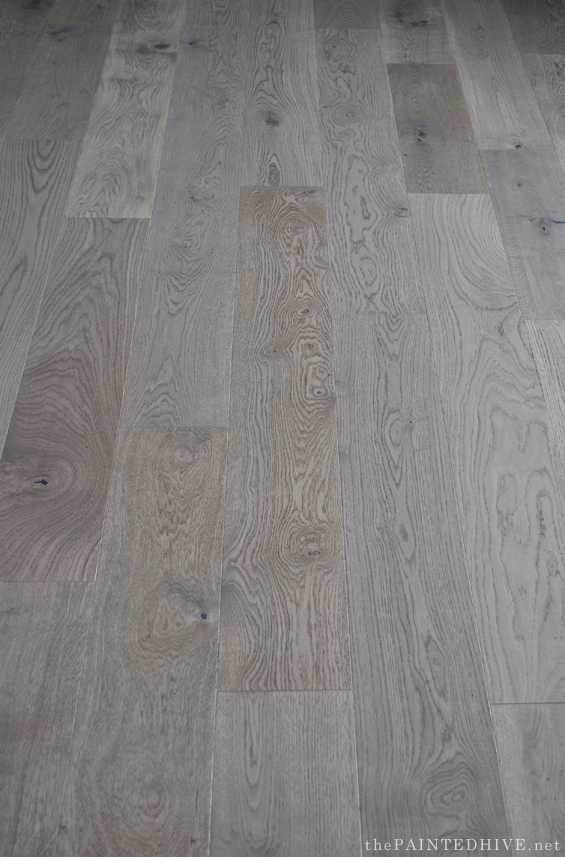
In all honestly, we decided on the suite extension flooring quite a while back (Arbre Engineered French Oak in ‘Foret’ – which is just beautiful).
And I’ve been procrastinating over installing it because, well, I was feeling a bit intimidated by the whole thing.
Having never laid a full floor before, I was nervous about getting the planks straight throughout the entire space, and had visions of everything starting out nice and square only to become a crooked mess by the end!
Compounding my hesitation was the fact we would be gluing the planks down. I mean, what if “someone” happened to stuff things up? There’s no going back with glue! That “someone” would feel pretty terrible about destroying a few thousand dollars worth of beautiful flooring!
Of course, we could have paid a professional to install it for us, but despite all my apprehension, I actually really wanted to give it a go.
Deep down I knew it was perfectly achievable. It was just going to take a bit of patience and effort. Plus I was eager to learn, and build my knowledge, skill and confidence.
And as it turns out, it was actually surprisingly easy (even if a little hard on the knees)! Which is how I find most projects we put-off tend to be (no, not the “hard on the knees” bit – the easier than expected bit). It’s generally that old “why didn’t I do it sooner?” adage.
Anyhoo, the Arbre website has a great installation guide which we followed and I would suggest checking out, but here’s a little glimpse of the basic process…
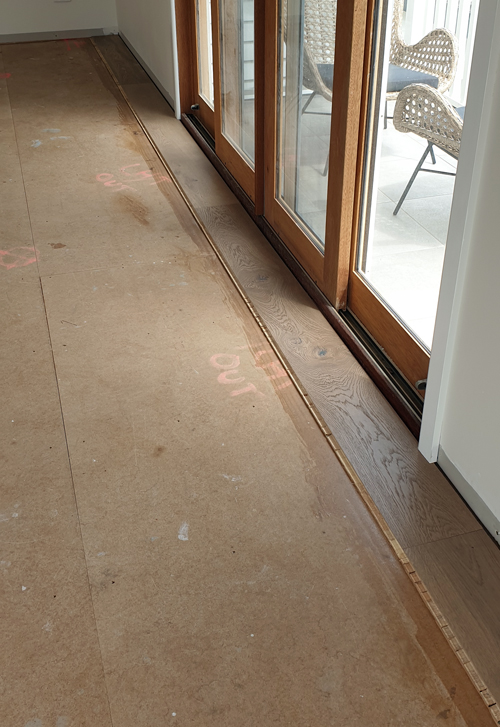
1 | Remove skirting boards and undercut architraves
The first thing we did was pop off the skirting boards. You can lay the floor with the skirting boards in place, though then you need to install quad trim around the entire perimeter. Removing the skirting boards and reinstalling over the flooring just gives a cleaner finish. We also used a multi-tool to undercut the door frames as needed so that the planks could be slotted underneath.
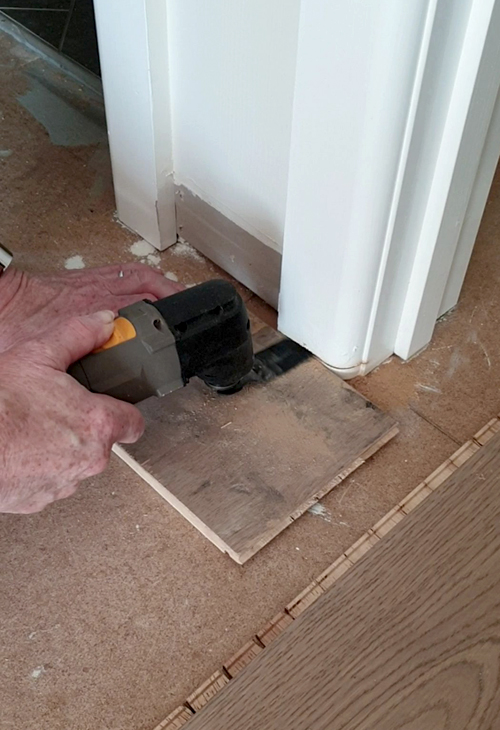
Here mum is undercutting the door frame in the hallway. We used a flooring off-cut to get the level right and keep the cut straight.
2 | Make sure floor is clean and level
It pretty much goes without saying, though before laying the boards you need to ensure the floor is clean and level.
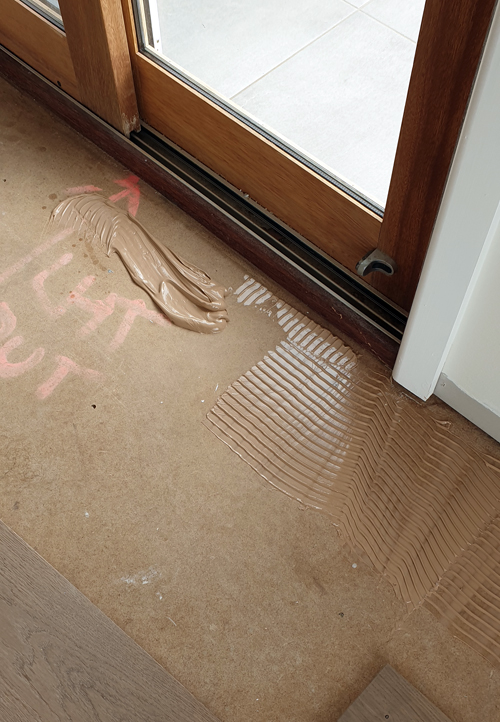
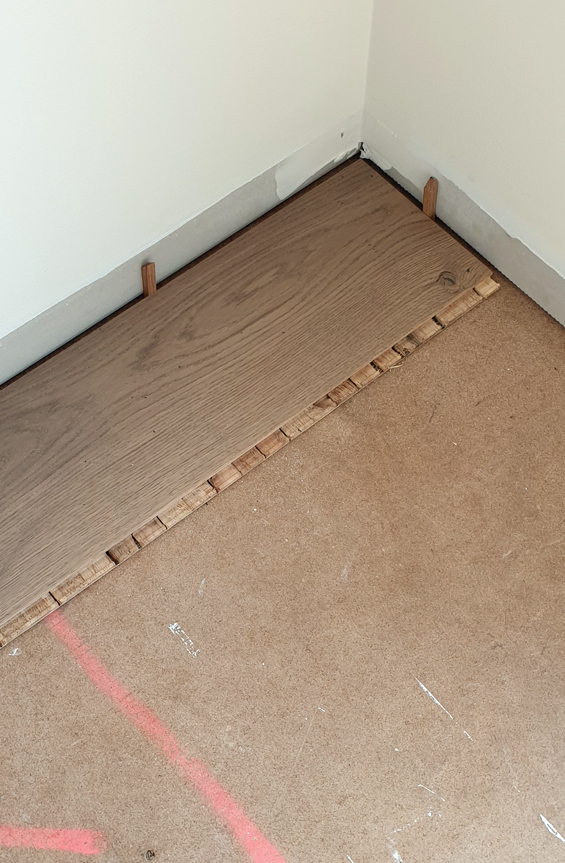
3 | Lay the first row
After working through the design considerations (as outlined in the installation guide), we dry laid our first row to make sure the planks fit nicely. We then applied adhesive with a notched trowel to the floor.
Then we bedded the planks in place (we used a string line to ensure this first row was nice and straight).
A minimum 10mm expansion gap is needed around the perimeter which we spaced out using some moulding off-cuts we already had.
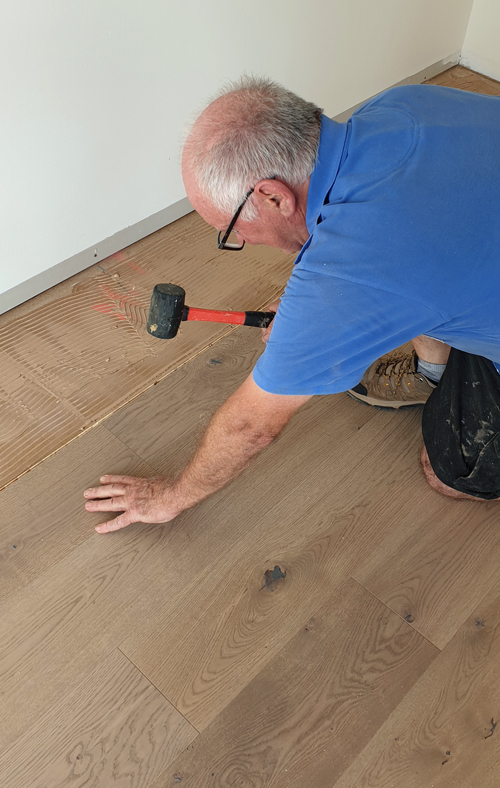
Once everything was just right, we used a rubber mallet to bang the planks into position. We then decided to wait overnight for the glue to set so we had a nice solid base to build from.
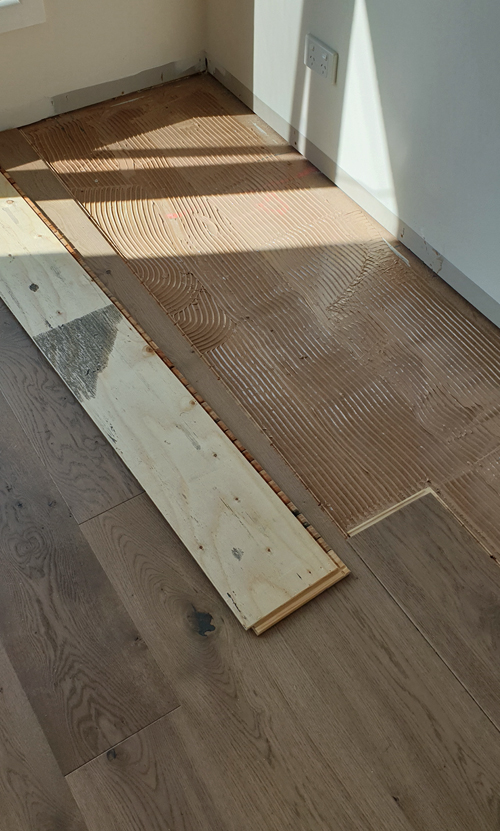
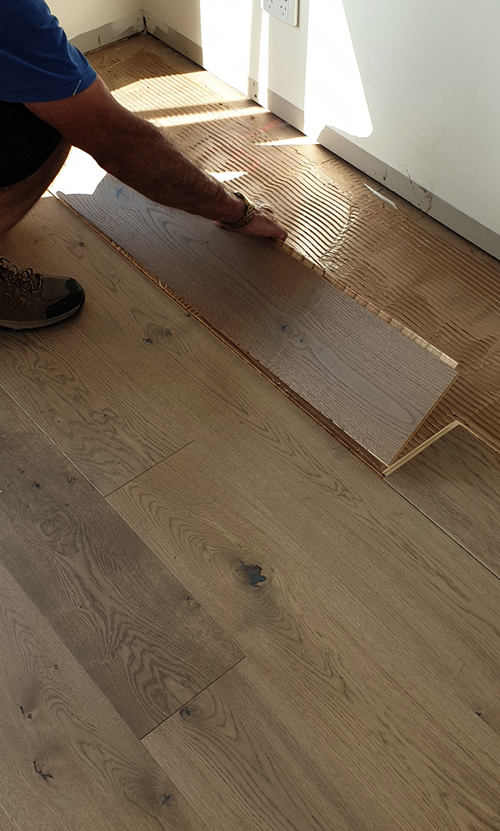
4 | Continue laying the planks
This was the (relatively) quick and easy bit. Working in rows from left to right, we troweled glue onto the sub-floor, clicked appropriate planks in place (ensuring joins were as random as possible and staggered at least 30cm apart) and banged them down with the mallet. As needed, I trimmed each end plank to fit (with the 10mm expansion allowance beside the wall) using my drop saw.
Sorry I didn’t get great photos of each step. I always find it tricky taking pics when I’m in the midst of a full-on project (and have glue all over my hands!). I did manage to make a funky time-lapse video though.
I realise this overview makes things sound super quick and simple, and whilst it certainly wasn’t difficult, it was pretty physical (which I actually quite like), and a little bit messy.
I found that once we got the hang of the large open spaces, we made fast progress, but there were some more slow and challenging areas, such as the hall and doorways.
I’m not sure if there is some set formula for tackling these tricky bits. We just approached each area individually, trimming planks to size as needed using a jigsaw and slotting (slash muscling!) them into place.
All up it took myself and dad about a day and a half to finish the bulk of the installation, with a further half day to finesse those aforementioned tricky areas.
And I gotta say, I felt super proud at the end. Dad even turned to me and said, “Not too bad for a couple of amateurs”. High five!
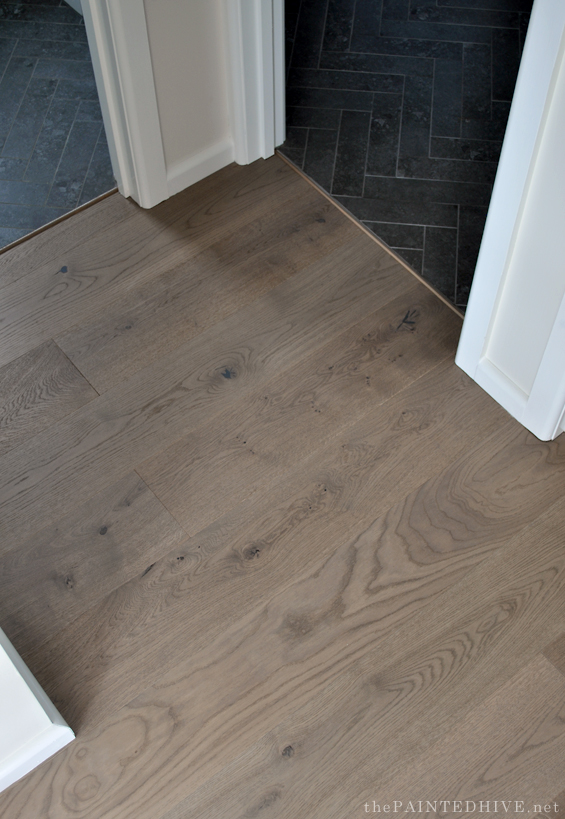
The best part, of course, is that it looks sooooo good!
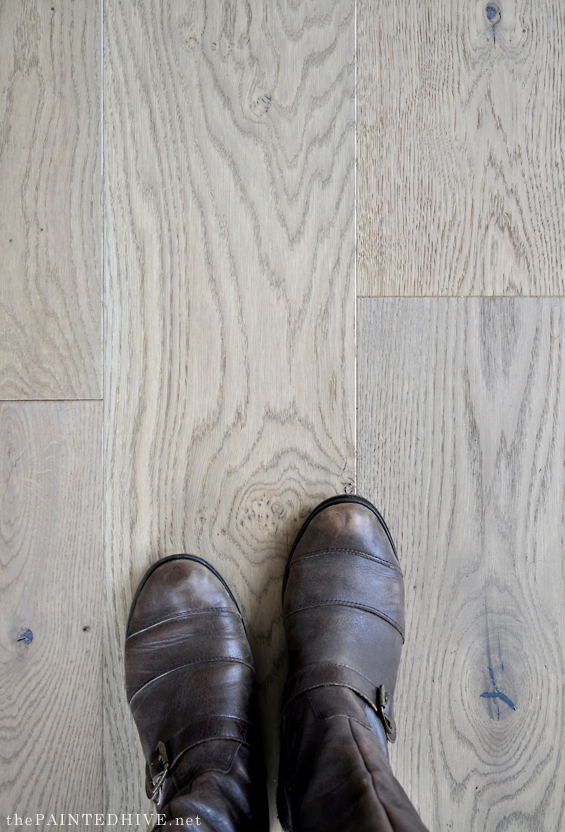
This flooring is like nothing I’ve ever used. It has a gentle wire-brushed character, soft matte finish, and such a beautiful grain.
Can’t wait until it’s all furnished so I can take the proper after pics!
I shared a few snippets of this project over on my Instagram account and got quite a few questions so I thought I’d answer them here too…
FAQ
Why not float the floor?
Floating was my first thought, and it can be done, though gluing is the recommended method. It provides a much more solid feel and sound.
What glue did you use?
We used Bostic Ultraset HP as recommended by the supplier.
Won’t the glue cause the planks to buckle? I thought they needed to be able to expand?
Yes, the planks need some expansion room (hence the 10mm perimeter gap) however the glue is deigned to be flexible to allow for movement.
What is your sub-floor?
Just standard yellow tongue particle board.
How do you clean-up the glue?
We used Bostic Handy Wipes which worked super well.
Are the planks easy to connect?
Yes, for the most part. As with any kind of click system, some connections take a bit more ‘jiggling’ than others, though we had no problems. These Arbre planks use a 5G locking system which helps keep adjoining planks securely in place.
I didn’t want to go into too much detail with this post, because well, that would be a bit boring for anyone who has no intention of laying their very own floor. Plus, the installation guide probably does a much better job of covering all the important points than someone like me who’s just laid one floor! But, I did learn a lot and am more than happy to answer any further questions.
In other suite extension news, the bathroom is finally complete! I’ll be back soon to share the reveal. Yay!

Catch up on all of the other suite extension posts HERE.


Once again I am blown away by your skills. Great job, the floor looks so good.
Di
Thanks Di :)
AAH!!! I’m the 2nd commenter! It’s 1:15 a.m. in the U.S. The floor looks great and I spy the awesome wicker chairs from your friends house staging. I can’t wait to see more.
LOL, I’m well and truly asleep by 10PM most nights so you totally win!
Yes, the chairs will be going somewhere. Love them!
Well if you had checked in with me first, I would have recommended floating the floors because if you ever change your mind, it is sheer hell trying to get those floors up. I know from experience. The guy that glued down my cabin grade, engineered wood planks many years ago talked me out of floating saying it would be more expensive to add underlayment. I now think he simply did not want to do it. Twice as much work perhaps. His assistant stepped in the glue and tracked it all over the freshly laid floors. He tried to get some of it up, but said I was going to have to get that glue up before it dried too hard. I was in disbelief. I think I could float floors myself. Seriously. I am going to have to use a jackhammer to pry these up followed by sanding down the clumps of glue. Your floors came out nice I must say. My floors did not hold up that well. I did not know that you had to screen and refinish the top coat every 6 to 10 years and mine developed crazing on the surface. Nothing lasts forever.
Yes, there are pros and cons to both methods, though we decided to go with what the manufacturer strongly advises in terms of getting the best finish. The planks are a very neutral timber, and they have been laid in a low traffic guest suite, so I really see no reason my parents would want or need to change them (especially considering they will likely only be in this house for the next ten or so years). I can definitely see the advantage to floating the floor if you go with something “on trend” or plan to change your house frequently :)
Wow! That’s impressive. I love the time lapse. Is your mom coming in and checking the progress? The floors are beautiful. Putting floors in is expensive in the USA. That would have cost around $3000 at least. I admire your sense of style and ambition to do it yourself.
Thanks so much. Yes, that’s mum wandering around. My kids make a few appearances too! So glad we did it ourselves. Feel really confident about giving it another go in the future.
Well Kristine, you get another high five from me too. The flooring looks great, and I know the awesome look of these click together floors because the hubby laid down Bunnings dark wood, parquetry look, laminate planks, through the entire house just before Christmas. Every evening the 40kg old English sheep dog bursts through the house chasing the kids, with skidding to a holt, loosing traction, scratching his huge paws as fast as he can to catch up to the kids getting away, not one mark has surfaced on these floors, Priceless, We love our floors. The dirt and sodden grass that gets tracked through the house every morning, after his walk, that’s another story. ;)
LOL, that sounds like fun! I love English Sheepdogs!Thanks Carol :) High five!
Great job – I really love the colour of the floor – its such a nice warm tone and goes with anything. I have installed a similar product (not the same manufacturer) in both of my kids bedrooms and at my sister’s house, about 4 years ago – the floors wear really well. No scratches or damages at all. I can’t wait to see more!
Thanks Leslie. That’s good to know. They are really beautiful.
Good job, you speedy workers you! (I enjoyed your video.) It looks smashing!!!
Thanks Vikki. If only you really could speed up projects like that!
It looks amazing, and I’m so impressed.
Thanks so much :)
We need to replace our floors and were considering vinyl but hubby wasn’t convinced by the plastic look and feel. Hadn’t seen engineered oak. It looks beautiful. Thanks for sharing.
It’s really lovely. We were originally considering vinyl too. To be honest, I don’t hate vinyl (my parents have it in their beach house and it looks great). This is just a step above though :)
Das ist wieder so schön geworden und gut erklärt. Dafür vielen Dank. Viel Spaß noch und bleibt gesund ;)
Excellent. High 5 to you all.
Great job on the installation. Good choice on those vinyl planks too.
This looks stunning. Excellent work. Thanks for sharing.
Thanks for sharing such a creative and highly influential informative blog with such descriptive images, As small things can create a high impact on the new or existing structure.
Great work !! Thank a lot Buddy!!