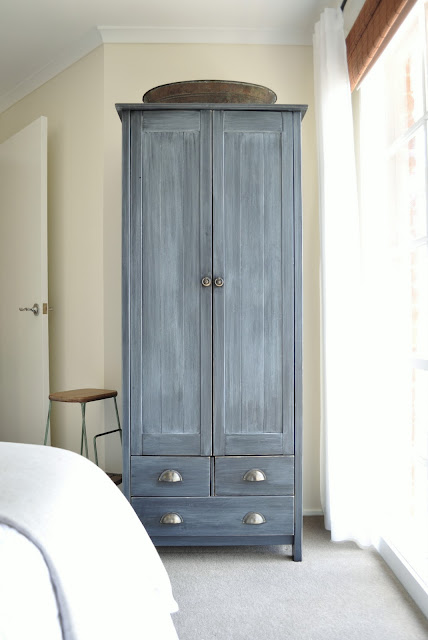
If you’re a regular reader of this blog, you probably remember this simple robe door makeover from about a year ago….
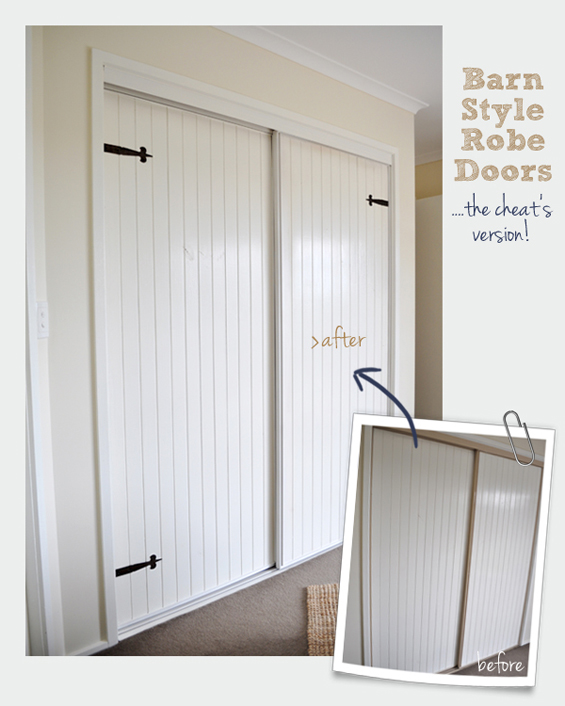
When I re-decorated my master bedroom, I simply painted the ugly beige metal surround with enamel spray paint to create a more cohesive (i.e. less ugly) look.
I thought some readers, who may be entertaining the idea of trying something similar, might be interested in hearing how the paint has held up, especially considering we use the doors every day.
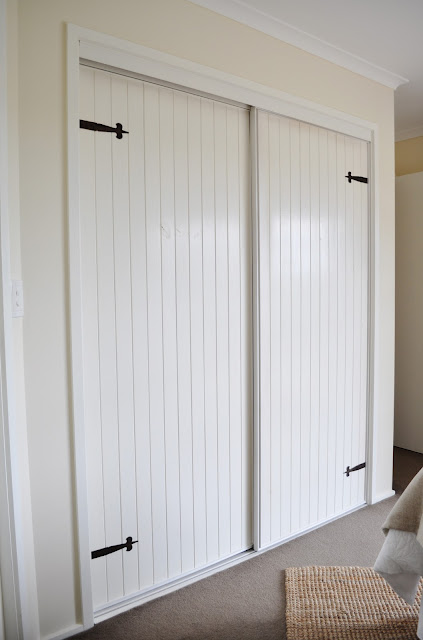
Well, I’m pleased to report that it still looks as good today as the day I painted it!
I must admit that I was initially sceptical about the durability so was pleasantly surprised when, as the days and weeks passed by, the paint remained scratch and chip free.
As I said, just thought some of you might appreciate the update.
You can go here to see the original post about the makeover.

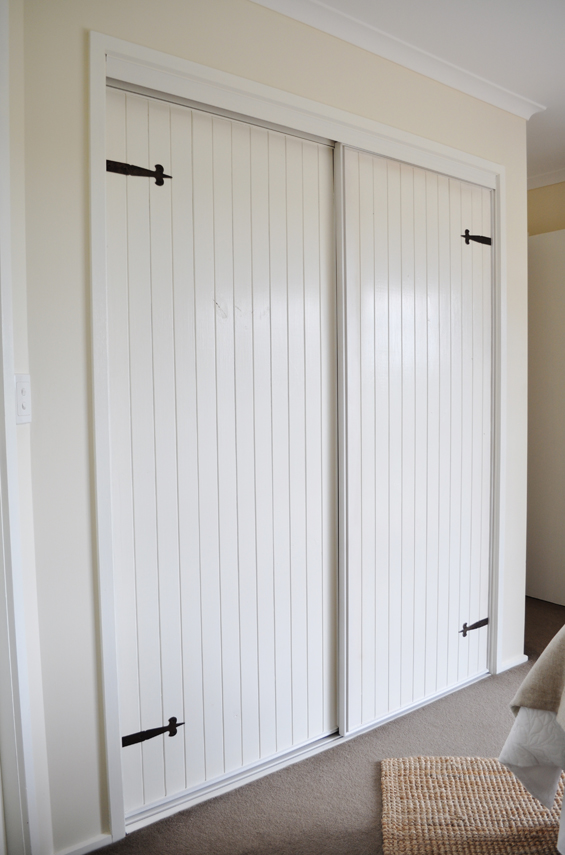


Where did you find the black metal details that you applied?
They make the doors look amazing!!!
This is cool to get a “wearability” update. I often wonder how things look a year or 5 years later when I see “dream houses” in magazines.
Hi Kristine!
This looks great! I have these same ugly closet doors. I had the idea to use beadboard wallpaper on them. Is that what you did here? I’m not sure where to find the original post. Love the hardware details on the sides too.
Thank you so much as I do love me an update! I’m a new follower but those doors are amazing! I used to have a house with those and they were so “dated”. You totally changed that with your design and update. Wow! I’m really impressed with those doors! And yes….like the other gal asked is that real hardware or just a facsimile? Whatever, those hinges look really nice on there. I’ll have to check your old posts to see how you got the bead board look! Thanks so much for a great blog!
Love the look. The hardware also is fabulous!
What a great way to update closet doors. LOVE THIS!
Thanks for the comments gals. Sorry, I just realised that the links I included in the post were showing as the same colour as the regular text so weren’t visible. I have changed it now so they are dark grey. You can access the original post by clicking the “robe door makeover” text above the picture.
Kristine
I remember when you did that. Isn’t it wonderful when something turns out even better than you planned in the longrun? xo Diana
Your blog is wonderful. I just had to stop by and let you know. I saw you on Today’s Creative Blog as a featured blogger- and your projects are simply stunning. I am now following you! Can’t wait to look at other things you’ve done as I scroll through!
-kendall
{songbirdsandbuttons.blogspot.com}
The doors look great. I am going to show my neighbour. She wants to paint her surrounds. The hinges make the whole thing pop. Well done.
Really love the doors with hinges. Beautiful update. Are they true bead board or covered with look alike wallpaper?
Hi Nancy
They are pine tongue-and-groove panels. They were originally stained a lovely bright orange.
Kristine
A fantastic effect thanks for the tip!
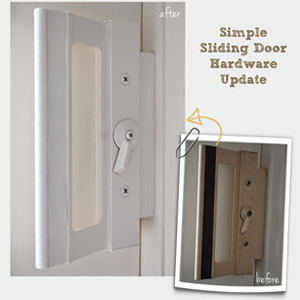
Love this. My sliders were gypsom board. Used liquid nails to adhere white beadboard then followed your post. Thank you!
Would this work with 3 sliding doors instead of just 2? I love the look but ot sure if it can be pulled off with 3 sliding closet doors. Would I leave the brackets of the middle door?
Thank you!
Lori
Hmmm, to be honest, I’m not sure. I guess it depends on how you personally feel about it. Could you maybe create some paper brackets and tack them up to see if you like the look first? I think I would leave them off the middle door like you mentioned.
Ooh, also, I was just playing around with some sketches. It might work to attach brackets (left and right) to all three doors. So twelve brackets in total. You could maybe also add some barn door style handles to the middle door (which I assume is on the front track so they wouldn’t interfere with sliding the other doors).
I was looking for a post with instructions for replacing sliding wardrobe doors but I may consider painting instead. I like the pictures you’ve included showing the doors after painting. I’ll have to keep this option in mind as I look for more info on sliding wardrobe doors. Thanks for the helpful post.