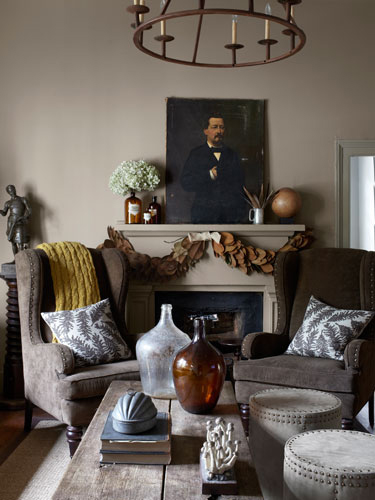
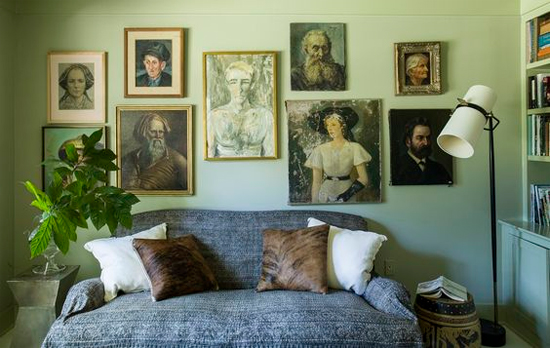
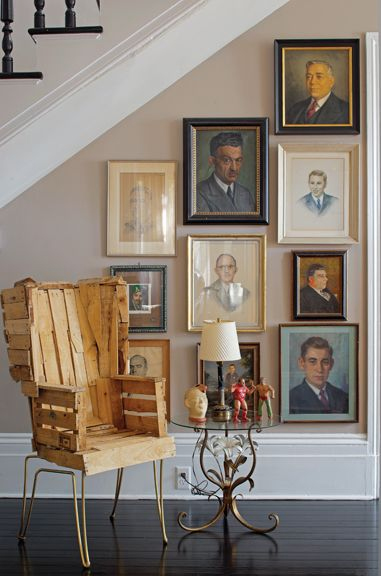
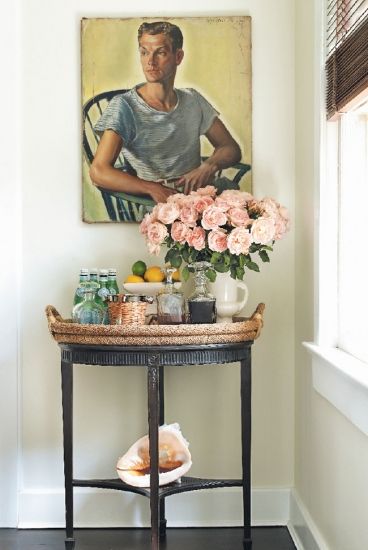
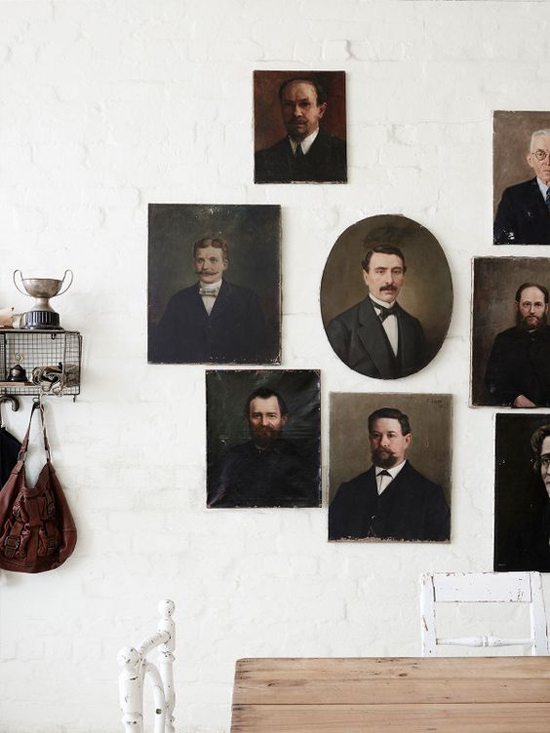
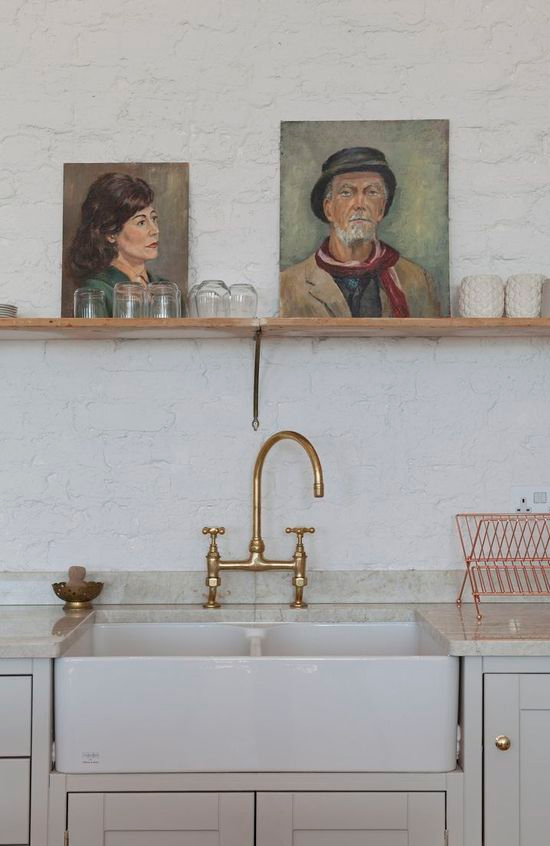
I’ve been slightly obsessed with vintage portrait paintings for a while now.
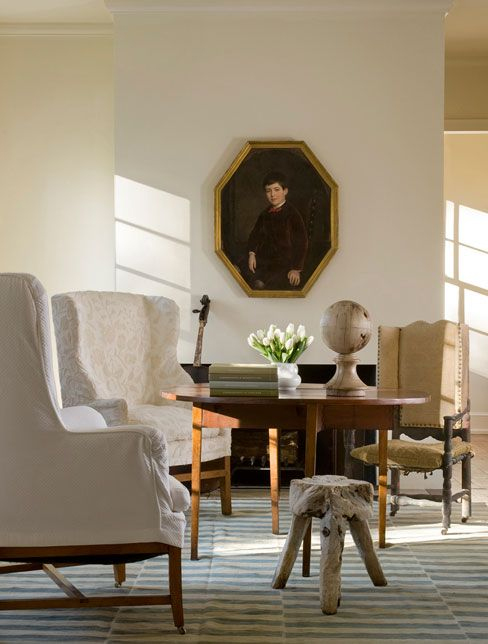
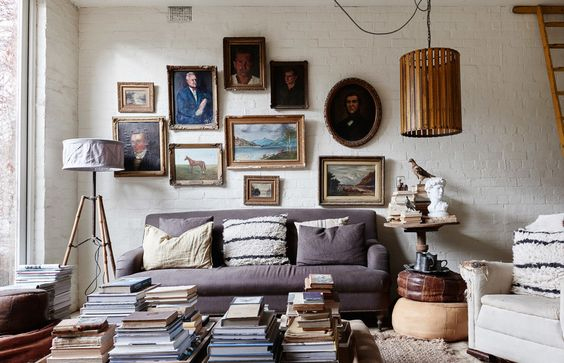
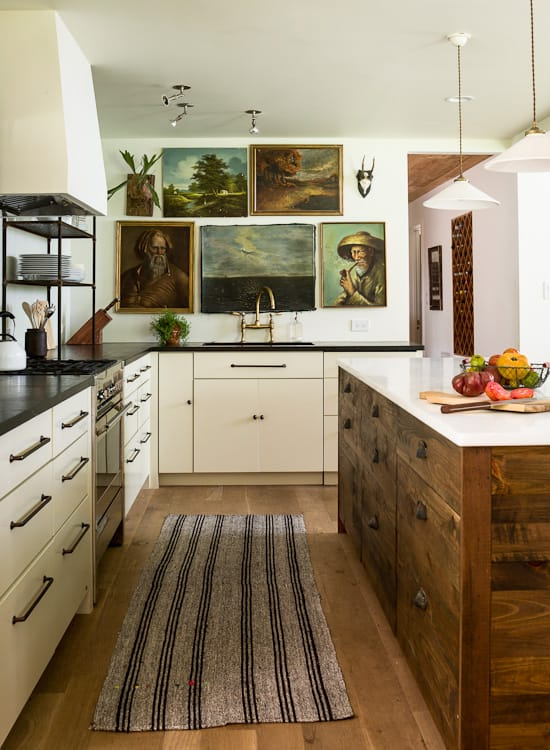
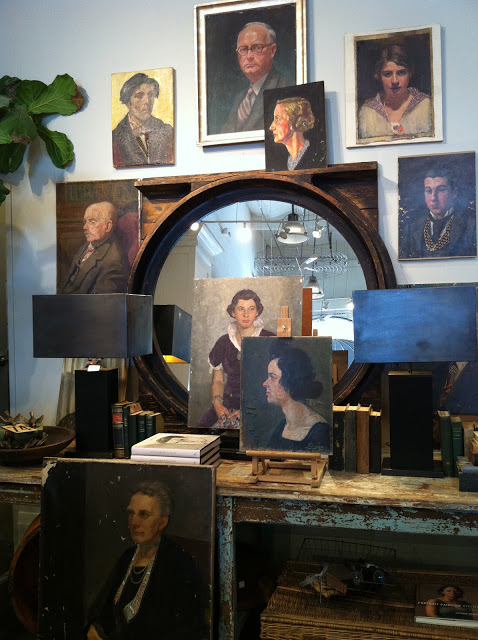
Whether a solo artwork resting casually atop a hutch or a striking gallery which consumes an entire wall, they seem to impart such a lovely sense of depth, interest and character.
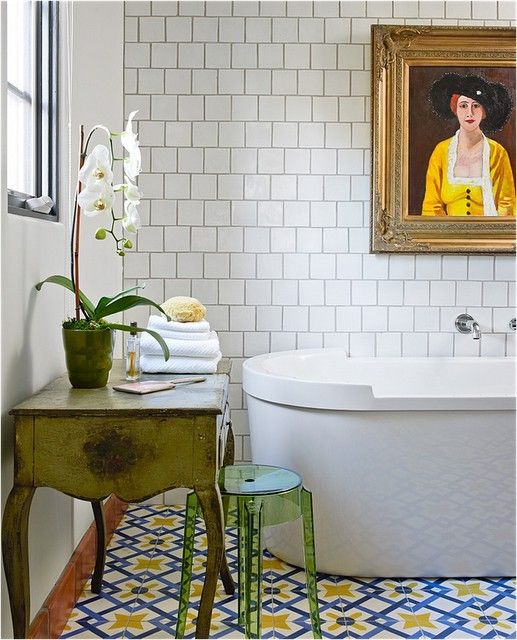
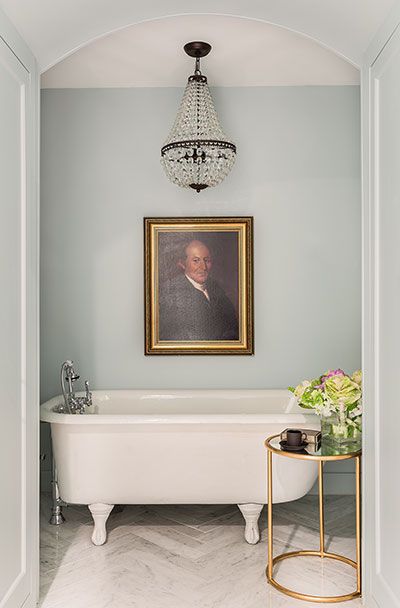
For some reason I’m particularly drawn to the use of portraits in bathrooms and kitchens. They just seem to add a slightly quirky and unexpected touch.
So when my mum recently decided it was time to update her main bathroom I suggested including a vintage portrait.
“What, like just of some random person?”, she exclaimed.
Seems the idea of having a stranger adorn her wall was a little weird for her.
Fair enough I guess.
Still, I was fixed on the idea so it was time to get creative!
I contemplated painting a family member’s portrait myself, then realised this was actually the perfect excuse to play around with a digital painting program. Not only would it be quicker and easier, it’s a great little project to share here because anyone can give it a go.
Last year I wrote a comprehensive post about converting photographs into paintings using clever software, though I never actually produced a print. This was going to be fun!
I started looking through our old family photos for something suitable. Unfortunately however, I couldn’t find anything quite right.
We were going to have to start from scratch.
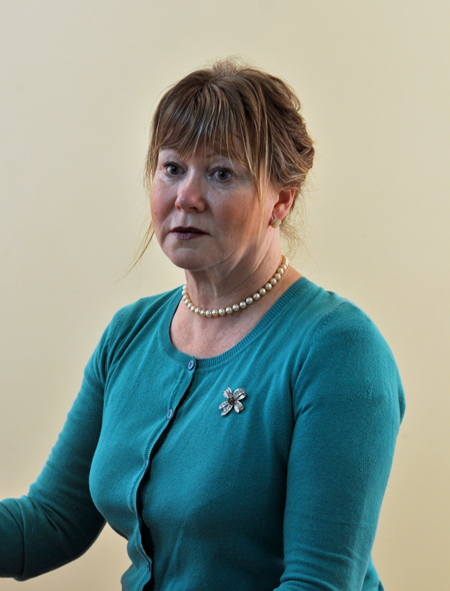
So, mum dressed-up in a demure, mid-century kinda way, and posed while I took a few quick snaps.
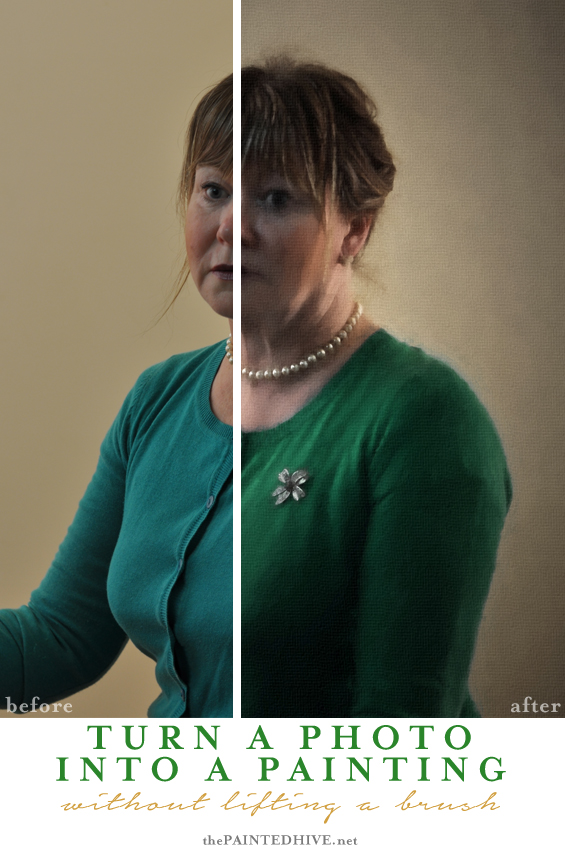
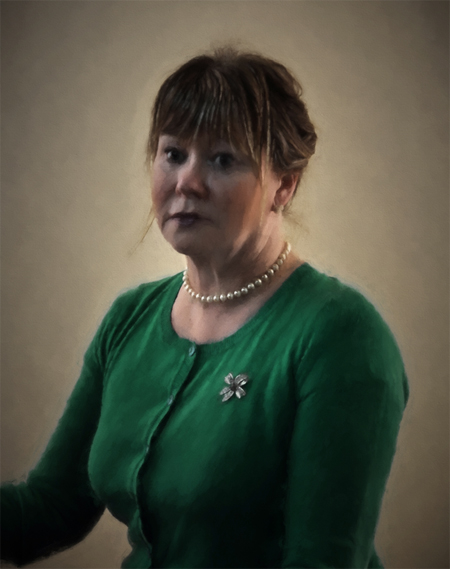
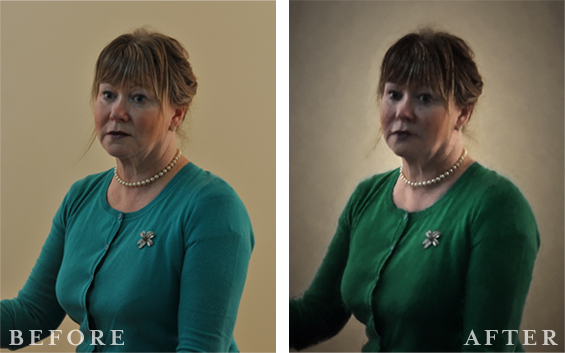
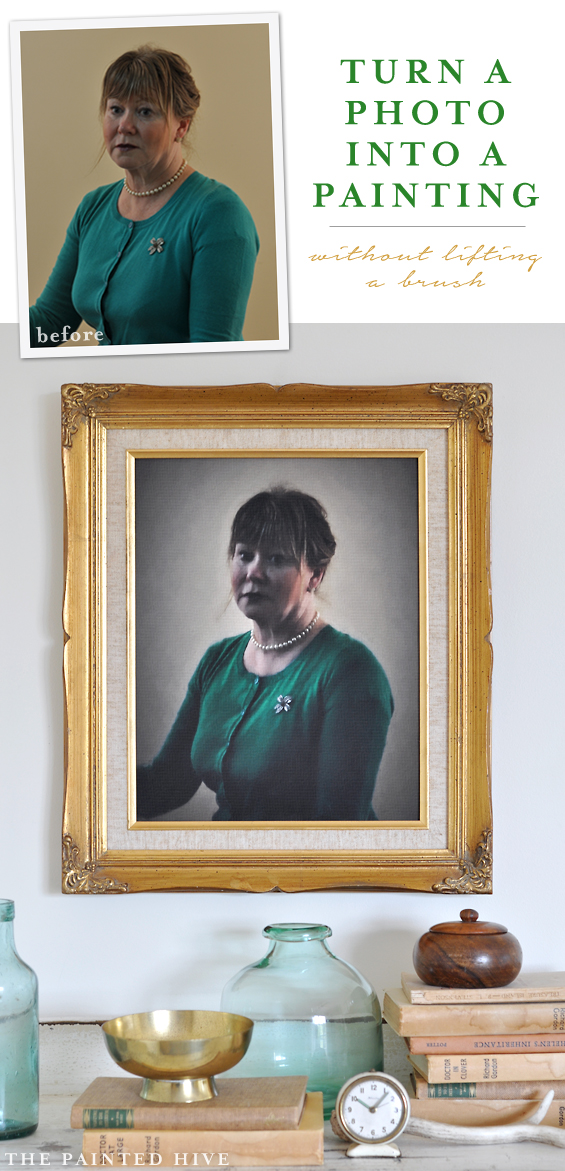
This is the pic we chose (which I’m sure mum is rapt to be sharing with the world!).
As you can see, it’s far from a spectacular photo though that’s one of the great things about this project – the pic doesn’t need to be great.
Whilst I wasn’t too concerned with the overall quality, I did pay some attention to lighting and composition.
To convert this photo into a painting I used Topaz Impression, which I purchased around a year ago, however there are heaps of different programs you can use (check out my previous post for further info and a collection of software options, or find a list of programs at the end of this post).
There’s really no set formula for how you go about the conversion. It’s just a matter of playing around with all the options in your chosen program.
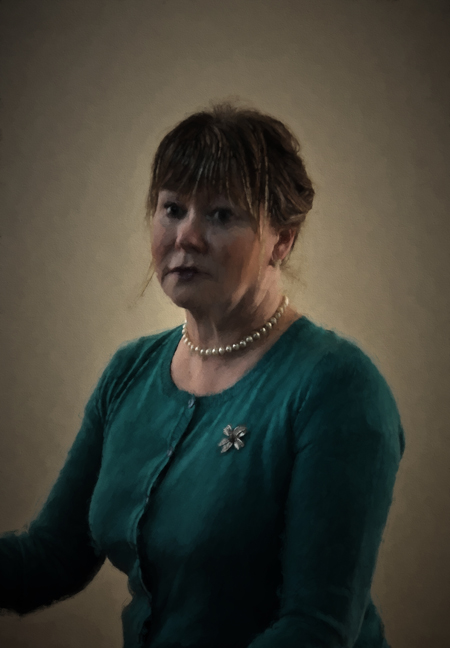
I wanted a dark and moody feel so applied a suitable filter then experimented with some of the fine-tuning parameters to customise the effect.
Once I was happy, I saved the image then transferred it into Photoshop (you can use any image editor – GIMP is a great free option) to make a few final changes, including adjusting the brightness and contrast, altering the hue of mum’s cardigan and sizing the image perfectly for print.
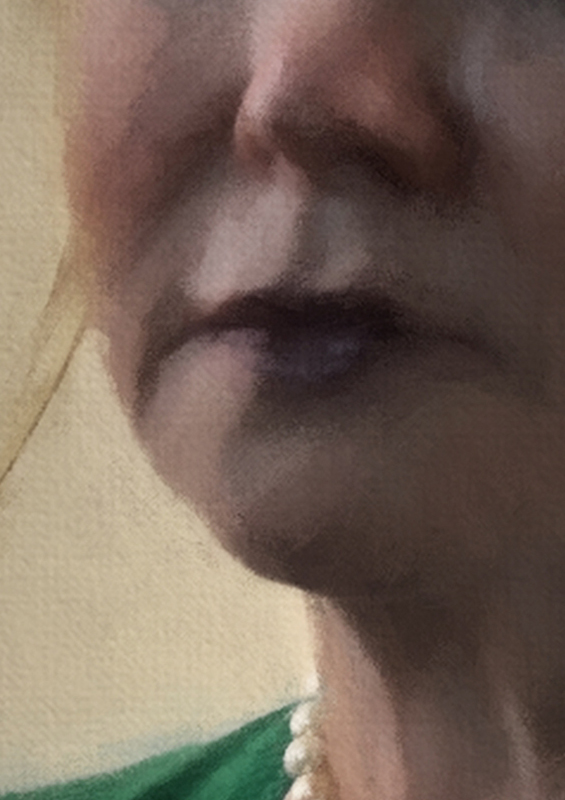
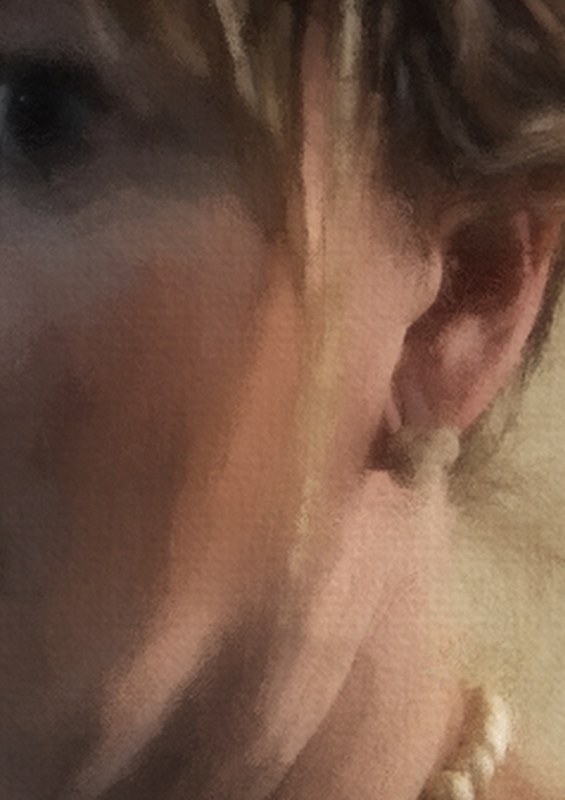
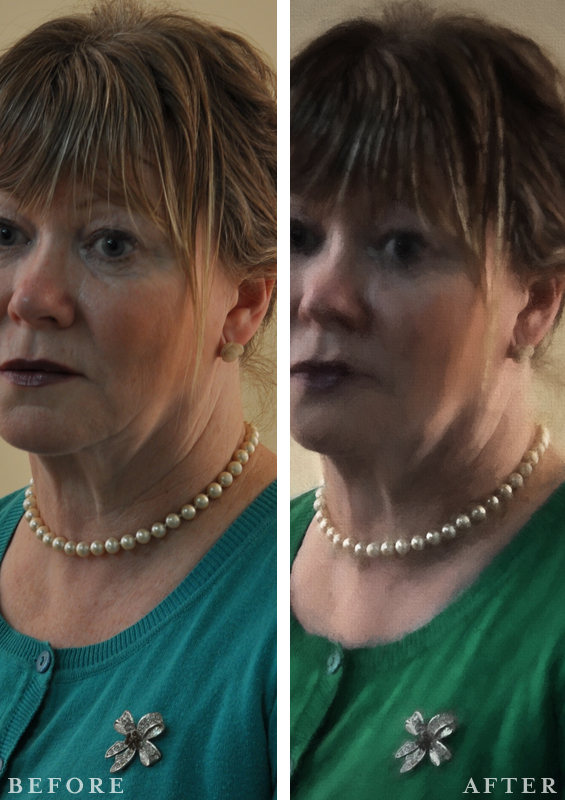
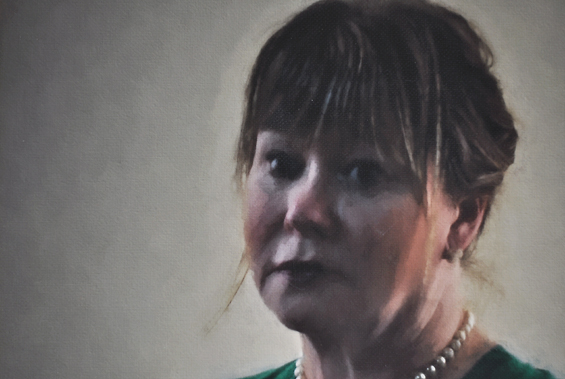
Here are a few close-ups to give a better indication of the detail.
It’s so cool! Remember, although I did have to play around for a while with all the filters and options, I haven’t used any manual painting techniques – the computer has done it all!
Can you see the canvas texture? It’s one of my favourite elements to include in a digital painting. It just provides such a lovely hint of authenticity.
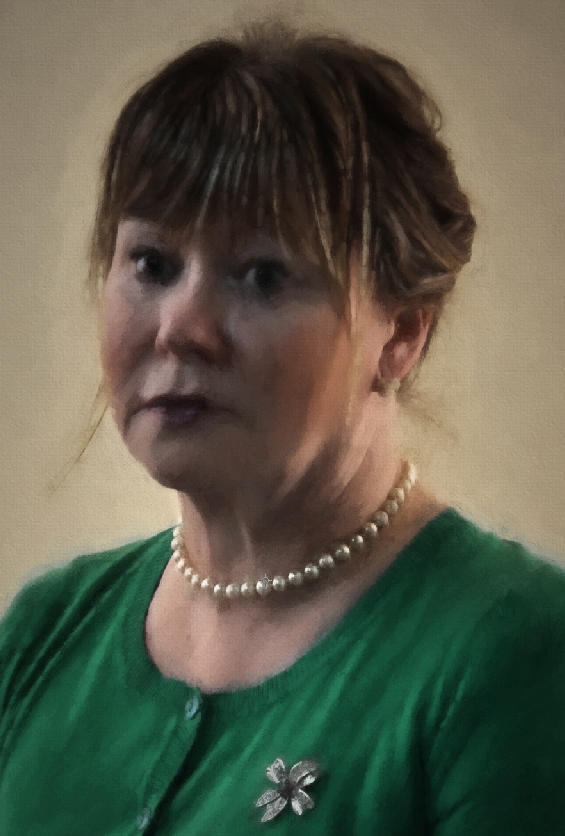
And here is a cropped version at print size (depending on your monitor or device you may need to zoom in or out).
Of course, there’s no denying the beauty and pure loveliness of a real painting though this is a fun cheat anyone can try!
The side-by-side comparisons really showcase the effect.
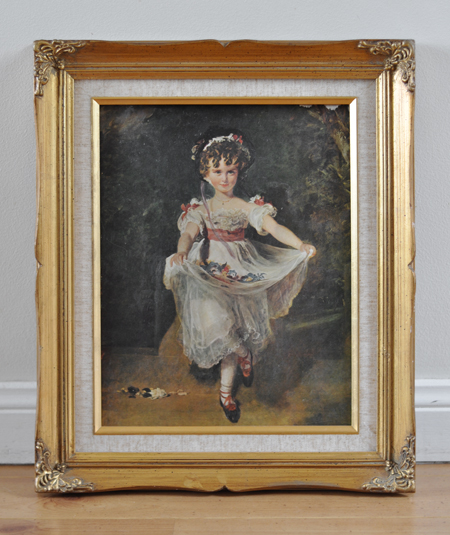
From the get-go I envisioned this portrait in an ornate gilt frame and was lucky to pick this one up from an antique bazaar for $40 a few weeks ago. I realise $40 isn’t super cheap though these babies are getting hard to find.
Sorry if you like it ‘as is’ however I decided the existing print had to go.
I measured the frame opening and sized my digital image perfectly to fit (as touched on above, I used Photoshop though you can use whatever image editing program you prefer). I then had it printed online through Officeworks (as it was larger than my standard domestic printer could handle).
Note: Refer to my Free Printables series for further information about sizing, editing and printing images.
I could have had it printed on standard document paper for under $2, or on satin poster paper for around $15, though for something a bit different I decided to splash out on canvas for $32. More than anything, I did this out of curiosity as I’d never had anything printed on canvas before. I am happy with it, though am yet to be convinced it was really worth the extra expense, especially as my print already had a digital canvas texture applied.
One bonus is the durability, relevant as this print is being used in a wet room. Another pro was the ease of framing; I simply removed the existing print (complete with its attached panel of masonite), wrapped the new canvas neatly around it then carefully stapled it in place. In my experience, paper prints can be a bit more tricky as they generally need to be adhered with glue which can cause bubbling and creasing.
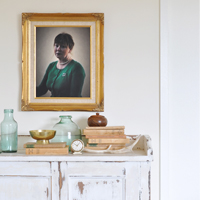
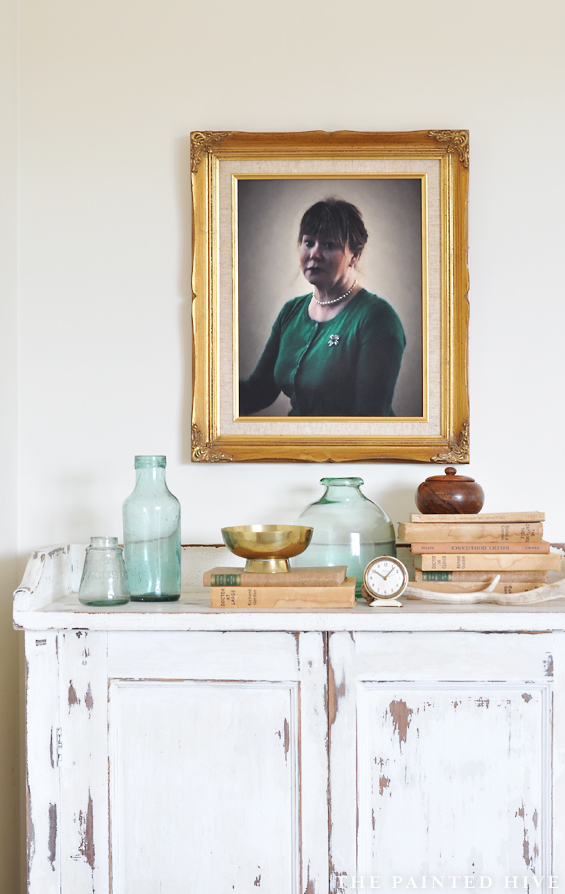
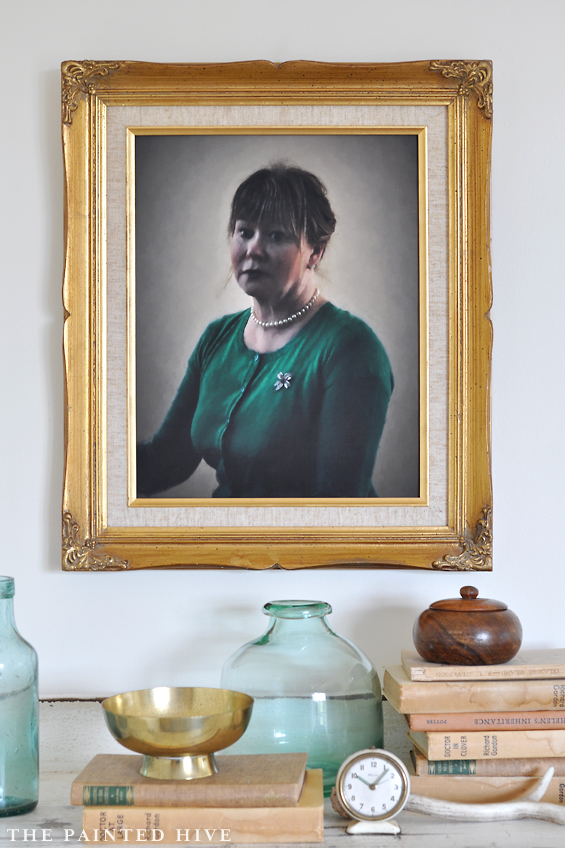
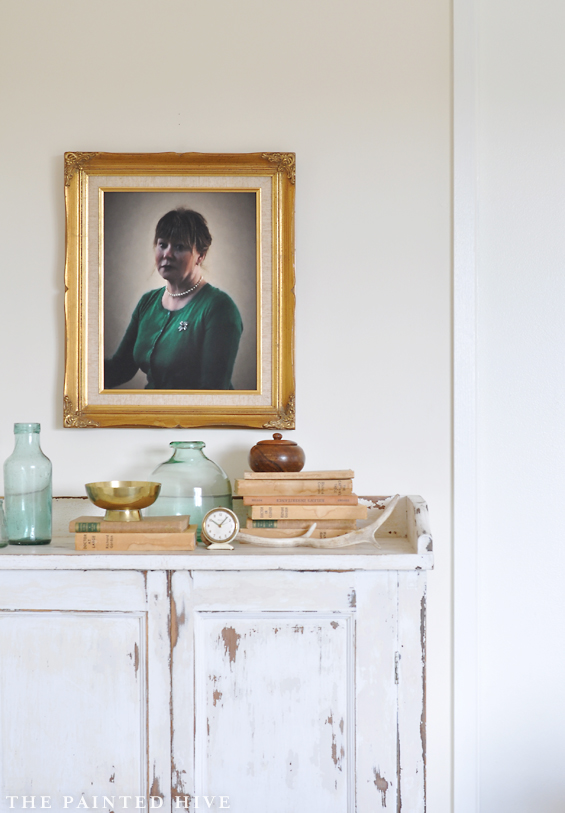
Anyhoo, here is the finished portrait. My parent’s bathroom isn’t yet complete so for the purpose of these ‘after’ photos I’ve hung and styled it in my bedroom.
I love it!
It printed a tad darker than I wanted though I do like the mysterious feel.
Overall, I’m really thrilled with the whole way this project turned out and am loving the possibilities it opens up! Portraits are probably the trickiest subject for photo to painting conversions as most programs will apply their painterly effects universally – so whilst the background might look amazing, facial features can get lost and appear distorted. You can play around with layering different effects and adjusting the opacity in certain sections though this does add another level of difficulty. Landscapes, animals and still life compositions are more forgiving and can look awesome.
Below is an actual photo I took of the finished print.
I didn’t want to go into too much technical depth with this post as I’m aware everyone is likely to use their own preferred programs, though if you do have any questions about my particular process, or the Topaz Impression software, please feel free to ask away. I love to help and always answer any questions.
Additionally, I’m thinking about possibly offering a service whereby I convert your photos into digital paintings on your behalf (just for those of you who aren’t super keen about purchasing the software and giving it a go yourself). If anyone is interested, please let me know. If there is enough demand, I might just add the service to my little shop.
DIGITAL PAINTING PROGRAMS
WATERLOGUE ($3.00)
A popular app (Apple devices only) featuring a small selection of luminous watercolour filters.
TOPAZ IMPRESSION ($100)
An intelligent program featuring hundreds of realistic editable filters.
PAPER ARTIST ($4.00)
A fun app with a vast collection of different artistic filters.
COREL PAINTER ($400)
A professional program with a focus on manual digital painting.
COREL PAINTER ESSENTIALS ($40)
A condensed version of Corel Painter.
COREL PAINT IT ($40)
A fun program with several artistic filters and the ability to make some custom changes.
POPSICOLOR ($3.00)
A funky app (Apple devices only) which renders splashy watercolours.
FILTER FORGE ($30 – $300)
A versatile program inclusive of thousands of filters and the ability to create and save your own effects.
DYNAMIC AUTO PAINTER ($100)
A world-class program with numerous detailed filters and the ability to create your own effects.
JIXIPIX ARTISTA SERIES ($35)
A suite of artistic filters with some customisation options.
POSTWORKSHOP ($120)
A comprehensive program featuring hundreds of editable and layerable filters plus the ability to paint manually.
SYNTHETIK STUDIO ARTIST ($300)
An extensive program with hundreds of editable filters and assisted painting capabilities.
SNAP ART ($100)
An effective program featuring a wide selection of artistic style filters with options for customisation.
AKVIS ARTWORK ($70)
A simple program inclusive of several artistic style filters which can be adjusted and combined.
PRICES ARE A GUIDE ONLY




This is really awesome! I too love portraits in unusual spots. I recently showed a photo on my blog of an old oil painting hung next to a clawfoot tub. It was so perfect. But as you say, it’s expensive and a bit weird to have portraits of random people hanging in one’s home. I love your idea of inexpensivly creating your own. I think I’d have it printed as a giclee so it really would have the look and texture of an oil painting. I’m going to try this! Thank you.
You could certainly have yours printed as a giclee Celia though for a project such as this it’s probably not worth the extra expense. Nowadays, giclee prints use almost the same technique and produce much the same result as any good quality inkjet print. The main difference is that by definition I believe giclees always use archival inks and paper. Standard inkjet prints may not, however “good quality” ones should (or, you can request as such). Also, keep in mind that gicless do not produce texture.
Be sure to let me know if you give this a go. I’d love to see your finished portrait!
Kristine
As usual, I think “how could I get this effect/article/finish” and bam! You post a perfect way to accomplish it. Love, love, love old portraits; but not the expense when I find them. Frames, though I have, so this is a perfect solution. Thanks SO much for detailing how to do this.
Oh yay. Great Deb. Hope you have fun!
If that’s your “Mum”, she should be happy to have the world see her photo, as she is a very attractive lady and the “painting” is wonderful! It’s too nice to hide in a bathroom, tho’…. However, where and how it’s displayed is great! ‘Love your work!
Thanks so much Patricia. My mum is going to love this comment :)
This is a lovely page Kristine!! Your Mom is so beautiful, a warm and loving lady!
Love the links!!!
Kay and Will
Ha, ha. It’s funny, I told her to look somewhat serious in the photo and when the grandkids saw it they said “Nanna, why are you angry?”. They are used to her playing and smiling!
Mum thought she looked sad though I actually think there is something haunting in her eyes which is mysterious and beautiful.
Thank you. I absolutely love the finished portrait. I have turned photos into paintings and have had so much fun. I have also brushed Modge Podge over a print Van Gogh’s Wild Irises so that it is 3D with brush marks. It’s absolutely beautiful and I am always asked if I painted that myself.
Love your newsletters.
Vickey Davidson
Yes, this is what lots of commercial companies do too Vicky. They varnish their reproduction prints so they have texture and brush marks and look more authentic. It’s a great little cheat.
:)
This is amazing! It really has the feel of an authentic mid-century era portrait. Thanks for all of the software resources, too. I’ve printed things out on watercolor paper before but I’ve never thought of doing this.
It’s so fun to play around with these programs Michele! Most of the more pricey ones offer free trials so you can get a feel for what they do without forking out any cash upfront. Have fun!
Love this post. I am interested in using this service if you make it available.
Thanks Margaret. I’ll see how much traction it gets :)
The pic is completely looking like Vintage painting. Thanks for giving such a great idea to make a vintage painting.
Kristine, what a lovely photograph of your mum! Thank you for the info. I’d love to give this a try. We had a giclee print on canvas done by a photographer we know. It’s a landscape and just what we needed when we refreshed our bedroom. This sounds like such a fun process to try. I never seem to take pictures of anything but food! :D
LOL! Food can look great converted into an oil painting too!
:)
This is awesome. Thank you for linking with us at #HomeMattersParty . We would love to see you again next week.
Thanks for hosting :)
Well it’s perfect 🙂 I really like the painting you put on the back panel. Your whole house is coming up beautiful.
I’m very interested in you providing this service! Provided you ship to the U.S. :) Looks gorgeous; what a great idea!
I’m not easily impressed. . . but that’s impressing me! :)
I can only see the comments. Where can I see the tutorial?
Hi Lauri. Sorry, I am currently working on a blog redesign and this is a temporary glitch. Hoping to have everything back up soon.