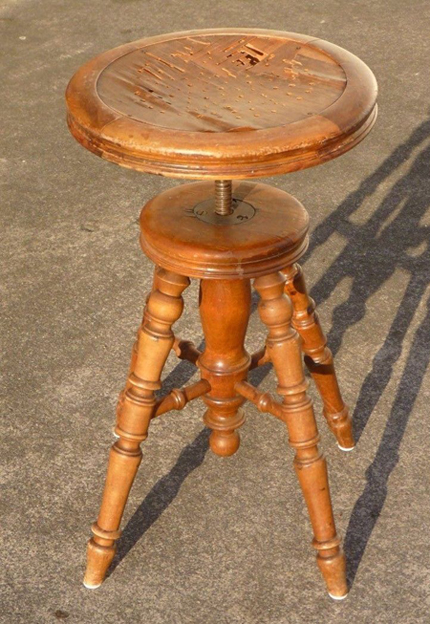
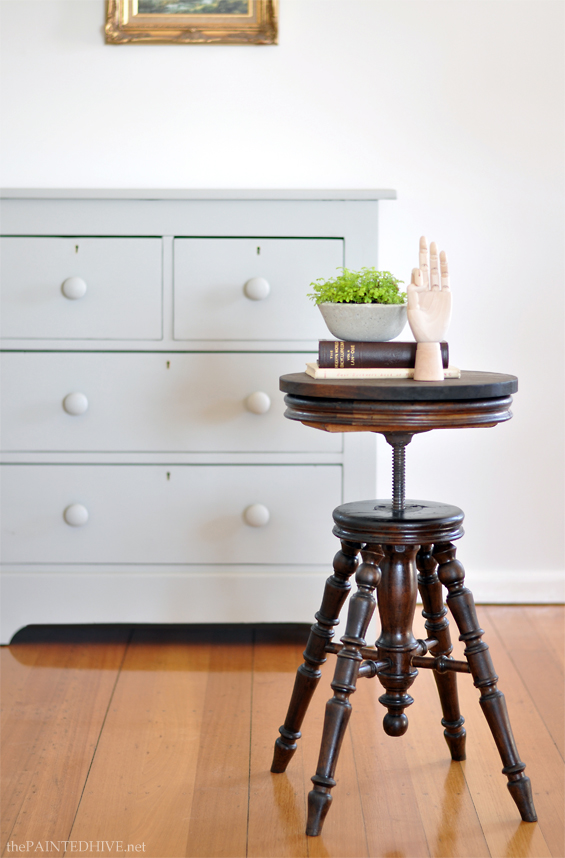
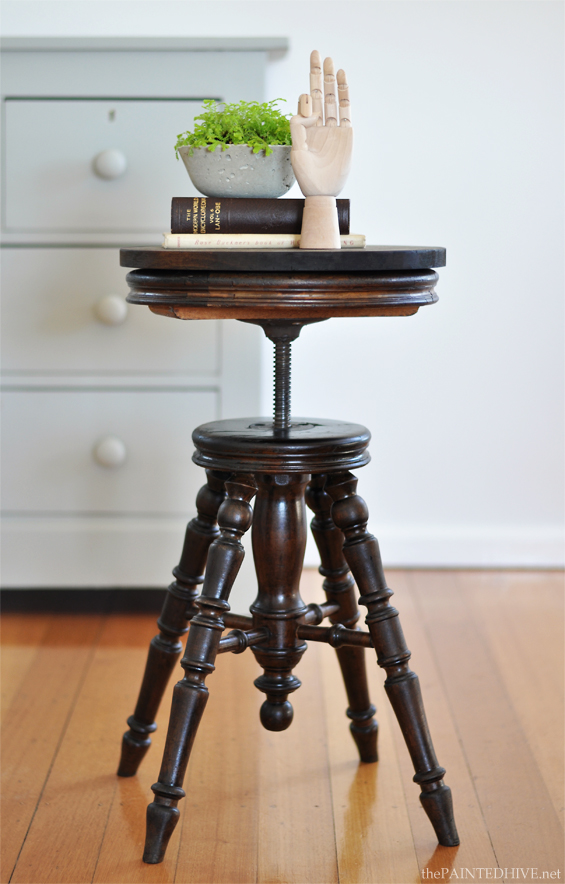
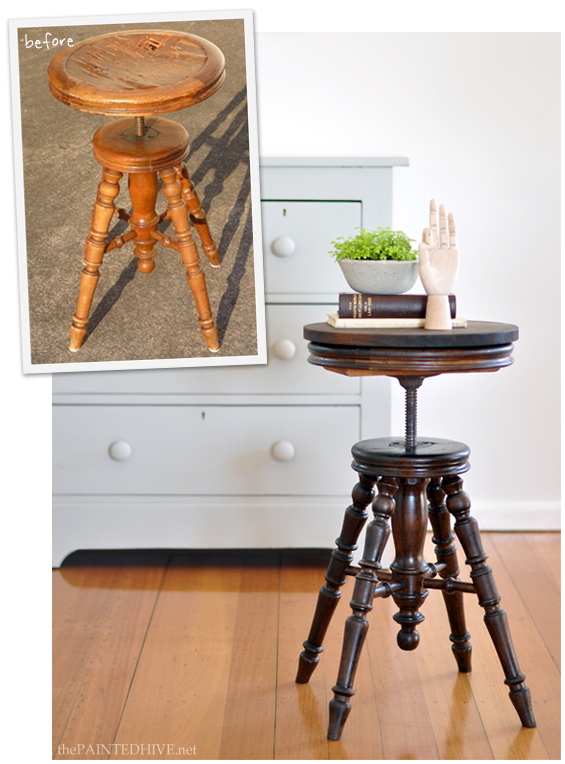
Do you remember this charming antique piano stool?
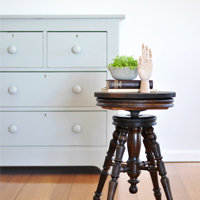
I picked it up a month or so back to use as a cute little side table in my parent’s living room.
And, for obvious reasons, it was pretty affordable.
I bought it for around $30 from eBay.
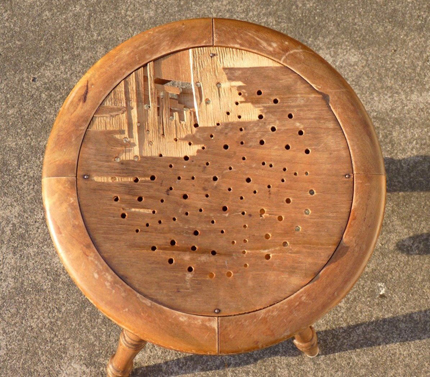
A major flaw, like this annihilated seat, can seem like a furniture deal breaker…though don’t be deterred! There are heaps of ways around this little problem.
The easiest of which being to use an affordable off-the-shelf “disk” as a completely new top.
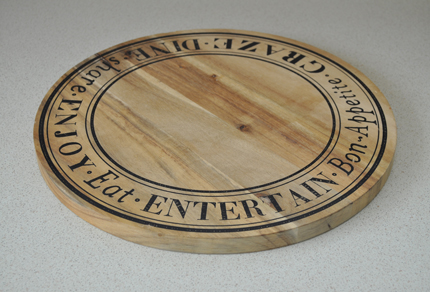
I contemplated several options – including a pizza stone, a round paver and a marble tray – before simply stumbling across this perfectly sized timber bread board on clearance for $8 from Target one day.
Yes, I could have just replaced the seat insert with a circle of plywood or cut my own new top from a piece of wood, though I wanted to make this project a really basic “marriage” of elements – who doesn’t love basic? Plus, I needed a nice, flat, sturdy top as the stool is going to be repurposed as a side table.
But before I joined the two components in holy matrimony, I wanted to give the stool a mini makeover.
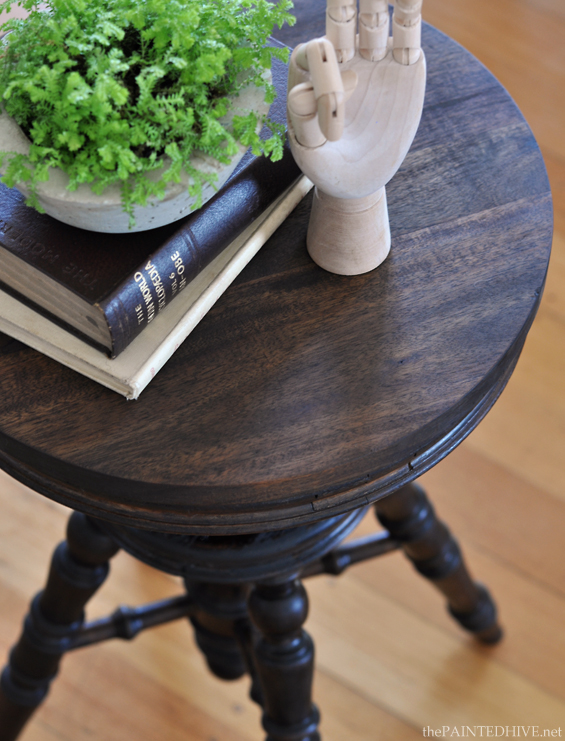
Its warm honey-toned wood was really lovely though it blended with my parent’s floorboards and felt a little insipid in the room. So, to introduce some contrast, I stained the stool a rich brown (Feast Watson Prooftint in Walnut).
I totally cheated here by doing no prep and applying the stain right over the existing varnish. Generally, this is a no-no as varnish will repel stain, resulting in uneven penetration and potential streaks and patchiness. I wasn’t too fussed in this case as I didn’t want the stool to look perfect and new anyway, plus the varnish was super old and dry and had already worn-off in most places.
I simply applied the stain with a rag, wiping it on and off again until I was happy with the depth of colour. Despite the varnish, it worked brilliantly and produced the perfectly imperfect result I was after! I was actually reasonably impressed by the success of my laziness.
To provide consistency, I stained the bread board the same colour and finished it off with some linseed oil to add a bit of sheen (as it was pretty dry).
To attach the board to the stool, I simply used a few dobs of clear silicone. This holds it firmly in place though also allows for easy removal if mum ever wants to change the top.
Although the text on the bread board is sweet, it’s not really in-keeping with the feel we’re going for in this room so for now I have it plain side up.
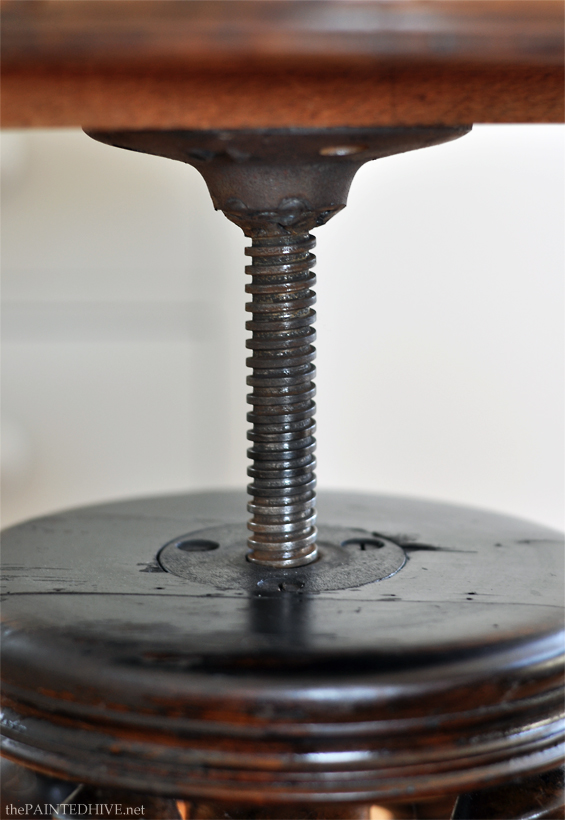
I absolutely LOVE the old cast iron swivel mechanism in this stool.
A beautiful testament to its utilitarian function and so full of charm. Plus it’s just plain handy that the height can be easily adjusted.
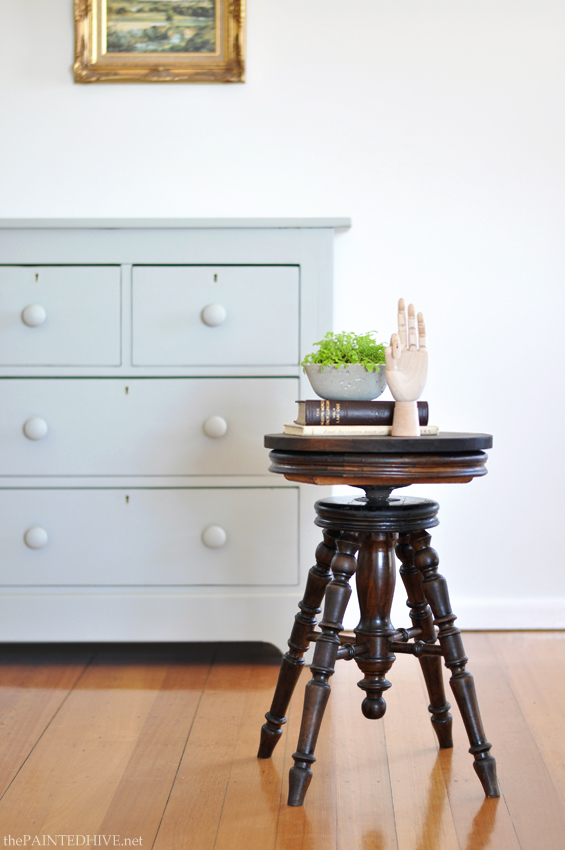
Here it is completely lowered…
And at around three quarter height…
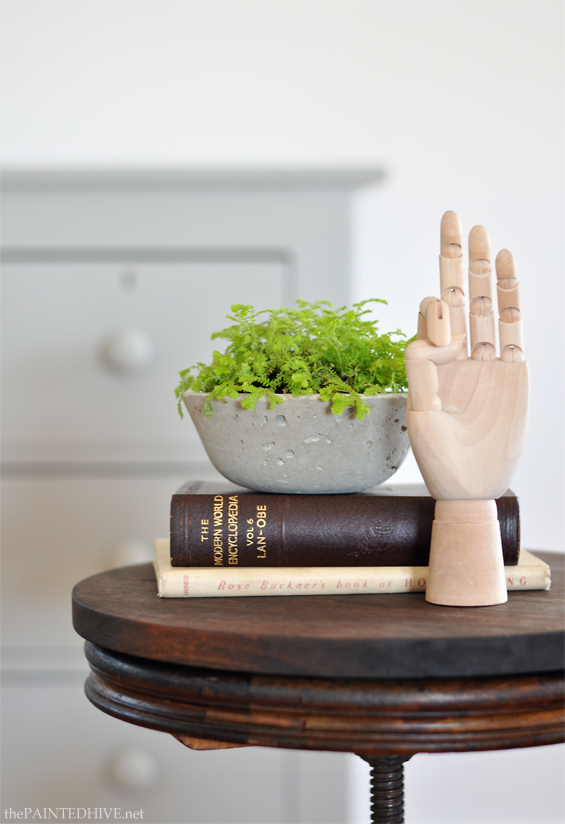
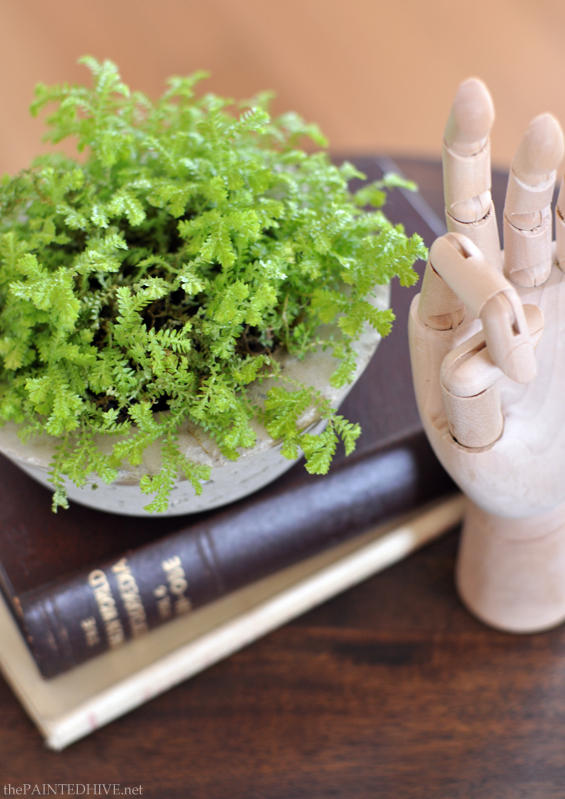
Oh, and do you like my new concrete vessel?
I made a few of these sweet little planters on a whim a week or so back. Such an easy, affordable and rewarding project.
Actually, there’s a bit of a funny story behind them…I was recently asked to participate in and style a video tutorial for one of my favourite brands (it was very exciting and I’ll be sure to share more deets about it when I can!). As part of the process, I was required to submit a visual style sheet of the decorative pieces I was planning to use. To represent a large grey pot I already had, I used an image of some cute little concrete planters – and received feedback from the creative agency stating just how much they LOVED them! Okay, eeeeek! I didn’t actually own any said cute little concrete planters! So, after some frantic and fruitless Googling, I came to the sobering conclusion that unless I wanted to spend a day or two (I didn’t even have) visiting numerous garden and homewares stores, two young children – who like to climb on and touch everything – in tow, looking for something I might not even find, I was going to have to make these things! So, I did.
There are a few tutorials out there for similar pots though let me know if you’d like me to do one too (I just kinda made it up as I went along).
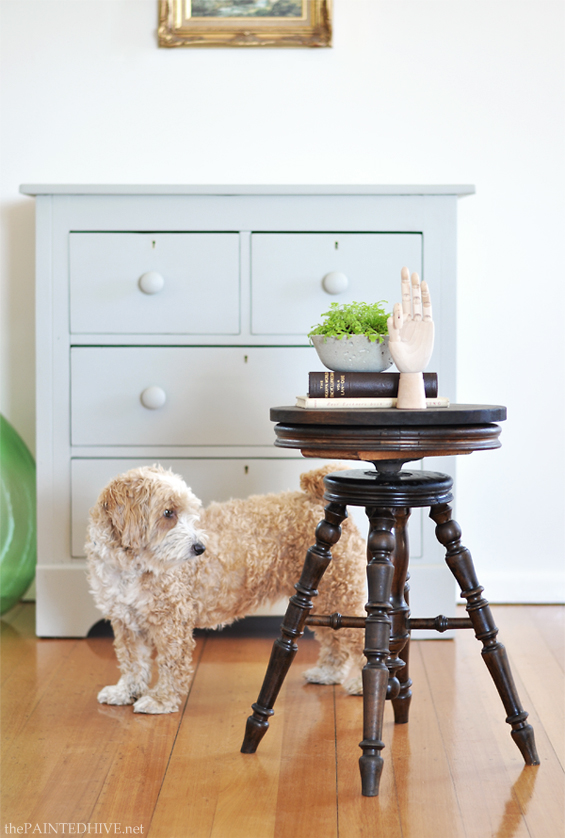
Seems this little guy couldn’t resist crashing my photo shoot again.
I know I say this every time I post an update of my parent’s room makeover, though we are really, really close now. Can not wait to share the finished space!
Catch up on earlier posts about the room redo here…
Part 1: The Plan
Part 2: Progress and Pieces
Part 3: New Decisions and More Finds



So lovely and a great easy solution. Your photos are fantastic too.
Can not wait to see the finished room.
Thanks so much Laura :)
I would really appreciate a tutorial on the concrete bowls, and I love what you are doing with this room. I am getting lots of ideas.
Great. I’ll see what I can do Val :)
Hi again Val
Did you see my most recent post? I finally got around to sharing a tutorial for the concrete vessels :)
Kristine! Love, love, love that color. Great job – it has great depth now. And, isn’t it great to “stumble” on a solution? It doesn’t happen to me often, which makes it more the sweet when it does. Looking forward to the next install. :)
So true Deb. I was looking around online though couldn’t find anything large enough to use for the new top that wasn’t going to cost more that the whole stool in the first place!
When I came across that bread board in Target I couldn’t believe my luck!
I think the next install will focus on the large scale bird art – looking forward to sharing that one :)
no other word for this but gorgeous, and waiting for the final reveal is like reading a who dunit lol xx
Ha, ha. Thanks Chris.
I just love this! You’ve given it a make-over but managed to keep its aged appeal. Clever you
Thanks Shell. Just a simple refurb.
I did get your previous email too – I’ll reply later on today :)
Great idea! Fabulous!!!
Thanks guys :)
An amazing transformation! Your concrete bowl is the perfect accent with the books — so pretty!
Thanks so much Lauren :)
Great stool and perfect for this project…..a one of a kind. Would like to see a tutorial on the concrete planter if time allows. Thanks.
Thanks Gail. I’ve had a bit of interest in the planter (through my blog and via social media too) so will get onto a tutorial :)
WOW. I love the refurbished stool. It is a great side table.
What a beautiful stool that was, I absolutely loving it.
I still can’t believe how beautiful this turned out! I never thought of using a piano stool as a side table. I’ve always wanted an excuse to buy one and I think I finally found it :)
Ha, yay! Be sure to tag me when you find one Meg so I can check out its loveliness :)
Your pretty stool caught my eye at the Creativity Unleashed party. Beautiful restoration, nice staging, beautiful photography! Pinning to share.
Thanks so much Marie :)
You did an incredible job on making over that piano stool. It is stunning. I would love for you to share this at the Friday Favorites link party going on now.
~Bonnie
http://www.oursecondhandhouse.com/2016/03/friday-favorites-week-317.html
Thanks Bonnie. Just linked up :)
Drooling over your stool! I have been wanting one for so long but they are always priced super high around here. You are so lucky and you did an amazing job on it! The color is perfection! Have a great weekend!
Smiles!
Terry
The Curator’s Collection & Making Broken Beautiful
They are usually pretty pricey here too Terry. I think I just got lucky because the seat was broken and no-one else could be bothered fixing it. Win for me – yay!
I love this stool makeover. We have an old organ stool that broke years ago now sitting in the garage waiting for some creative makeover. The age and depth and beauty, even though it’s broken just cannot be thrown away. I love what you did, and the ingenious Target find to make it a table. It’s perfect!
Thanks so much Cheryl :)
i always read blog but this is one of the best for the viewers thanks for the real and helpful blog
Clever idea! I love how you breathed life into the old stool with the new top. And you have a very good eye for decorating. Thank for you sharing this on the #HomeMattersParty
Thank you Jeanne :) And thanks for hosting.
Love the remake on the piano stool. Would love a tutorial for a concrete planter. Thanks for your excellent posts.
Thanks Debbie. Your wish is my command! Here it is: https://thepaintedhive.net/2016/09/diy-concrete-vessel-planters/.
:)
Love the dog. He/she upstaged your project (which I liked).
Hello to all
In this baffling time, I proclivity you all
Appreciate your family and friends
I just love how the bread board instantly changes it from a stool to a side table. Well done!
Thanks Khristine :)