
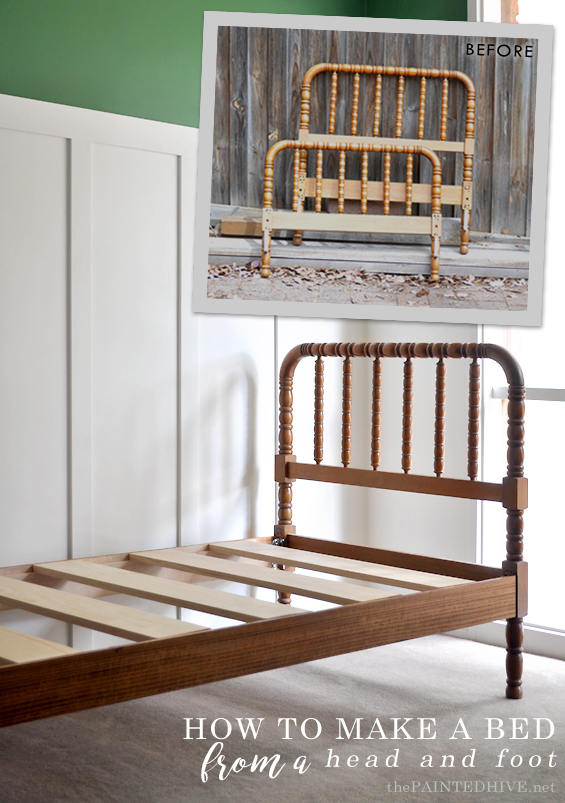
Have you ever come across a really lovely (and super affordable) old bed only to pass it up because it was missing its rails and slats?
That’s almost what I did when I was hunting for Riley’s “big boy bed”.
You may have heard this story before…
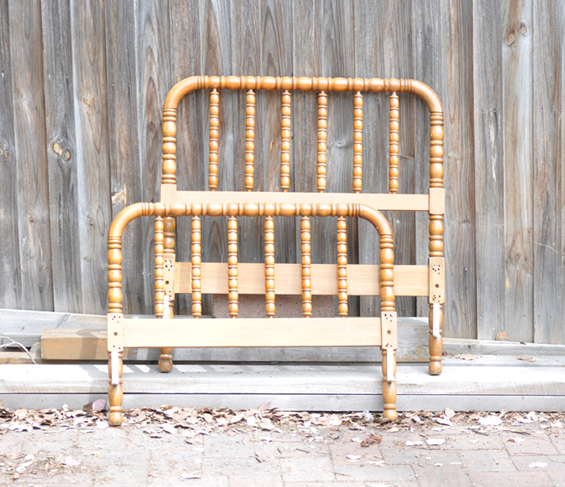
I stumbled upon an antique cotton reel bed in the deepest, darkest corner of a local antique store behind layers and layers of dusty old rugs.
It was gorgeous and inexpensive and perfect (and a rare find for here in Australia). Only catch was…it wasn’t really a bed at all – just a head and foot!
Having never converted a basic head and foot into an actual bed before, I had no idea where to start. Though I knew it couldn’t be all that hard.
Fast forward one exchange of money for goods, some car Tetris to transport said goods home, and a few quick Google searches for “bed brackets”, I realised this project was going to be even easier than I thought.
STEP 1
The first thing we did was purchase some planks of wood to form the rails. We chose 10cm (4″) wide x 3cm (1″) deep pine which we cut into 190cm (75″) lengths. This is the length of a standard single (twin/bunk) mattress.
STEP 2
Next, we needed somewhere for the slats to sit. My husband got all fancy here and routed an “L” channel into the actual rails.
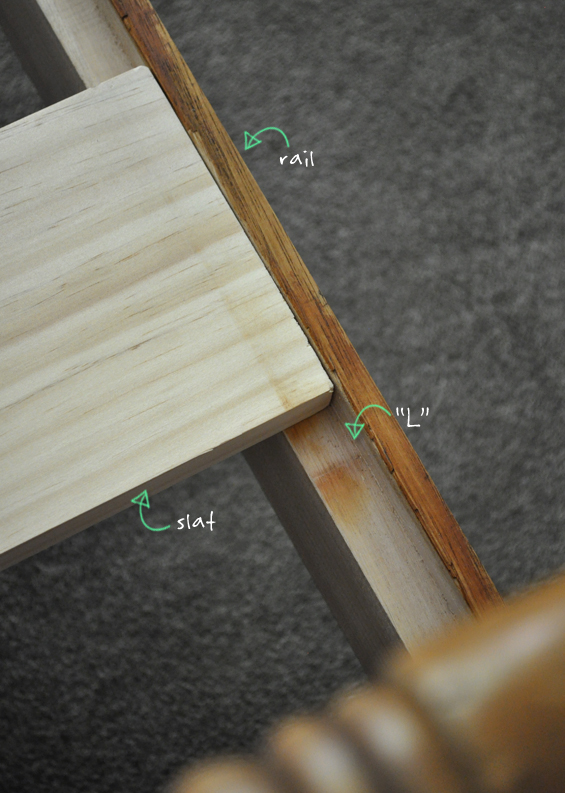
Don’t mind the fact this looks a bit messy. The mattress sits on top so none of this is visible.
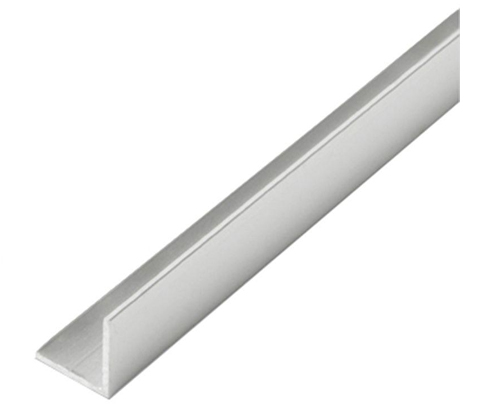
The easier option would be to simply screw some sort of slat shelves to the inside of the rails instead. You could use basic timber strips or some metal “L” trim like this…
Note: Before you attach your slat shelves (or route in your “L” channels – if you’re being fancy!), ensure you know the depth of your slats and determine where you’d like your mattress to sit in relation to the rails. Obviously, this will influence where the shelves need to be positioned. As can be seen above, we decided to make our slats flush with the top of the rails so our “L” channels needed to be the same depth as our slats.
STEP 3
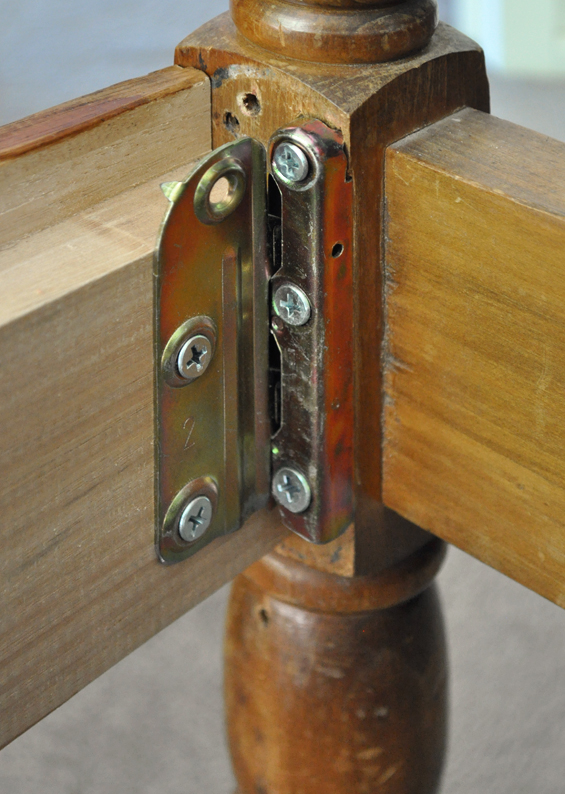
To attach the rails to the head and foot we used bed brackets.

These are easy to find online, come in a few different styles and sizes and are a cinch to use – though you do need to be careful with your placement to ensure the rails sit nice and straight and neatly abut the head and foot.
Now, I was a bad, bad blogger and didn’t take progress pics of attaching the brackets because, well, I never really planned to write a tutorial about it. You see, I thought this was going to be a relatively boring project that no-one would care less about. Turns out I was wrong. Since mentioning it a month or so back I have received so many questions I thought it deserved its very own post.
So, given my lack of foresightedness, here’s a photo I stole from the internet which clearly shows how the brackets work.
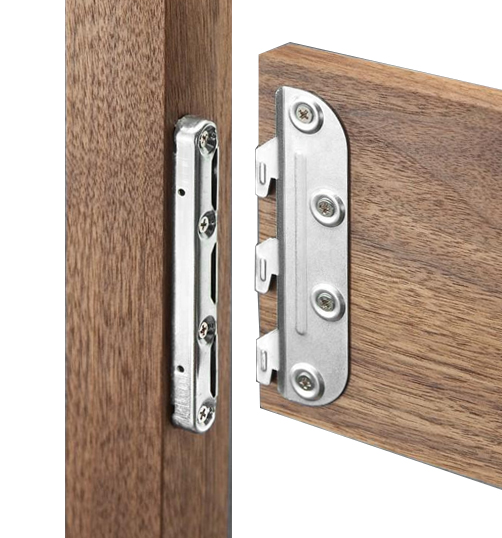
Basically, first we attached the male components to the inside of our rails. Then we attached the female components to the head and foot. And then they simply slot together like so…
Pardon the holes. They were there when I bought it.
STEP 4
With our frame now joined we measured the opening and cut some slats to fit.

We went with 14cm (5″) wide x 2cm (.7″) deep pine. There are six slats in total spaced at around 15cm (5″) intervals which merely rest in place.
STEP 5
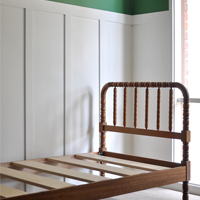
Finally, to finish things off, I stained the rails a warm mid-brown to co-ordinate with the existing head and foot.
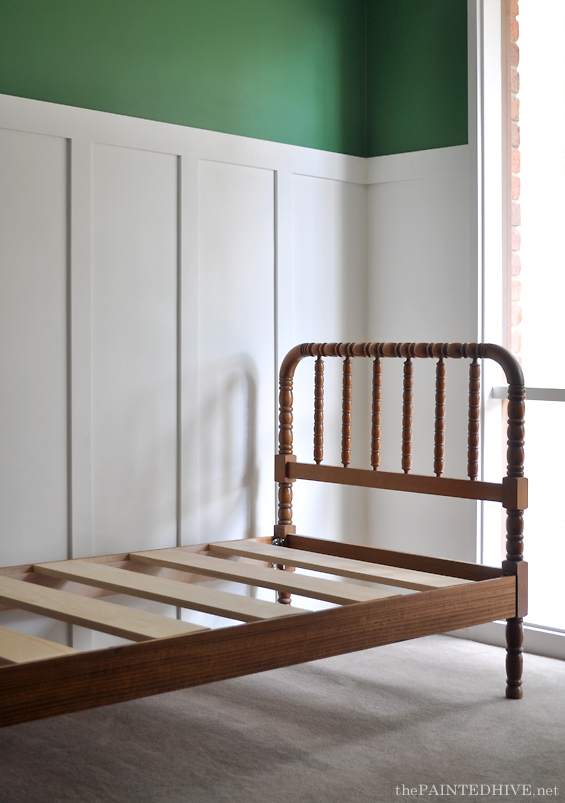
Unfortunately I can’t get the whole bed in one photo. Those of you familiar with my house know the story – tiny rooms, weird angles.
I just mixed up a colour using left-over stains I already had on hand.
So, there you go. For anyone who’s been hesitant about snapping-up a head and foot in the past, or for those of you who may already have something languishing in a deep, dark corner somewhere, I hope this provides some clarity and confidence. As you can see, it’s a relatively quick and simple project.
Now, I know it’s been slow going however things are progressing in Riley’s room. And I’m super excited about the next step which will completely transform the current look…sconce hack and gallery wall here we come!
![]()
Catch up on my previous posts about the room makeover here:
PART 1 – THE PLAN
PART 2 – THE PAINT


Lovely Kristine!!!
Thanks :)
Good find and better fix. Wonderful!
Thank you Deb :)
Thanks so much for this info. I have two bed heads and feet sitting in my attic becasue I never knew what to do!
Thanks Kristine. This is just what I needed. I have two heads and feet that came out of my Aunt’s place and I love them…but they were attached to beds that got turfed and I was wondering how difficult it was going to be to use them…not anymore :)
Oh great. Glad to have helped Lesley :)
I got stuck in one of those blog wormholes and came across yours. I love your blog. You’re fearless and clever. I am slowly fixing our place in Collingwood. Dabble in building and hacking and making do with what’s around. I have bed head and foot that I have had for years. Daybed I think it will be. Thanks for the tips!
Hi Ruth
So glad you found me!
Thanks for leaving a message. It’s always great to hear from new readers :)
Kristine
….just realised a header and footer is probably more suited to a word doc, not a bed. It just rolls off the tongue a little easier than a head and foot.
Hi Kristine, well done. You’re proving that with a little bit of bravery you can do anything ;-)
Kerry
You did an amazing job! I have been wanting to make one of these but haven’t really found any good tutorials until now. This is perfect! You should be EXTERMLY proud of it….. Pinning so I can attempt in the spring…
What a clever solution! Thanks for sharing.
Thanks Jo Ann :)
if you put boards across like what you have do you need a box spring?
No, the planks are the base for the mattress :)
Very cool – I will have to try this – I come across head/foot boards all the time with no frame.
How clever! Thanks for sharing xx