
If you follow me socially (via Instagram, Facebook or through my Facebook Group) you may have seen some progress snippets over the past few weeks. I’ve been holding-off on posting here because I was so eager to have something finished to share, but the fact is we’re still between projects at the moment. So unfortunately another ‘progress report’ will just have to do for now.
Still, we’ve been doing quite a bit so there’s plenty to reveal. Here’s where things are currently at…
BATHROOM
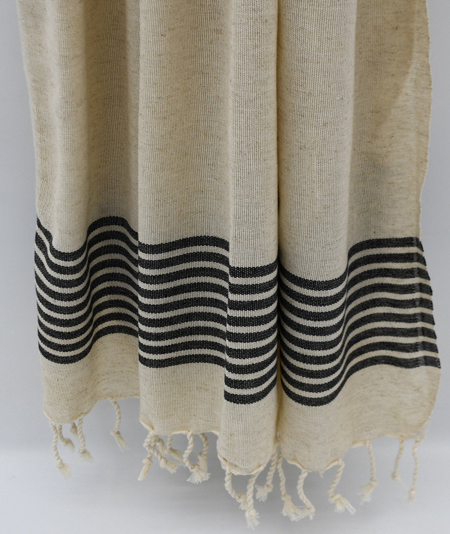
The bathroom is soooooo close! I know I’ve been saying that for a while, though it’s essentially finished. I’m just waiting on some cabinet pulls, wall hooks and pretty towels to arrive in the post.


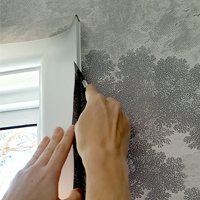
My custom wallpaper arrived not long after Christmas and I hung it in early January.
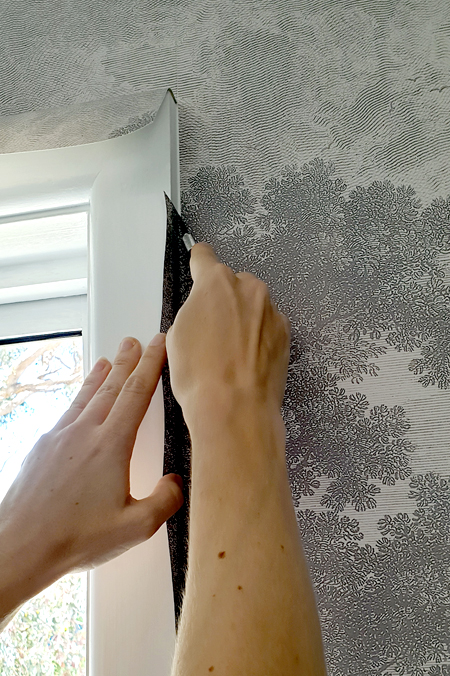
It was tempting to share some wide-angle pics, though I don’t want to give too much of the room away whilst it’s still incomplete.
It was such a relief to open the package and see it looked just like I had hoped! Ordering anything custom, especially something you’ve designed yourself, has its risks.
After quite a bit of research, I ended-up purchasing from a company called AJ Wallpaper (they are relatively local to me though ship worldwide). They offered a very competitive price (the most affordable I came across) and had great customer service too, plus the delivery was very quick, especially considering it was right near Christmas time. I opted for their premium canvas peel-and-stick material which cost a total of around $280 for the room (about 5 square meters). As with any wallpaper, it wasn’t difficult to hang though it was a bit fiddly and time-consuming. It probably took me about three-four hours from start to finish.
For those of you who have been waiting for the free printable downloads I mentioned in my previous wallpaper post, I’ll be sharing them following the full bathroom reveal.
To finish off the wall tile, mum and I attached some timber trim to the top.
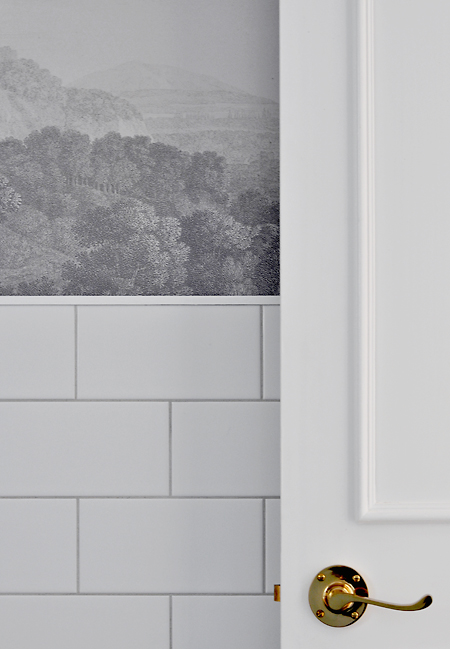

We were originally going to use pencil tile though this was about 20 times cheaper, plus I prefer the fact that the timber trim provides long unbroken lines. We simply painted it gloss white to match the subway tile.
I really wanted a brass oblong mirror for in here, though after searching high and low nothing I found was quite right (unless my parents were willing to spend hundreds of dollars – which, understandably, they weren’t). I considered DIY’ing something though in the end we decided this $30 Kmart mirror would suffice.
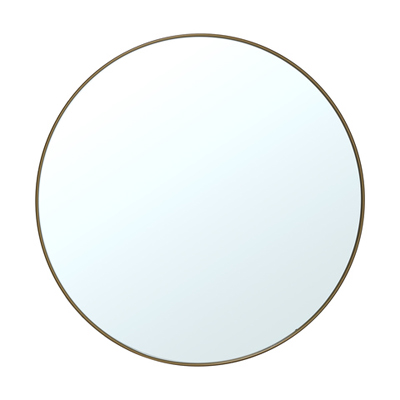
It’s basically identical to what I’ve had in my 3D renderings from the beginning, and if the perfect brass oblong mirror happens to show-up, we can always relocate this one. No harm done.
The frame is a little duller than I would have liked so I might give it a coat of Gold Leaf Rub ‘n’ Buff to liven it up a bit.
POWDER ROOM
Like the bathroom, this little room is very close to being complete.
The only real projects are painting the walls and possibly doing some kind of mirror hack. And decorating of course – but that’s the fun bit!
Although the powder room has been designed to gel with the adjoining bathroom, I didn’t want the two spaces to match so it was never my intention to use the same wallpaper in here. That was a statement that needed to stand alone.
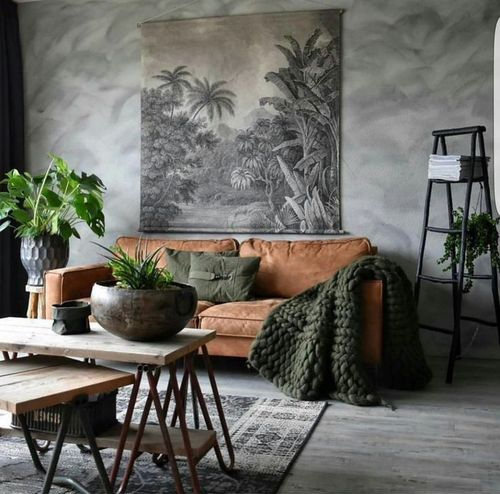
Instead, my idea was to unite the rooms by bringing the ‘trees’ from the landscape mural into the powder room with colour. Does that make sense? Almost like the powder room had stolen the green from the wallpaper.
I was keen to go with quite a deep olive, though my parents weren’t so sure. Dark colours aren’t really their thing.

So I slapped a few different swatches up on the wall to help us work things through.
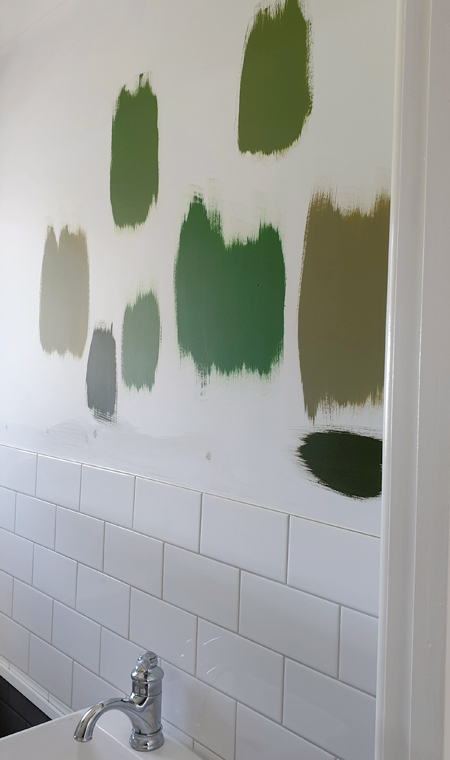
All of these colours are the result of using just two sample pots (one of which I already had). It’s a good little tip…if you’re quite unsure about the exact colour you want, instead of spending money buying a million sample pots, just get two at the extreme ends of your spectrum. If neither are right, try blending them at different ratios until you arrive at something close to what you’re after. You can even experiment with adding touches of black or white, and also other colours you happen to have on hand. Once you’re happy, you can then match your invented colour with a comparable official colour.
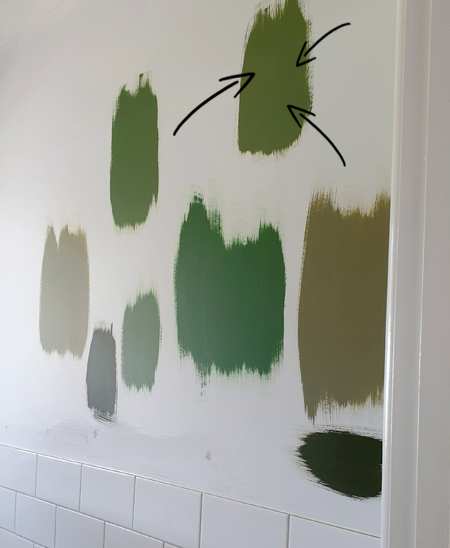
At this stage it looks like we might be going with something like this one…
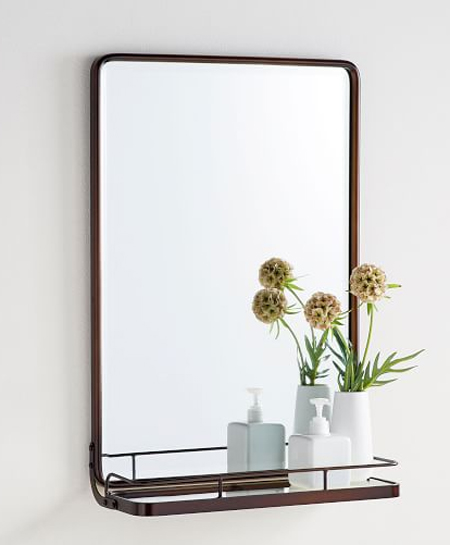
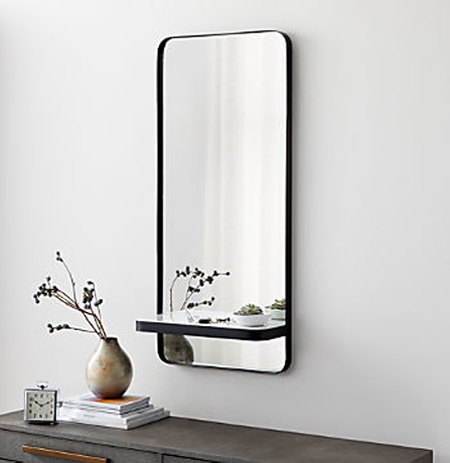
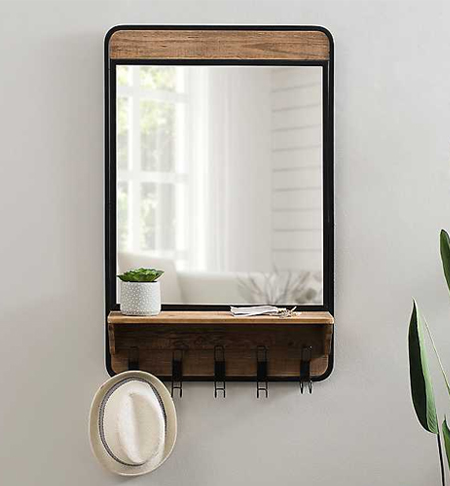
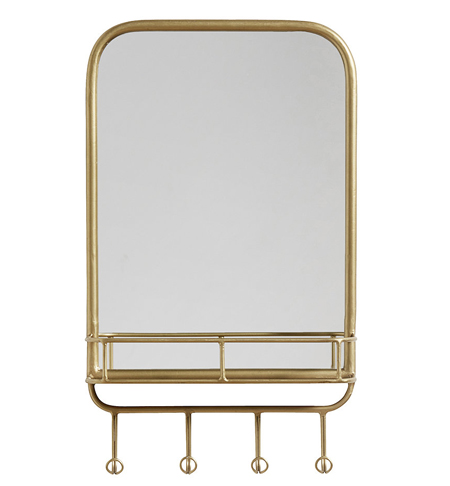
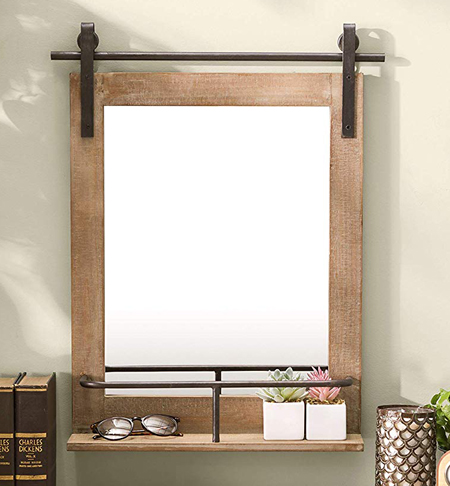
Because there isn’t much space on the little basin, from the start I’ve been considering using a mirror with some kind of shelf. Not sure whether I’ll be able to find something, will have to hack something, or may need to build something from scratch.
NEWEL
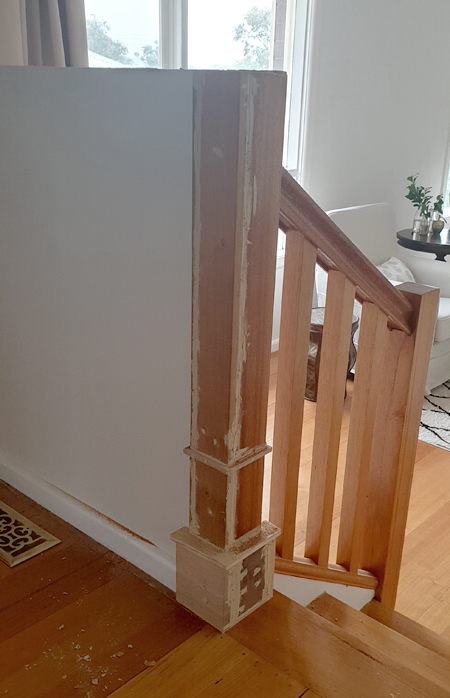
Another little project I’ve been working on is trying to make sense of this messy half-wall-meets-newel-post left by the builders.
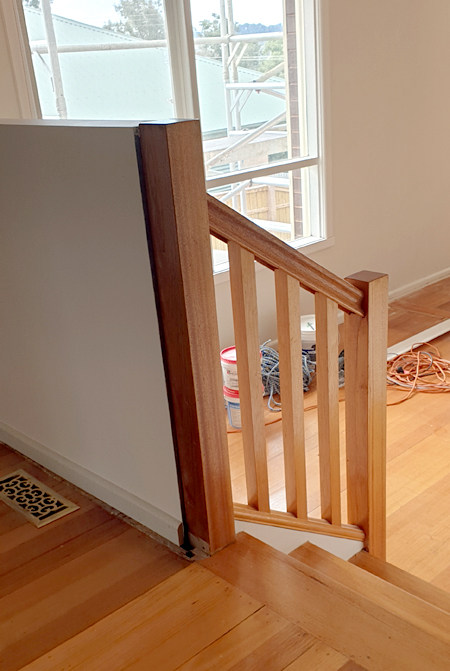
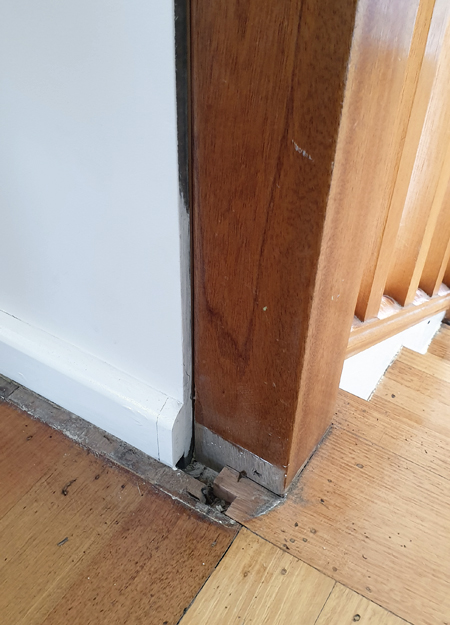
As you can see, it was pretty poorly resolved. The builders weren’t sure how to tackle it so I just told them to leave it with me.
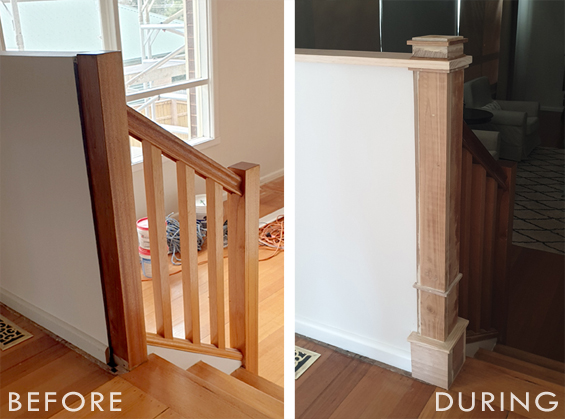
Although it’s not part of the new build it needed to be modified following the placement of some structural steel. There was originally a balustrade where the half wall now is (sorry, I can’t find a photo of it) but here are some other pics to provide context.
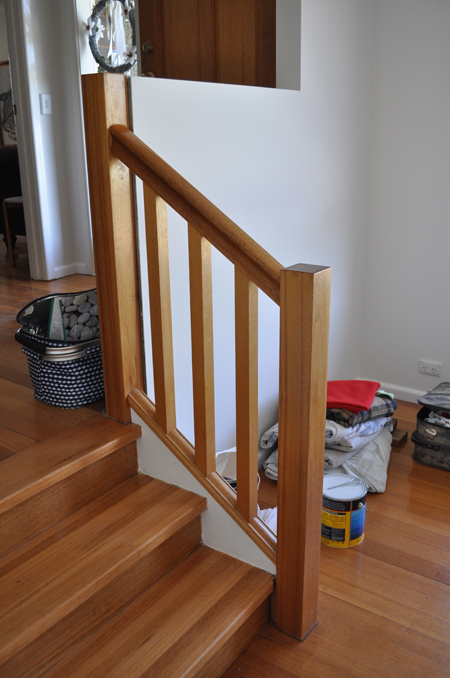

Now, I’m not gonna lie, working out how best to deal with this was a total brain melter. There were lots of different components to work around and everything was a little off square.
I started by bulking-up the front of the newel and attaching a chunky skirt before adding some trim (and very messily filling all the gaps!).
Then I attached a shelf to the top of the wall and built a finial to top things off.
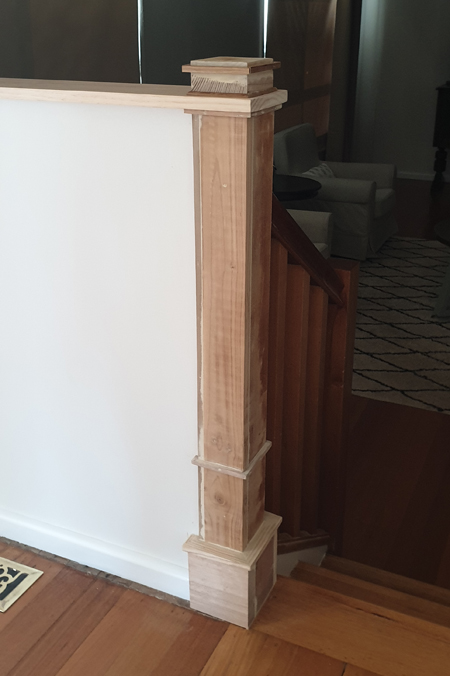
Clearly it still has to be painted, and the floor needs a bit of work too, but it’s looking better already.
Aside from the shelf, which cost a grand total of $9, I just used scrap timber from the shed so it was basically free. Looking forward to sharing the proper after!
KITCHENETTE
We’ve finally found some time to sit down and work out a rough design for the kitchenette.
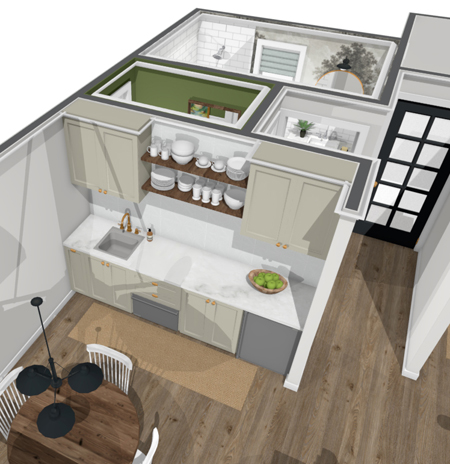
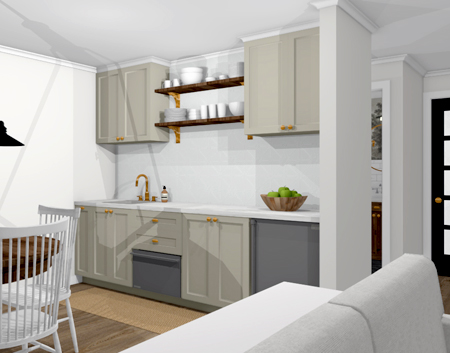
This isn’t set in stone though it’s nice to have somewhere to start.
![]()
Can’t wait to have some finished projects to share. It’s not long now!
![]()


As usual, you are amazing!
LOL, too nice. Thank you :)
All is lovely, but I am truly impressed with your newel post solution! Bulking up the post and adding the trim was genius! Have you thought about NOT painting the top shelf? Instead, stain it to match the railing. That would highlight it’s originality.
Thanks so much Trudy. Yes, I did think about staining the shelf though we decided that we don’t really want to make it a feature so it will be painted white to match the trim. I think it could look nice either way. Just depends on the look you’re after :)
The Newell post is brilliant!!
LOL, not sure I’d go that far but I am happy with it so far :)
I’m always amazed at how talented and creative you are!
Are you using Sketchup to layout your design? This space is really lovely!
Thanks so much. I use Home Designer Pro by Chef Architect :)
So fun to see all the planning and colors, and design work. Love everything.
I especially love the green colors and the wall paper. Great job on the post going into the stairs.
Thanks Julie :)
Love, love, love your use of green in your decor. Your colours are so refreshing. Your fix for the post and half wall is brilliant. Looks amazing. Thank you for sharing!
Great resolution to the newel problem!!
Thanks so much :)
Wow! What vision you have to make that “stump” look like a planned newel!!!
you always come up with such good ideas to resolve problems, another great job done!!
JoAnn
Thanks Jo Ann :)
You have resolved the newel post so beautifully. So clever.
Thanks so much Di :)
You are making great progress! I think it’s nice to see how challenges are worked through. Thanks for letting us in on the agony as well as the ecstasy of the finished product.
Oh my goodness!! Those wallpaper sneak peeks are too fabulous!
It all looks very exciting. I like the door choice in the kitchette. UPdating hardware and doors can make a big difference.