Now that things have finally settled down (in case you missed it I’d been helping my gran prepare her house for sale), it’s time to get back into some decorating for my own home!
Starting with my little boy’s half-finished bedroom.
If you’ve been following along with the makeover you’ll know that…
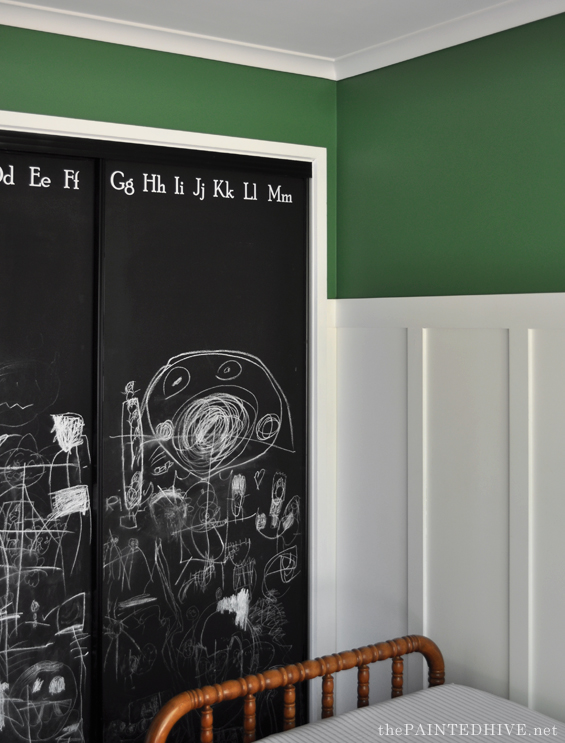
The walls got a coat of paint…
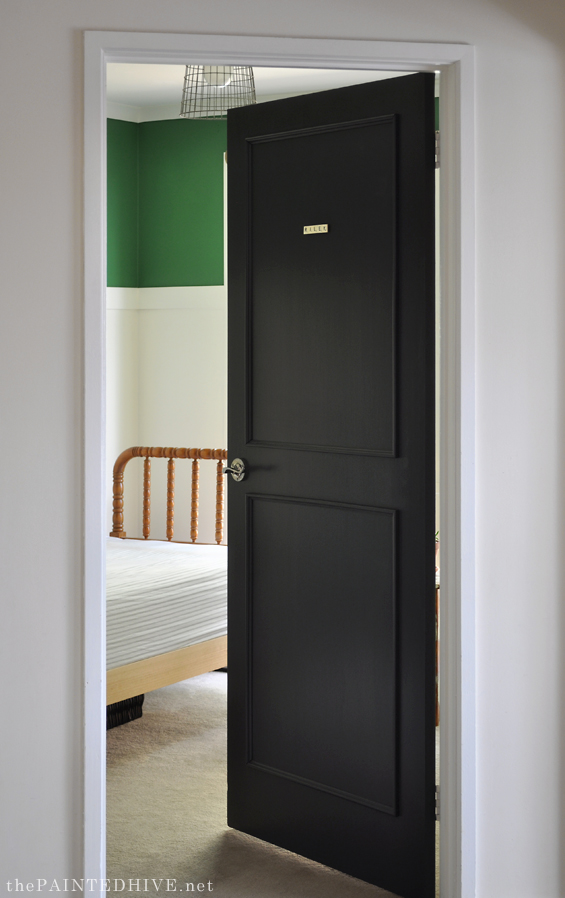
And the door got a mini makeover…
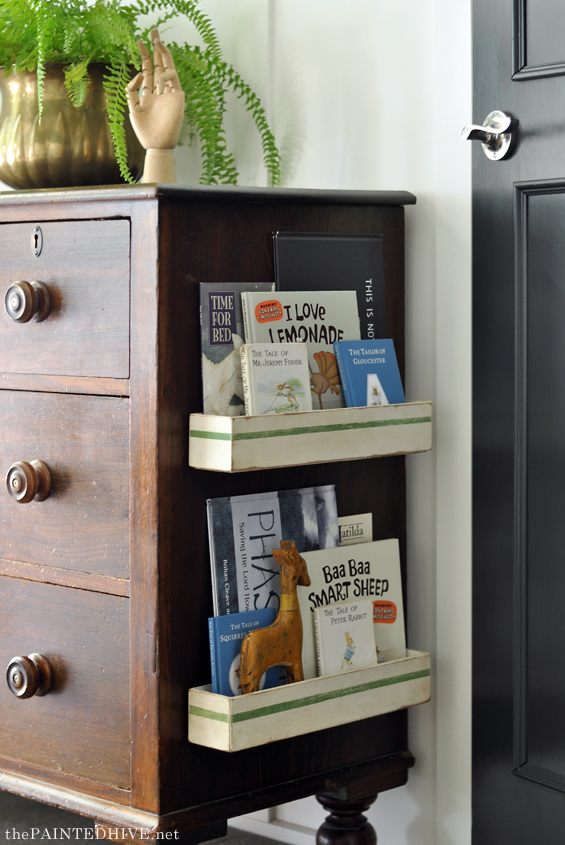
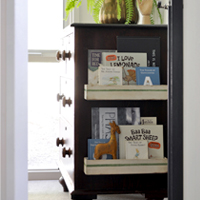
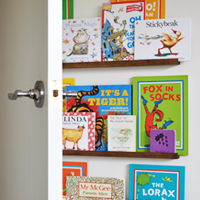
I made some easy repurposed book shelves…
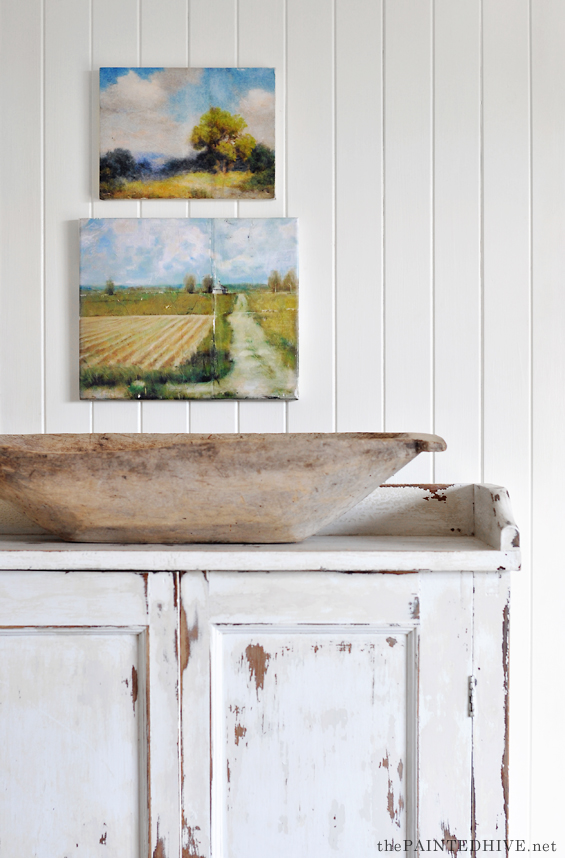
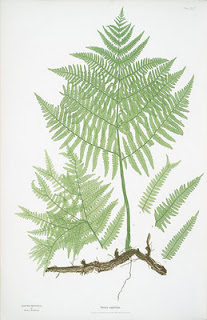
And simple landscape art…
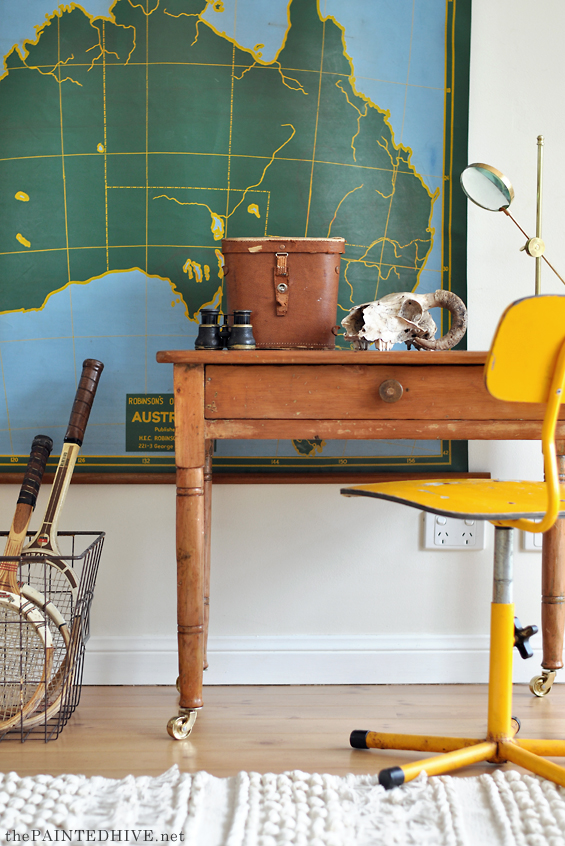
And purchased a ‘new’ desk and chair…
Then I got stuck.
You see, from the start I had envisioned using a cool wall lamp though I just couldn’t seem to make things work.
Plug-in sconces are virtually non-existent here in Australia so I was always going to DIY something (similar to what I did in my daughter’s room). I only had three requirements – it needed to be easy, it had to have a certain look, and it absolutely, definitely, positively could not negatively impact on my non-negotiable-landscape-art-gallery!
Suffice to say, after lots of shopping around and sideways thinking – and even a few attempts! – I didn’t feel confident I could satisfy my criteria (clearly number one was already out the window!). Of course, I could have compromised, or bolstered my efforts, or dedicated more time, though things just suddenly felt all too hard. Besides, my indecision was holding up the most exciting aspect of the space…the landscape art gallery!
I decided to forgo the wall lamp all together and things suddenly progressed!
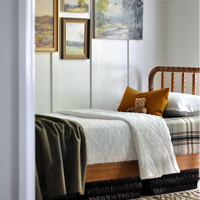
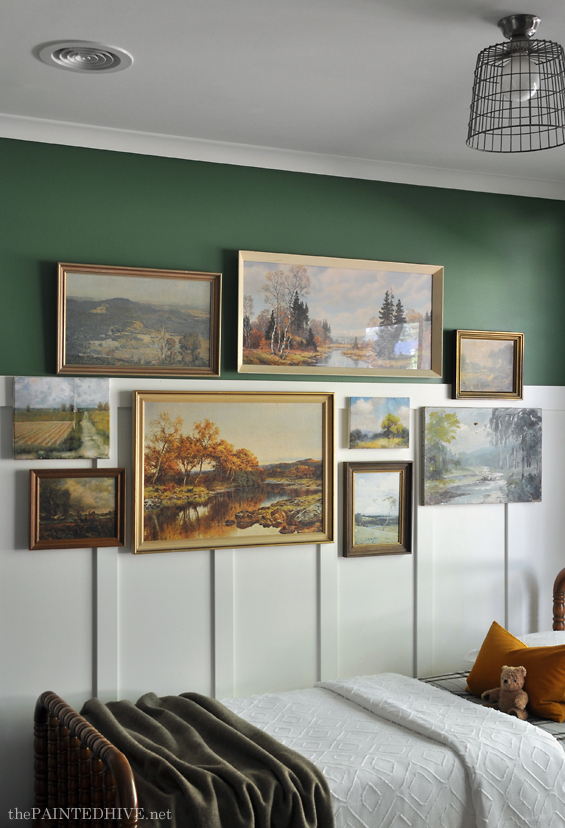
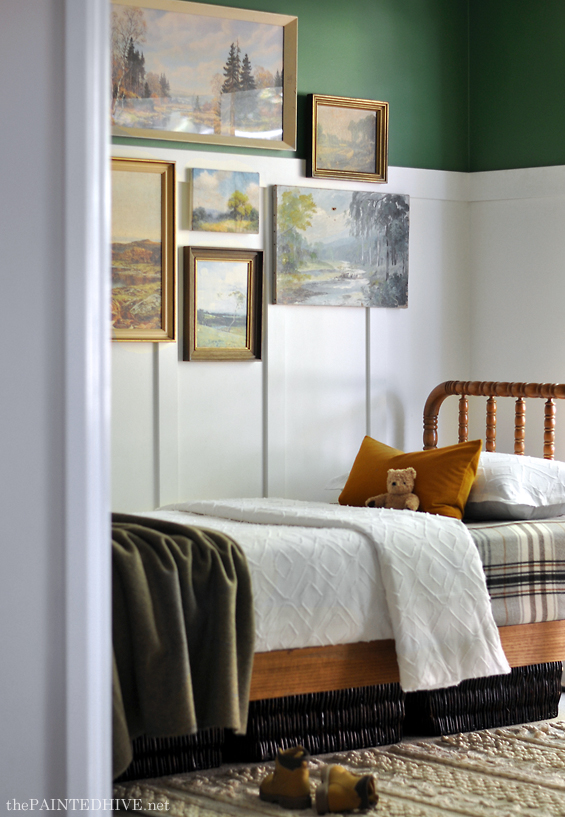
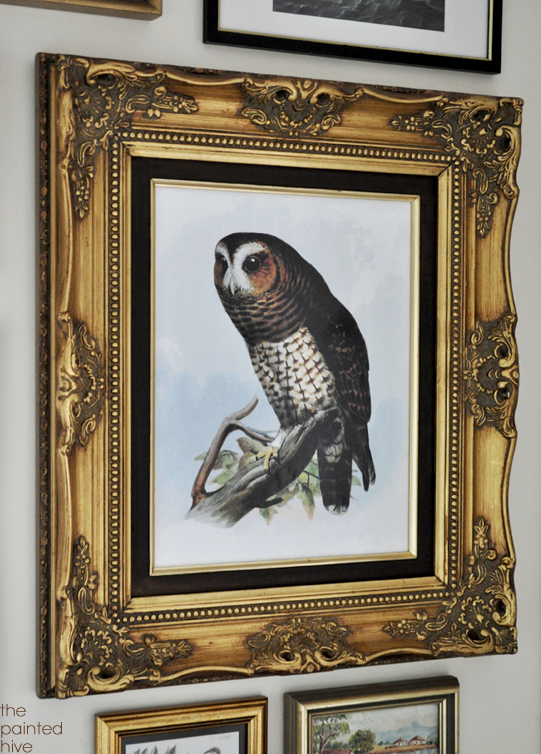
I hung the gallery…
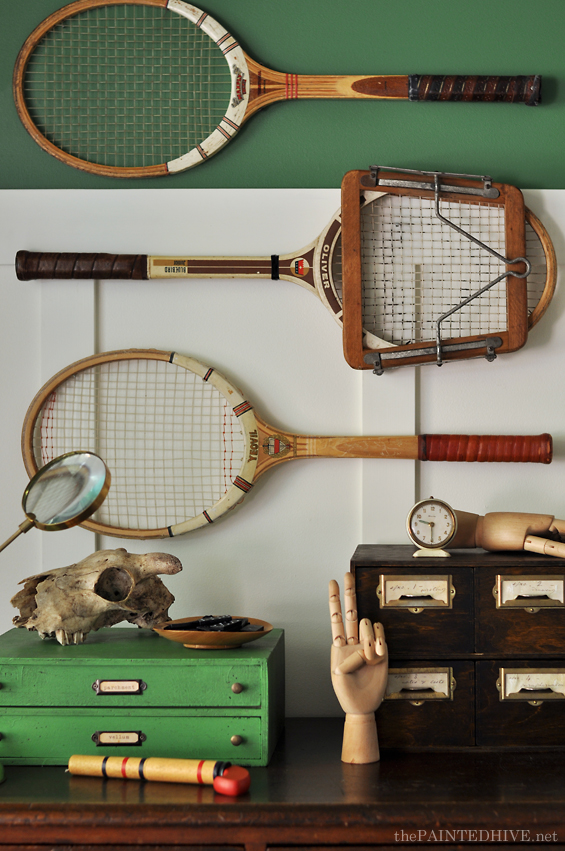
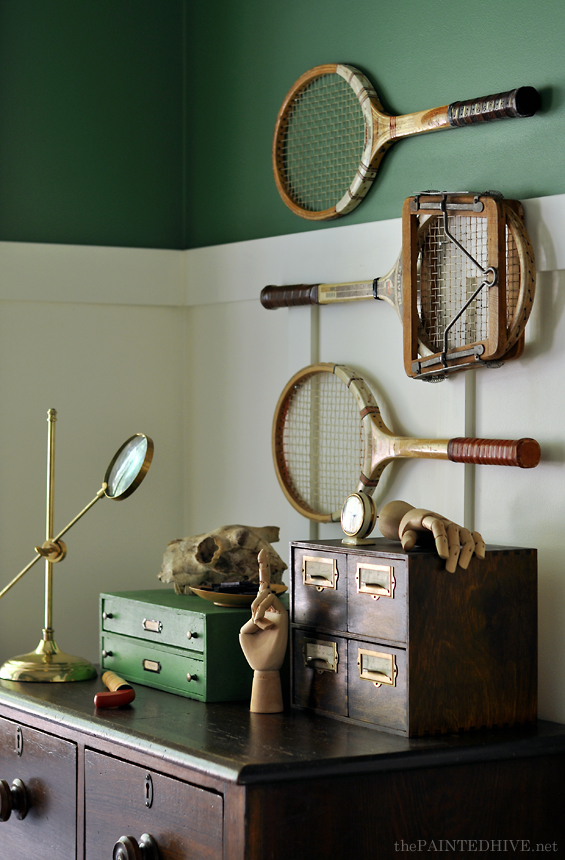
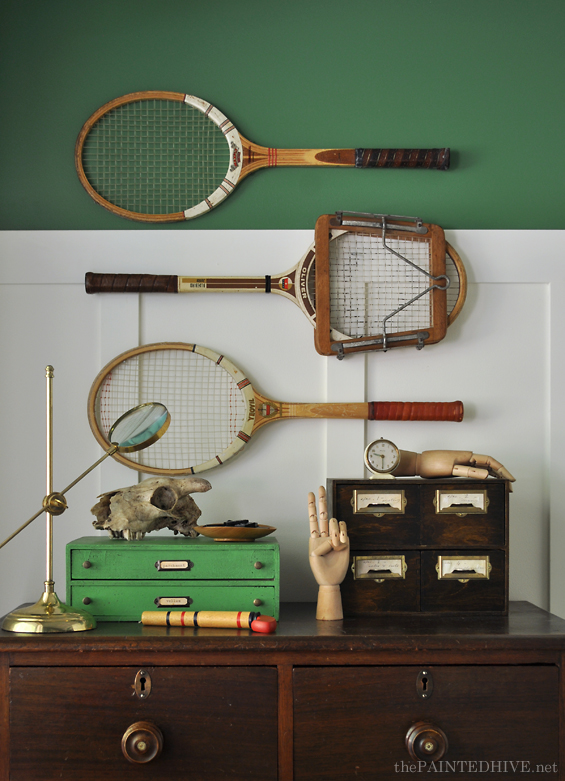
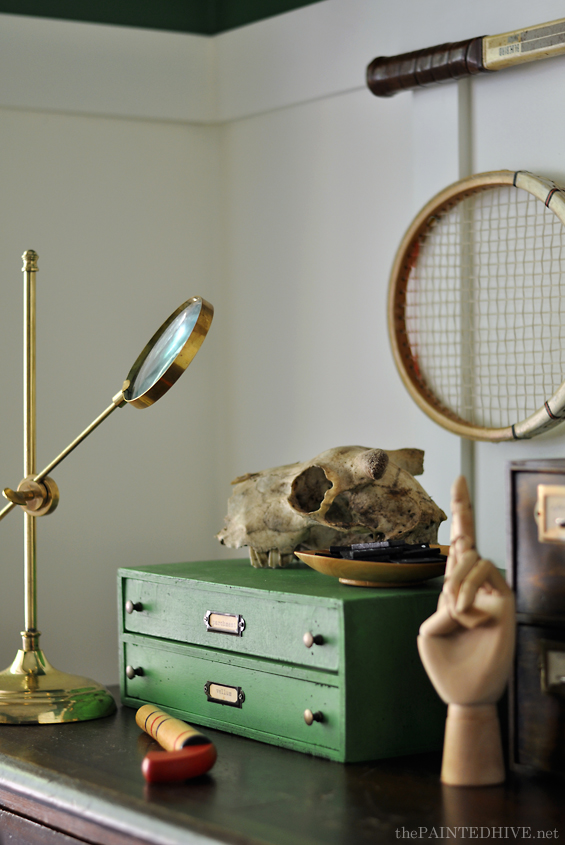
And some vintage tennis racquets…
I made the bed…
And played around with some decor…
I have wanted a landscape art gallery somewhere in my home FOREVER and am so excited there’s finally one! I absolutely love it!
Most of the works are thrifted with nothing costing more than $10. The two smaller canvases are easy DIY’s which I shared here.
I didn’t do any fancy gallery wall planning prior to hanging. I simply laid them on the floor and played around until I was happy with the configuration (I like to start with the largest artworks first then build from there) then transferred them to the wall. To keep everything straight and level I secure each frame with a small dob of adhesive putty (Blu-Tack) under one corner.
The old tennis racquets are also thrifted. They cost around $35 total. Riley plays tennis so they’re just perfect.
Style-wise, the bedding is a bit of a mix of contemporary and vintage, fresh and moody.
The plaid throw is the HERMINE from IKEA. They no longer seem to carry it here in Australia. I actually bought mine from Gumtree for $35. The army blanket was a $50 eBay find.
The quilt cover was a bit of a splurge (for me!). I wanted something white to freshen everything up (and because it’s a dark room) and just fell in love with this diamond tufted one. It’s the Kokomo from Bambury and was $100 (although the bed is a single I use a double quilt – I just find that up-sizing provides better coverage). I know I could have found something similar enough for half the price though I had been looking for a while and sometimes you’ve just gotta bite the bullet.
The mustard velvet lumbar cushion, which I kinda want to marry, is from H&M ($12). It links perfectly with all the warm woods and the autumn tones in the art.
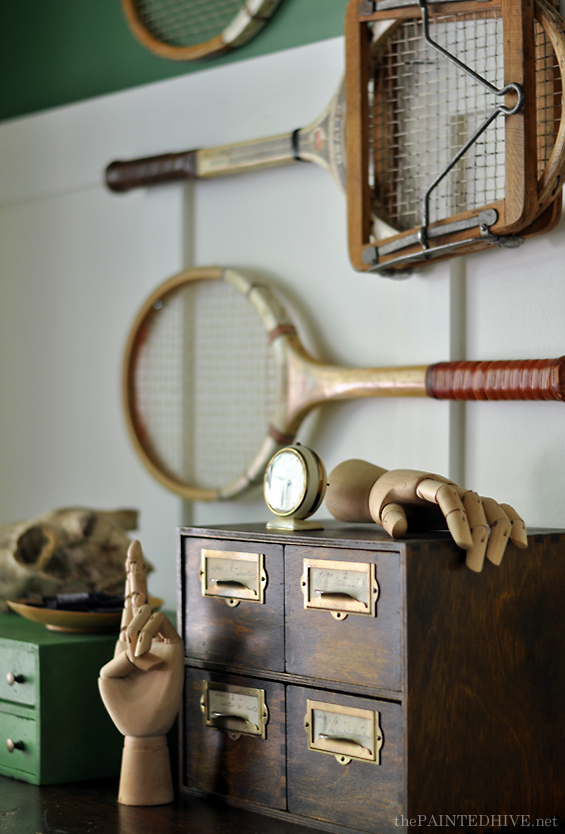
The two mini drawer cabinets are previous DIY projects (you can find my tutorial for the green file drawers here and the card catalogue here).
You can buy the timber hands on eBay and the brass magnifying stand is from TK Maxx.
The sweet little clock, timber dish and pop gun are thrifted. The skull was found in the paddock behind our house.
I know it’s hard to gather the configuration of the room from these pics (remember, this isn’t the full reveal post!). Just to give you an idea, the chest of drawers is on the opposite wall to the bed. It’s a tiny room at around 2.7 meters/8.5 feet square.
I still need curtains, an end-of-bed toy box and, strangely enough, a lamp (he, he). Some coat hooks, a whimsical accessory or two and probably to paint the desk. I know some of you won’t like hearing that though all of the furniture is wood. Overall, things are just a tad too brown, and it’s a dark room. I’m thinking either an off-white or warm grey?
In other news, I have an exciting announcement!
This Sunday at 4PM (Australia Eastern Standard Time – please check the world clock for your local comparable time) I’ll be hosting a Facebook LIVE session centering around the easy transformation of an outdoor space!
Those of you who know me will know that I’m usually BEHIND the camera, so although this is gonna be fun it’s also kinda scary! Please mark your calendar and be sure to pop on by. I’d love to see you there and any comments or questions during the feed are super welcome. Compliments such as “gee, your hair looks nice” or “those jeans totally don’t make your butt look big” will score the most points :)
Click the image below to join my Facebook page if you’re not already a follower.
I hope you liked this little progress update.




Another beautiful and creative room. I’ve been reading your blog since your very first master bedroom makeover, and get so much inspiration from you. Thanks for continuing to blog and sharing your ideas with us.
Aw, thank you. And thanks for being such a loyal reader Tricia :)
love the vintage racquets! My boys are tennis players too so it always gets worked into their bedrooms! love green paint you chose and the black door! love! laura
Thanks Laura :)
I absolutely LOVE this room. It is so classic and perfect for a boy. You are so talented! Thank you for sharing your gifts with all of us:)
Aw, thanks Patty :)
I love the collected look of this room! I enjoy seeing all the cool things you have added :) So much fun, and I love the green color.
Thanks Julie. That green seems to be a favourite!
I’ve had a small obsession with your recreated artwork since you first posted it. So much fun! And the room looks great.
Thank you Donna. Have you made any of the artworks? They’re so easy.
Yes, I have made several. One turned out so well that I put it in a frame and no one knows it’s not a real painting. Lately I’ve been saving images of sailing ship paintings that I’m going to print. I found a heavier weight tissue paper that I’ve been able to send through the printer without attaching it to another piece of paper. The hardest part is getting the tissue on the canvas without lots of waves and bubbles, but I’m continuing to work on “technique” and thank you for the inspiration.
Oh yay! I LOVE sailing ship paintings. So glad you found the project inspiring :)
It’s absolutely gorgeous! I love every detail especially that landscape gallery.
Hugs, Jamie
Thank you so much :)
The room looks great so far Kristine!! Can hardly wait till we can see it all! Love the colors and all the eclectic ideas you have here. Perfect for a boy’s room!!
Thanks so much Sandy :)
I’m loving this room. The vintage racquets are awesome and what a deal. Love the way you did the gallery wall. So many amazing pieces including the magnifier.
This little man has an amazing room he can grow with.
Good luck with your FB live.
Cindy
Thanks Cindy :)
I’d love to know the color of green paint you used! We are going to replicate this room for our son!
Thanks. It’s called Tarmac Green (Dulux). Cheers.
It really looks good. Perfect blend of new and old, light and dark – ya know, the Kristine vibe. ;) I am quite bummed that I will miss the FB Live this Sunday. It will happen at 2:00am my time and although I would love, love, love to attend, I am well aware my brain will not function properly at that time (getting older takes those types of things away….). Can’t wait to hear how wonderful it went!
Thanks Deb. Don’t worry about missing the live. It will be recorded and I’ll share on the blog next week :)
Based on the arrangements I can really tell that this is a boys bedroom, simple but sporty…
What a cool room for a little boy! Love it <3
Thank you Kate :)
I love it so much. The green color is really cool. Your photos are always stunning. Can I ask what camera you use? You are an amazing photographer!
Aw, thank you. To be honest, I don’t have an amazing camera. It’s a Nikon D5000 and is about ten years old! I’d love a new one sometime soon. I usually just shoot with the standard kit lens (18mm – 55mm) though my 50mm f1.8 is my favourite.
The decor is fabulous as always but I wonder how your boy agrees with the retro look, I mean, mine was all about Spiderman and such.
Oh yeah, Spiderman is Riley’s favorite! He has a drawer filled with figurines and costumes…that’s enough for me (and him). If I’m honest, this space was definitely a bit self-indulgent. However, Riley loves that he finally has a nicely decorated room with “Hulk walls” and I have really enjoyed bringing it together.
This is a great room! The white paneling keeps the green from overpowering the room. Love the vintage collectibles & the mix of different wood tones. And I love the little desk just as it is, Please don’t paint it.
Thanks Chris. I know, I do love it too though I’m just not sure it will work in the context of the room. Like I mentioned, all of the furniture is wood so it’s all a tad too brown plus everything is just blending together – none of the wood is getting a chance to shine! I absolutely adore the antique bed and cedar dresser (I can’t paint those) and would prefer to make them the heroes by allowing them to pop. We’ll see :)
I love the easy repurposed book shelves (I’m definitely doing those) & I love The cabinet labeled under simple landscape art I always look forward to great DIY’s here I started my first DIY a few weeks ago making a spice rack that didn’t go according to plans I tweaked it into a paint brush holder) Now i am working on making a bench into a coffee table witch is going better then the spice rack maybe i can blog someday not likely at all though but i do have a blogger.com site that was givin to me but has never been used (and probably never will be, because i do not CSS or whatever it is), Unfortunately I missed the Facebook live event can i watch it without an Facebook account Thanks!!!😉
Hi Leslie
Hmmm, I think the video will only be embedded on Facebook so you will need an account to watch it (or maybe you could borrow someone else’s!). So humbled to have helped inspire you to DIY. It can be challenging, and it often doesn’t go to plan, though I guess that’s how we challenge ourselves.
Kristine
A unique, sophisticated look for a child’s room.
Thanks Brette :)
Wow, you did a lovely job! I love when children’s rooms are something fresh and different than what you would expect. Love that this is a room that a little boy can “grow into”, as well.
Thanks :)
This is by far the most unique boy’s room I’ve ever seen! I love your use of the binoculars, the racquets and the old clock. I see many similar elements I’ve used to decorate my own home!
Hope you are well. Just ran across this room – it’s great!
How exactly did you hang the tennis racquets?
Thanks. There is a little nail at the head end which one of the strings just rests on, and the shaft is attached with a 3M click strip which is hidden at the rear.
This is great! I needed some inspiration for a boys room. I have a Star Wars themed room for my little guy but I want to branch out a little and this could get me in the right direction. That light is gorgeous. Thanks for the post.