
Normally when someone mentions a kitchen reveal it’s something to get excited about.
There’ll be new shaker cabinets with sleek marble counters, fancy island pendant lights, cool open shelving, hardware that doubles as jewellery and an amazing tile backsplash.
Yeah, well, this isn’t that kind of kitchen reveal.
As any of you who have been following along with the flip house will know, my friend wasn’t interested in renovating (which is totally fair enough). So, we’ve done the best we can with a simple cosmetic update. And it’s honestly amazing how much you can improve the feel of a space with little more than a good declutter and some fresh styling.
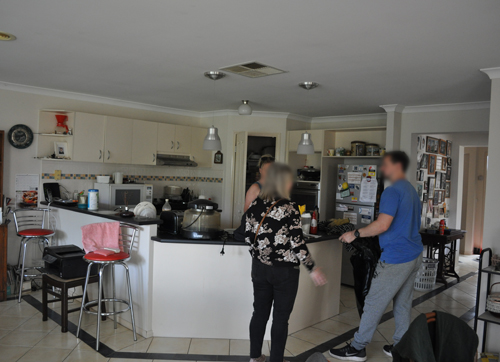
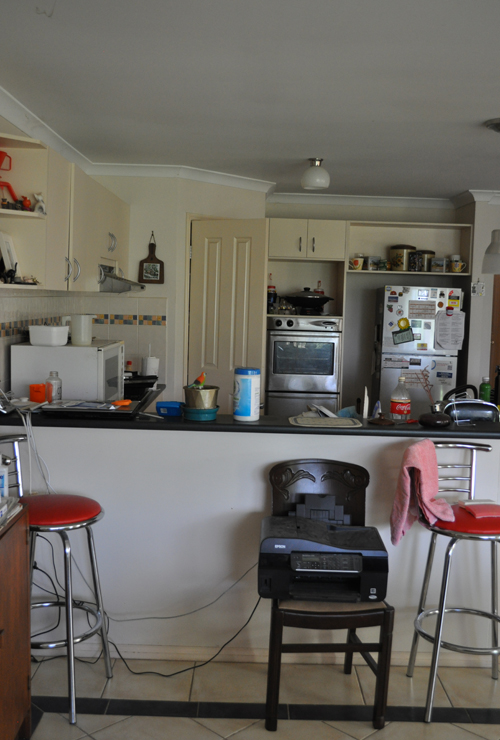
Here’s how things looked at the beginning of the flip…
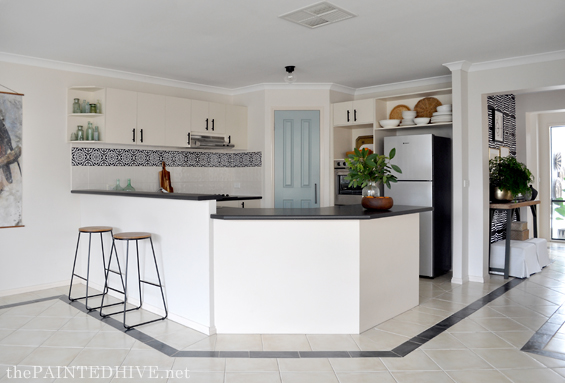
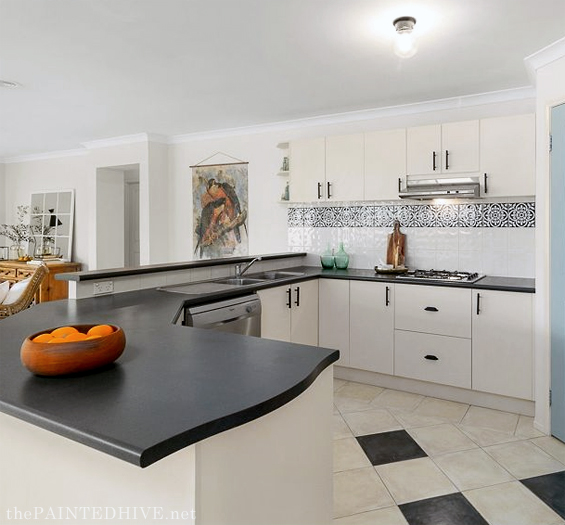
And here is the kitchen now…
You can find side-by-side before and after images toward the end of the post.
In many ways we got lucky with this kitchen. It had a simple black and cream colour scheme, relatively modern stainless steel appliances and a nice functional layout.
To make it appealing, it really just needed a good tidy-up, a decent clean and a few simple updates.
I’ve spoken about most of the little projects in my previous flip house posts however will touch on them again briefly.
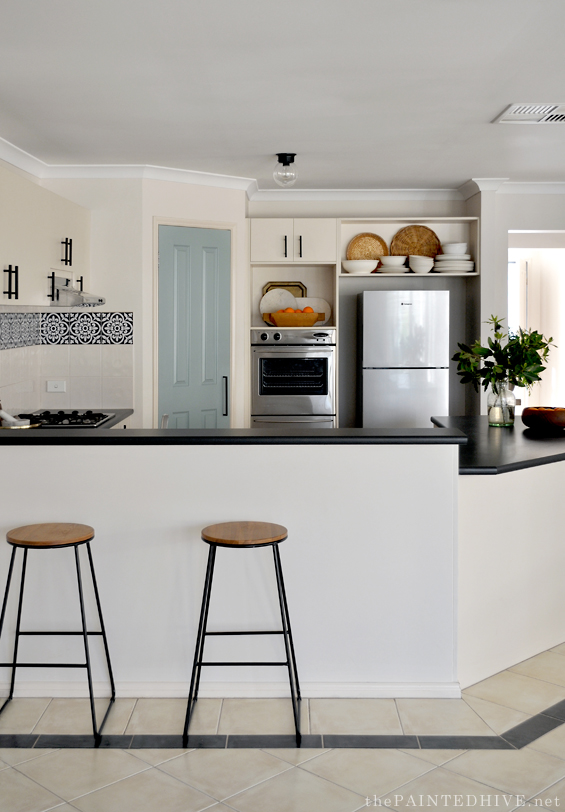
One of the bigger changes was painting the pantry door.
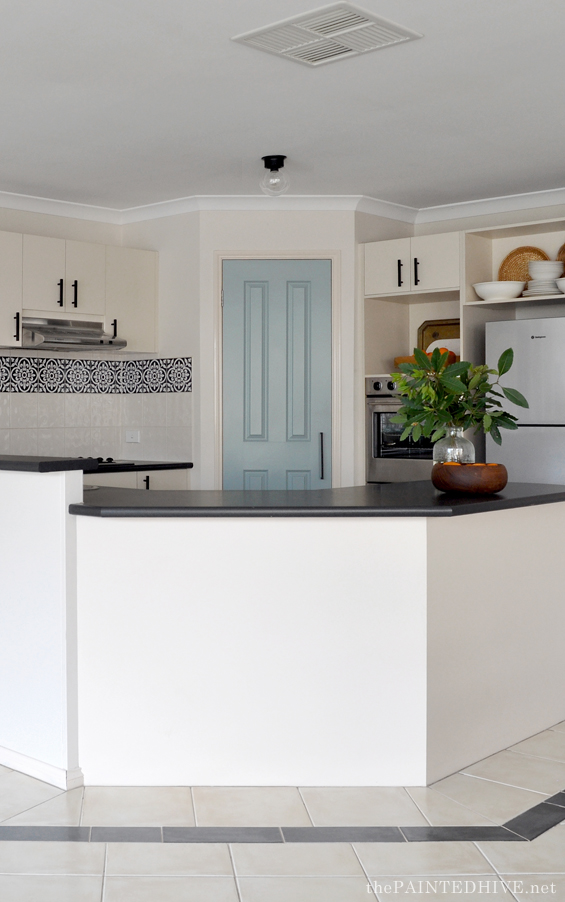
I wanted to break-up all of the cream and initially thought black would work to modernise things. I did one coat and hated it. With the benchtops and feature floor tiles it created a checkerboard feel which actually came across as dated.
So I decided to try some of the left-over Duck Egg paint from the exterior and it worked really well. It adds a fun colour hit which softens the black, updates the cream and introduces a touch of liveliness.
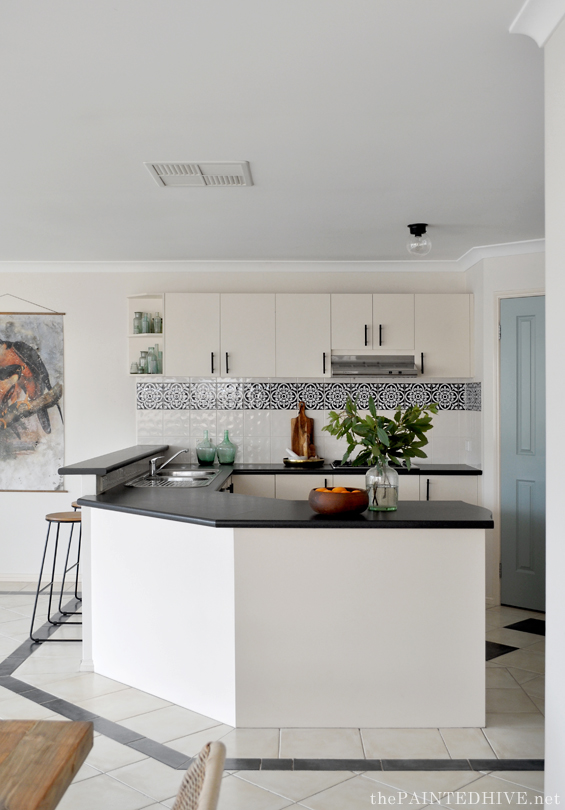
Another big-ish change was adding tile decals.
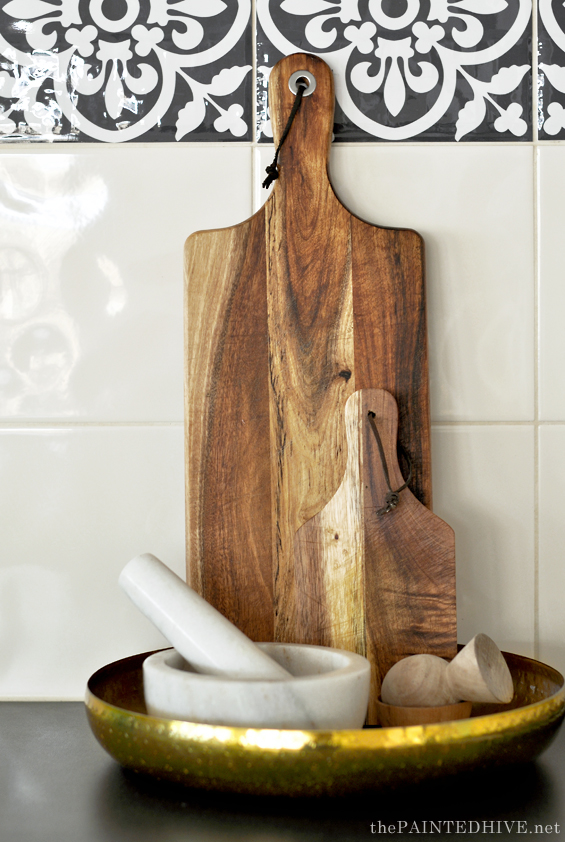
They look dimpled because the underlying tiles are textured. It doesn’t adversely effect the overall appearance at all.
The original strip of multi-coloured feature tiles wasn’t totally awful, though it didn’t exactly enhance the room or gel with the new feel I was aiming to create.
Tile decals are a quick and easy solution which pack a big punch! You can learn more about them in my previous post HERE.
To further modernise and solidify things we also switched out the generic silver cabinet handles for more contemporary black ones.

The pantry got this cool long bar pull and all of the cabinet doors got similar smaller ones.
For a point of difference I used bin pulls on the drawers.
I couldn’t find any really cheap bin pulls in the style I liked with the right hole centers (as obviously I wanted to use the existing holes in the drawer fronts from the previous handles) so I splurged a little here by spending a bit more than I normally would.
The only other notable change was swapping the old ceiling light for this more on-trend clear glass fixture from Bunnings.
It’s a subtle change, however we’ve used these simple fixtures throughout most of the house so it just helps with that sense of continuity.
Oh, and I should mention, the two ‘pendants’ over the peninsula you can see in the before pics were merely battery operated lights attached to the ceiling (they were not hard-wired). Although I do love island pendants I decided to remove these ones. Whilst I could have updated them style-wise, the peninsula is angled and they just didn’t look right in the room, plus they obstructed the sight-line through this open-plan space.
I really wanted a shelving unit for the area beside the breakfast bar though unfortunately I was out of time and money. Still, the wall needed something (pretty BIG!) and I came across this large-scale bird wall chart when I was going through my decor stash.
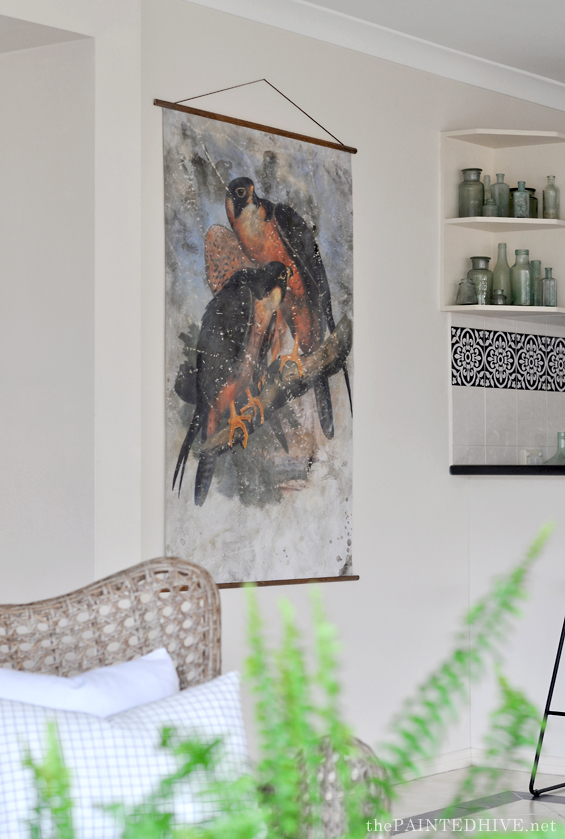
I created this a few years back when I was helping my parents refresh their living room. At the time it didn’t make the cut (we ended up going for something a bit more feminine and refined) so it has been languishing in a dark wardrobe ever since! Surely it deserves better than that!
I found the free image online, did a bit of editing and had it printed on specialty canvas through a supplier on eBay for the super low price of $25. When I received it the colours were really over-saturated so I white washed it, antiqued it, then threw it in the washing machine.
As a result it has this distressed, grungy, weathered look which isn’t for everyone though I personally love it! To finish, I hemmed the sides then added some basic timber trim and a leather hanging strap.
The bar stools are simply from Kmart and work to give purpose to the raised overhanging counter along with fill some of the vacant space.
All of the decor are things we already owned.
My collection of blue-green glassware fills the open shelving.
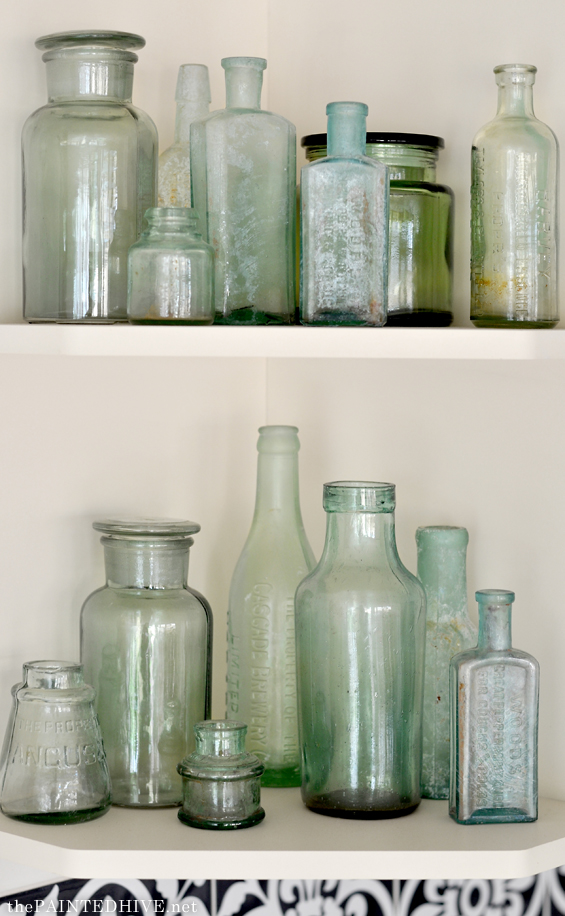
I originally wanted to take these shelves down because they’re kinda my pet hate, however they were well and truly attached and I didn’t want to risk damaging the walls or cabinets. I think this grouping does a good job of making them appear a little more current.
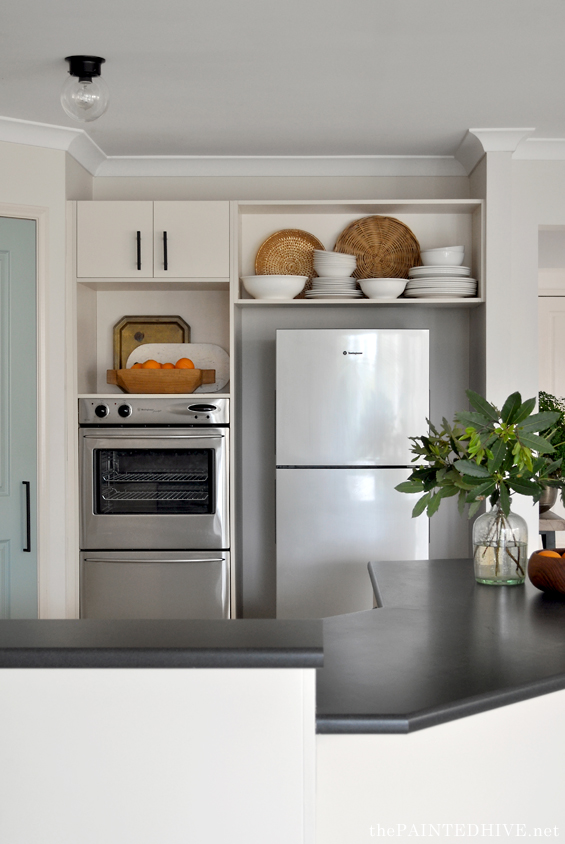
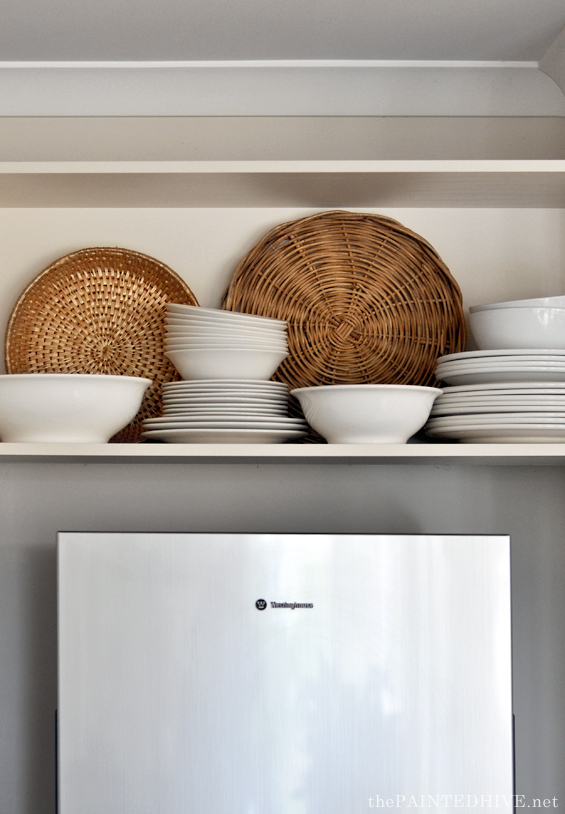
Above the fridge I kept things simple with white crockery layered with cane charging plates.
And the microwave nook holds a few trays and a rustic bowl filled with oranges.
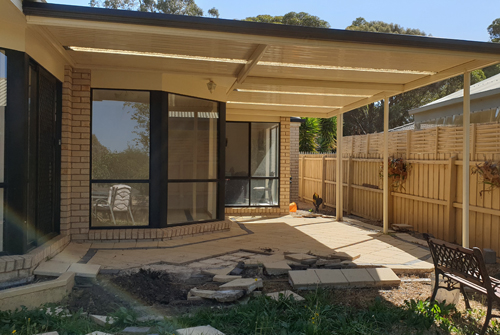
We didn’t do much with the backyard (that old time and money thing) however the biggest single expense in the entire flip was building a deck.
The original paved area was wonky and weird and just plain unappealing. In fact, it was probably the single worst aspect of the whole property. Leaving it as is would have been a huge blight on all our other hard work. Fortunately my friend’s son is training as a carpenter so he built the deck for us.
This was the state of things before the flip (well, after some of the pavers had already been ripped up)…
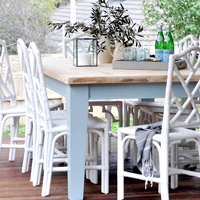
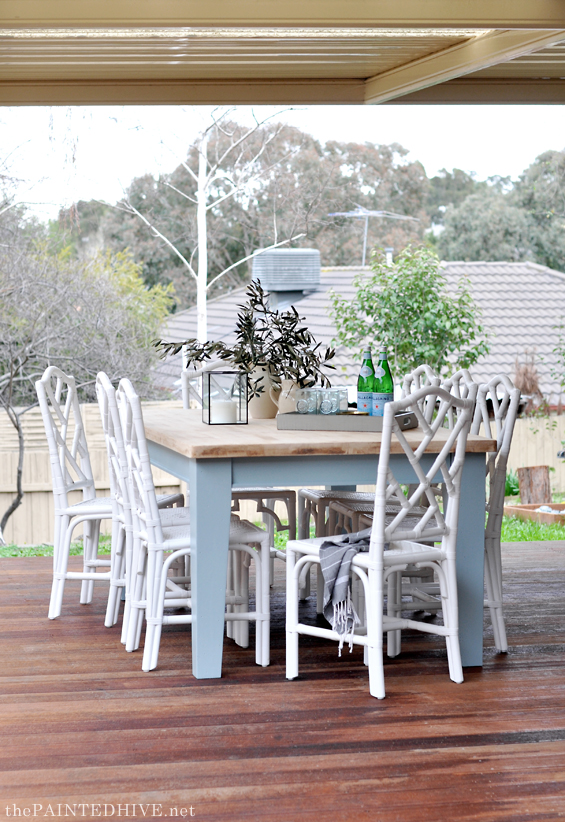
And here’s the area now…
I’m so sorry, though I don’t have a pic from the same aspect. Mainly because when I took my pics the grass hadn’t been mowed and made everything look really untidy – LOL!
Originally, I had visions of dressing this space to the nines: a heap of string lights hanging from the pergola roof, a DIY pendant over the table, an outdoor lounge zone with rugs, ottomans, pot plants and other pretty things. Sadly though, it just wasn’t gonna happen. We were out of time and money.
I simply had to make do.
In fairness though, as satisfying as it would have been to go all out, in the overall scheme of things it probably would have had little impact.
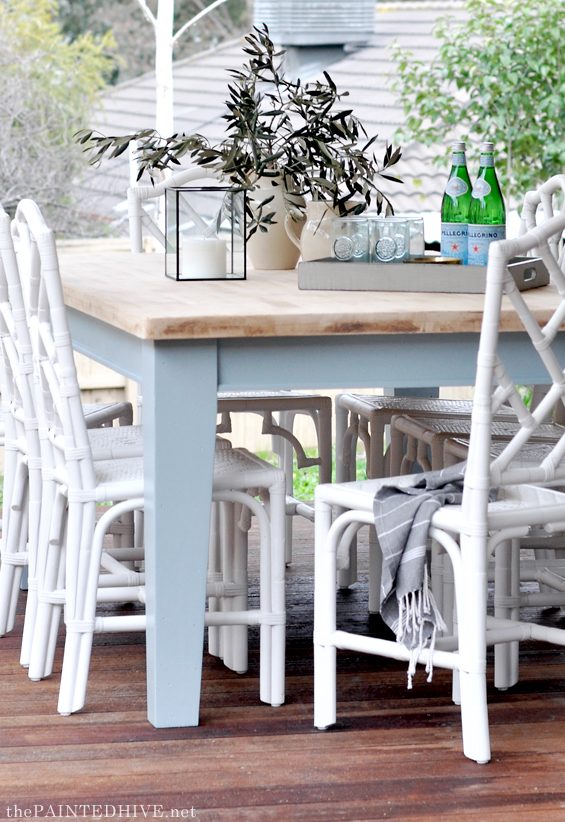
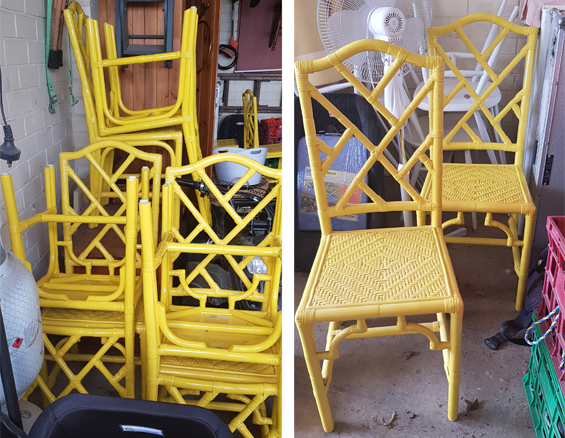
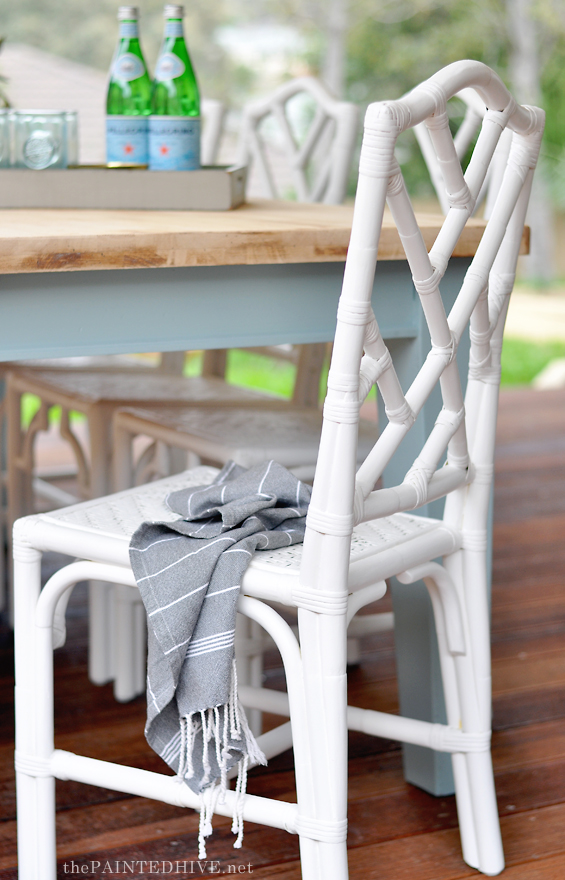
In the end I simply used this table I found on Gumtree for $50 and this set of eight Chippendale style chairs I picked up on Marketplace for $100.
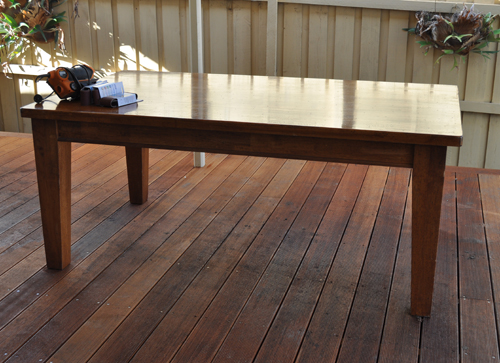
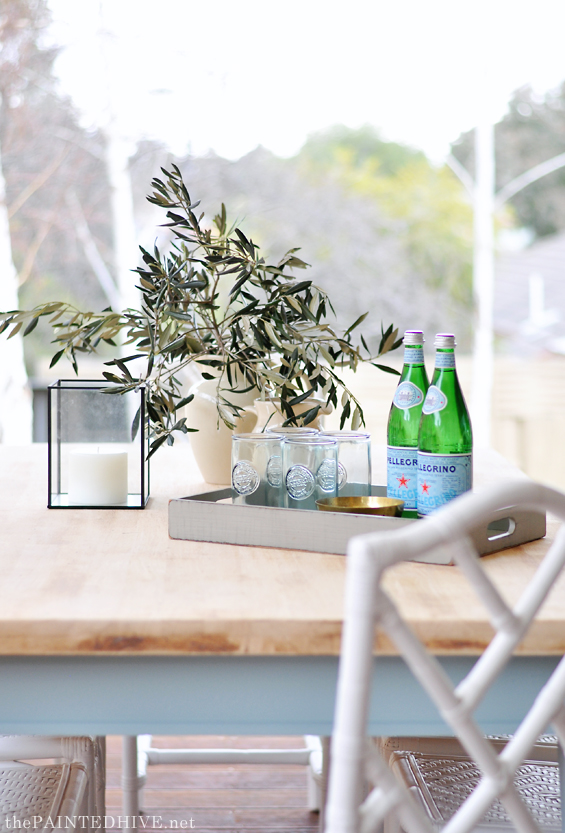
I ripped the table top back to raw using the coarsest sandpaper in the whole wide world (I was going for speed, not finesse, and still need to hit it with something finer for a smoother feel), and painted the base using leftover Duck Egg paint from the exterior.
The chairs were sprayed white though will probably need to be refinished at some stage. Again, I was going for speed and didn’t bother with proper prep. At the time, my goal was simply to make them look white! I guess trying to finish staging an entire house in two weeks kinda depletes your usual care factor!
Again, the decor bits and pieces are all things we already owned.
![]()
PRICE & SOURCE LIST (KITCHEN)
Tile Decals | Encaustic Moroccan Tile from Bleucoin on Etsy | $60
Cabinet Door Handles | eBay | $3 each
Cabinet Drawer Pulls | Etsy | $7 each
Pantry Door Handle | eBay | $8
Light Fitting | Bunnings | $14
Bar Stools | Kmart | $25 each
Wall Chart | DIY | $30
Decor | Already Owned | $0
TOTAL $256
PRICE & SOURCE LIST (DECK)
Deck | Merbau Deck (approx. 6 meters x 4 meters) | $4,000
Chairs | Marketplace | $12 each
Table | Gumtree | $50
Decor | Already Owned | $0
TOTAL $4,146
![]()
I know these makeovers are nothing special, though I hope they help inspire anyone who’s trying to make the most of what they already have.
Oh, and I have some exciting news about the house I’ll be sharing super soon. Stay tuned!
![]()
Find all of the previous flip house posts HERE.


Love it! You have done such a good job. Love the outdoor setting. Looks lovely and restful!
Thanks Vicki. It’s nothing amazing, still it’s amazing the difference a good refresh can make.
The deck turned out nice. The kitchen is such an odd shape. No counter next to the oven would bother me. The kitchen seems too small for the size of the home. For not having much to work with you did an amazing job.
Thanks. Yes, I think it pays to remember that the house is 15 years old and spaces were designed a bit differently back then. We did the best with what we had to make it more appealing in the short term. A more extensive reno was always going to be in the hands of the new buyers.
What do you mean the makeovers are nothing special – they are amazing. I have really enjoyed each one and admire your work so much
Thanks Diana :)
Such an amazing transformation, well done! I am in the process of trying to do the same to a flat, and you have made me think that perhaps I could just paint the units rather than replace them.
Replace them Karen. Kitchens are such a big deal to everyone. You want cabinets to go to the ceiling…..always!
I’m just saying. Everything looks really nice and The Painted Hive did a great job!
Karen, it really depends. If they are in good condition and not totally beyond help, there are always ways to work with what you have. Replacing this kitchen would have meant re-configuring the layout, which would have meant re-flooring the whole open-plan area, which would have meant lots of work, time and money (and my friend wasn’t interested in that). All comes down to your particular space :)
it is ALL wonderful, but the kitchen is my favorite. I love the layout and you have updated it so wonderfully. I love taking things and reusing them, and making spaces look new !
Thanks Vicki :)
Wow! Wow! Wow! I gotta tell ya – wow!! Love everything that you’ve done! Congrats on a job well done!
When are you coming to Africa? Namibia in particular? Our little place wouldn’t take too long :)
LOL, an African vacay sounds nice. Let me know when the private jet is ready – LOL! :)
I love the wall art, would be interested in a tutorial sometime! As always great job!
Thanks Lisa. I’m planning on creating something similar in the next few weeks. Will be sure to share a tutorial then :)
Great job, loved how you did the wall hanging!!
Fantastic job! This IS special! Thinking outside the box and repurposing, making do and reimagining a space like you have done on a tight budget is real life, and I think, more challenging than buying everything new! Well done!
Thanks so much :)
I don’t know how you can say this is nothing special! You’ve done such a beautiful job! The kitchen looks SO much brighter and modern. I love the tile decals. I really like seeing this room by room – you’ve done this amazing job in tying all the spaces together. And those chairs? Love them!
What everyone else said above; I’m too tired to think of different adjectives. :) Your friend must be over the moon!
Thanks Julie :)
Wonderful work. I love the blue that you have continued inside (even if it was only ‘left overs’!!).
Love the tile decals & handles
I am still hoping to own those chairs myself one day.!!
Maybe this will become something that you may do in the future?
Thanks.
Do you mean flipping houses? And/or staging properties for sale? Maybe one day :)
Looks amazing great job I love the deck. Would you have/take another picture from the same angle as with the broken concrete shown? I would like to see the entire deck :)
I would have put an offer in that included ALL the decor. Even the raisin couches ;-).
Thanks Suzanne :)
One of the early viewers did initially express interest in some of the furniture. Including the raisin couches!
LOVE the pantry door–it really is the Wow Factor. Next favorite is the Chippendale chairs; they look fabulous.
Love the kitchen. Would like more pics of the back yard when you can.
I would like to see the blue from the pantry door on the wall space under the counter facing the living room. Maybe just the center section or the whole area. I’d try it if it didn’t work just paint back over it. The blue would carry out to the patio table.
Maybe if the counter backing was timber I might have considered painting it though it’s laminate which takes a bit more care and prep, and sometimes specialty products. I guess for the purpose of selling the house it just made sense to keep things more neutral. The new owners can choose to do whatever they like to further personalise things :)
Just LOVELY, and in two weeks! You do such OUTSTANDING work! I can’t wait to see your next project! :)
what an amazing transformation for so little. This REALLY impresses me! Well Done!
Thanks Lee :)
I like how you call it fresh styling. And it is all of that and more. Your touches made all the difference in this kitchen. That duck egg blue pantry door and the tile decals really gave the space some charm. Well done!
“Nothing special”? Please! This is amazing and so relevant to most people. Anyone can get a great result with a tonne of money – to do it on a small budget is a real achievement! Very inspiring!!
I’m loving everything you do! ❤️❤️❤️❤️❤️ Wondering if those tile decals would survive on a floor? I’ve got the blue boring tile floor in my bathroom that could use some style! Hugs x
Thanks Joanie. They are rated for floor use though I can’t personally comment as I’ve not used them on the floor before. If you have a large space they can get a bit expensive though.
Amazing as always. That outdoor setting is gorgous. That table was a steal! Lot of hard yakka there, but as always, you show us you that it’s not money that gives the wow factor, it’s seeing ordinary objects in slightly different ways. Thank you Sensei! 😁
LOL, thanks Cathy :)
I’ve really enjoyed seeing all the amazing transformations you’ve done with this house. You seem like a miracle worker to get the beautiful designs at a bargain rate. Thanks for showing all you’ve done. Keep the videos coming. I love seeing what you do.
A job very well done. So now come on over and have a glass of wine and relax. 😊
Those chipendale chairs were the steal of a century!
You know, you did an amazing job on this house! I hope your friend realizes what a treasure she has in you!
This house flip series has really appealed to me . All your decisions are well thought out, practical and aesthetically pleasing. I love examining every little detail. Don’t leave us hanging too long for the final photos!
“Nothing special”???? Whatever, missy, whatever. More like, “Only spectacularly special!”
Love it all but the deck is to drool over.
Especially love the table with it’s bleached wood effect top. How would you finish the top to keep it that colour?
The whole house looks amazing xx
Thanks so much.
I’m planning on finishing the top properly with a water-based poly tinted with a dash of white paint. It will likely darken it a tad, though not too much.
Cheers
What an amazing transformation. At first, it’s really messy but the outcome is amazing. Well organized and neater.