I’ve found stuff!
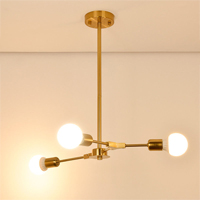
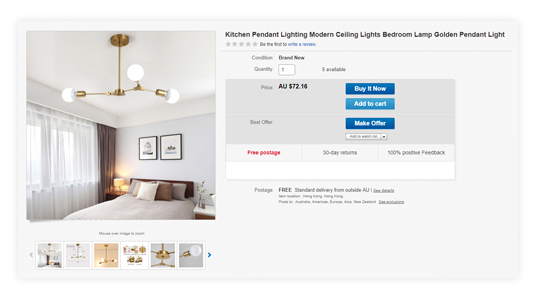
This pendant light on eBay for $72…
I knew I wanted something modern and gold and somewhat impactful and this seemed to fit the bill. Let’s hope it also fits the space!
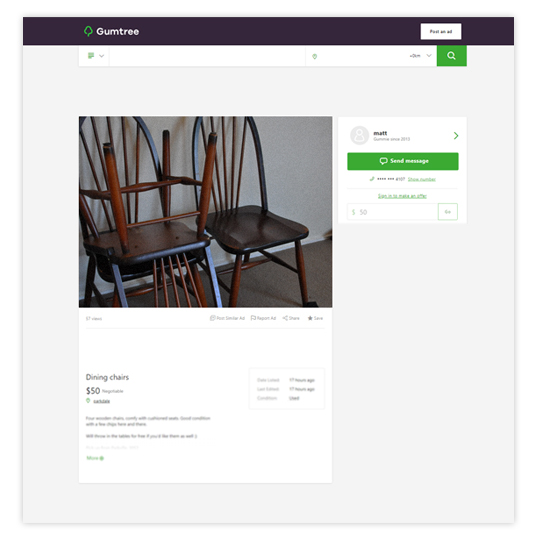
On Gumtree I came across a set of four Windsor style chairs for $40 (listing states $50 however the price was negotiable)…
So glad I bought these to remind myself just how much “fun” stripping chairs back to raw can be. They’re not exactly what I wanted though will do just fine. I think the dated two-tone stain must have been putting buyers off because I’ve seen similar sets sell for lots more. I’m not totally sure yet however am thinking about a natural ashy stain with a blue-grey dipped effect. We’ll see.
Also on Gumtree I found this round dining table for only $1…
I know it’s not the prettiest specimen though I just need the top. Am planning on stripping it back to raw then refinishing it to coordinate with the chairs.
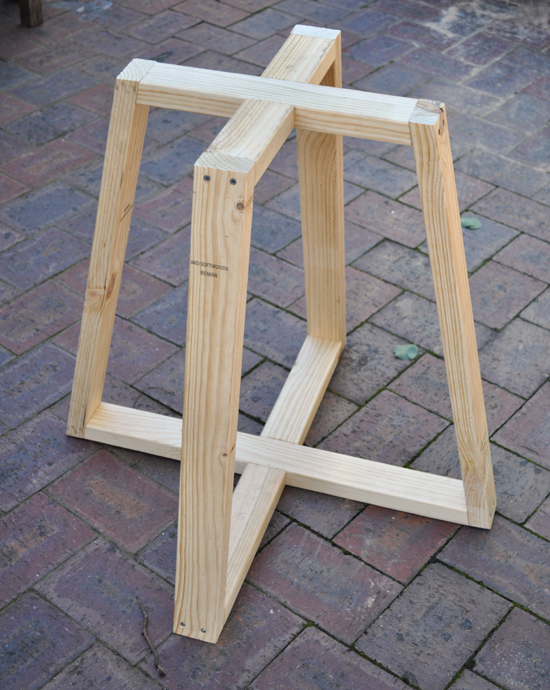
In addition I’ve made a table base using a $7 length of merch grade pine…
I totally surprised myself by knocking it up, all alone, in one afternoon. Obviously it still needs to be finished. I’m thinking simple white paint for a light, fresh feel and to contrast with my sister’s wooden floor.
Note: I haven’t created a tutorial for the table base because, well, I was just making things up as I went along! Be sure to let me know in the comments if you’d like to see one.
Remember, I have a grand total of $200 for this room makeover based on how much I was able to sell the original furniture for. As things stand I’ve spent $120. This leaves me $80 for a few DIY supplies, decor pieces and possibly some wall art. I think I may actually come in under budget!
UPDATE
Due to popular demand I have published a full tutorial for the DIY table base. Find it HERE.
Catch up on my previous posts about this room makeover HERE.


I love the light fixture!
Oh yay! I got a rather blunt email from someone who thought it was “the worst light ever”. LOL! Each to their own.
So you don’t like it? Fine, it’s your opinion and you’re entitled to it. But why, oh why, the need….the intense determination….to share that with the person whose opinion is clearly different to yours?
PS. I can’t wait to see how it all comes together. I’ll bet the light will be one of the stars of the show.
Thanks so much Robyn. I hope so. Have been having my doubts about this space!
Clever girl with the table base. Did you use pocket holes for the top and base timber? Or joinery?? It looks great!
Thanks. I just used dowels for the hidden joins.
Nice light- but do leave a tutorial on the table base please. Tnx.
Will do!
Good Morning!
I would like to see your tutorial on how to build the base for your dining room table.
Thank you!
Sure thing.
I think you are amazing!!!!
Aw, thanks. I hope it all comes together okay.
Yes, please for a tutorial on the dining room table!!!
I would love to see directions for that table base. Nice score with all your finds.
Thanks Kristin. Will get on to the table base tutorial.
You really are an inspiration!
Aw, thanks, though I haven’t done anything yet! Let’s hope it comes together :)
Love the light! Can’t wait to see what you do with the chairs. xx
Thanks Kate. You’re a bit more positive than the person who emailed me and stated nothing more than “that is the worst light ever”. LOL!
Tutorial please Kristine! I would like to see how you strip down the chairs, do you use paint stripper or just sanding? You are a serious bargain hunter!
Thanks Etta. I will work on a table base tutorial. I was hoping I could simply sand the chairs back (sometimes old varnish flakes off really easily) though it was too stubborn. I’ve finished two chairs so far which involved two coats of stripper (I use a wire brush and metal scourer to scrub it off) then finishing with a palm sander. It’s not fun!
Thank you Kristine! I am going to copy your Tribal Batik Re-Love makeover on an old chest and this info will come in handy.
Can’t wait to see what you do with the table top & chairs. Your sister is a very lucky girl !
Thanks Cheryl. She’s super skeptical at the moment!
Please post a tutorial! Love it
Will do!
Loving it. I hope you come under budget and hand your sister change take a pic of that 😂 great finds. I’m thinking of investing in a soda blaster strips paint easy no sanding check out super cheap auto. Looking forward to the reveal
A soda blaster would be awesome! After I started on one chair and realised it wasn’t going to be easy I briefly looked into getting them chemically dipped or professionally sand blasted – I was that desperate! Of course, my budget can’t extend that far for this makeover but it was tempting!
Oh please, won’t you be my sister? You are absolutely amazing… I’m still in awe of the whole house you did.
Aw, thanks. Always up to having more sisters :)
Great finds! I was worried for you when I saw the chairs – stains are such a pain in the arse to sand out. Hang in there!
Am seriously considering buying a soda blaster to use with my air compressor! Can’t hurt to give it a go.
Yes to the tutorial, especially how you will attach the top without any nails showing. Thanks and just so you know, I LOVE everything you do… keep up the great work!
Thanks so much Olivia :)
Fantastic when you finished if your feeling lost you could help me with my office I normally have have some ideas but I’m clueless with this 😂 Only been thinking about it for 2+ years
LOL! I’m always happy to talk decorating Karen! :)
I’m big fan of home DIY and home makeover. It’s interesting and creative. Waiting for your guide on the table base. Love it!
I love that table base so much. You are incredibly creative and I am so envious of your ease with seriously scary electric tools.
You’ve inspired me to do a makeover of a well used, solid timber desk I picked up for $40. It’s a very (very) long time since I’ve done this big a DIY job but I’m going to give it my best shot! I might be needing one of those soda blasters too. *rushes to google soda blaster*
Ha, ha. Go for it! And let me know how it turns out!
I was so desperate after my hours of fruitless stripping and sanding I actually went and bought a soda blaster (I already have a really good compressor so only needed the gun – it was around $50). So disappointed when it didn’t really work on my chairs. Tried it on a few different items and it did well on some of them. Just seems the varnish on my chairs is far too gummy.
Thanks for sharing useful information… Here is one of the Best Interior Designer. Earn Daily Unlimited Paytm Cash By Self Earning Application App Link : shorturl.at/bfmwQ. Thank you so much for letting us know this one.Thank you so much for letting us know this one. It is amazing and wonderful to visit your site. Its a awasome information.
Brava! Can’t wait for your tutorial on the table base..
Thanks. Hoping to get onto that next week. It’s a bit tricky because I can’t really transport a 5 meter length of pine with my little Corolla :) Need to borrow my husband’s 4X though he’s always at work!
Hi Kristine,
Thanks a lot for sharing such an informative article about furniture for dinning room. I have read your valuable page and gotten much information and now my confused has cleared. I will buy some furniture for my dinning room on next month.
Really love to see plans for the table legs ..
Sure thing. I wrote a follow-up post you can find here: https://thepaintedhive.net/2018/10/easy-diy-cross-base-table-tutorial/