
I’ve been meaning to share this little project for ages.
About six months back, I decided it was finally time to get something up on the blank wall above Charlotte’s desk.
Initially, I’d been toying with the idea of a big chalkboard or over-sized art piece (like a vintage number chart or old world map)…
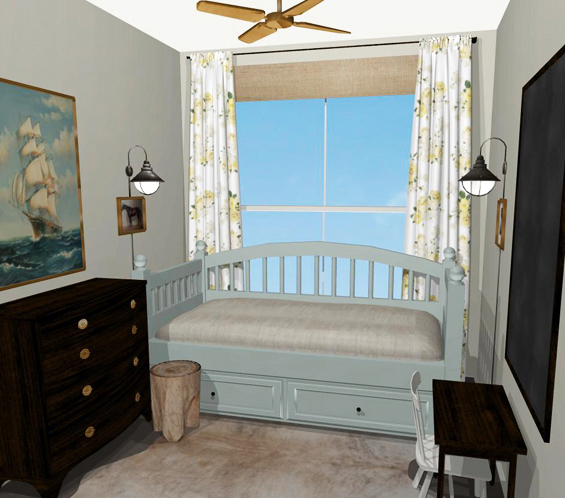
Above is my original (very rough) concept rendering from a few years back where I included a massive chalkboard. You can see more of the virtual plan here.
Though as the room progressed it became apparent that some kind of display/storage surface was actually called for.
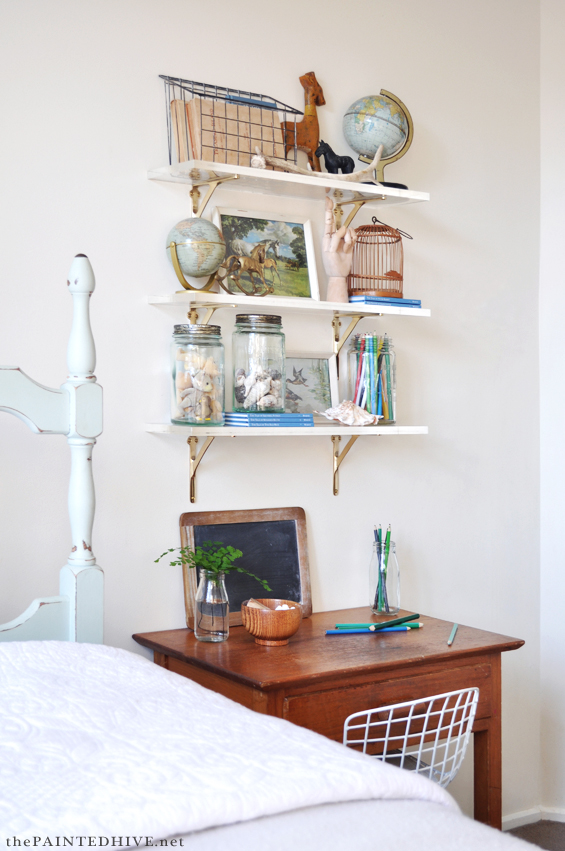
You see, Charlotte’s room is pretty tiny (2.5 x 2.5 meters/8 x 8 feet). Obviously, this means there’s limited floor space for furniture so the walls need to pick-up some of the slack.
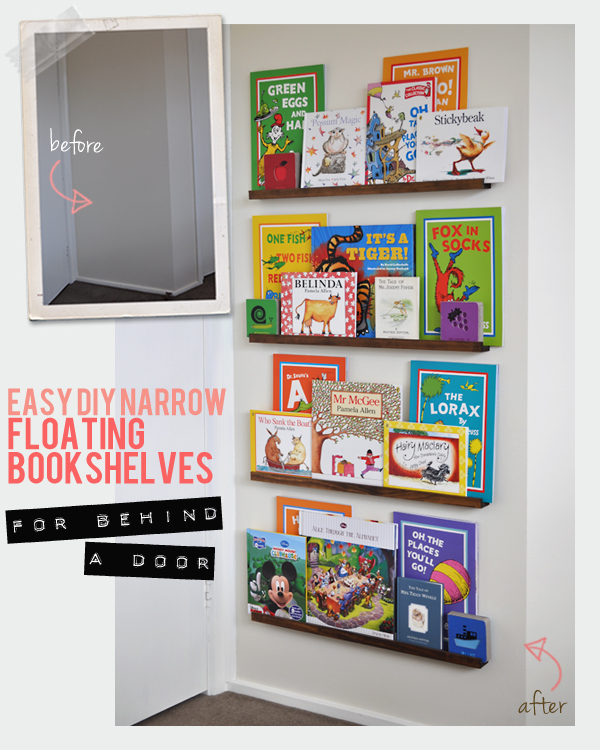
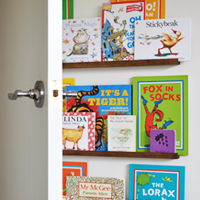
I’d already installed floating bookshelves behind her door to make the most of that dead space…
And a second series of little shelves on the wall above her desk seemed like the best use of that area too.
But what style of shelves?
I had a zillion different ideas and had almost settled on using reclaimed wooden floorboards (I even went to a salvage yard to look at some) when I suddenly changed my mind. Something about them just didn’t “feel” right when I imagined them in the space. I think it was their visual heaviness (as Charlotte’s angled doorway means you would basically be looking straight into the side of them) and the fact there was already quite a bit of wood in the room. I mean, I don’t mind an eclectic mix of timbers, and I think they still would have looked nice, I just knew they weren’t the best choice.
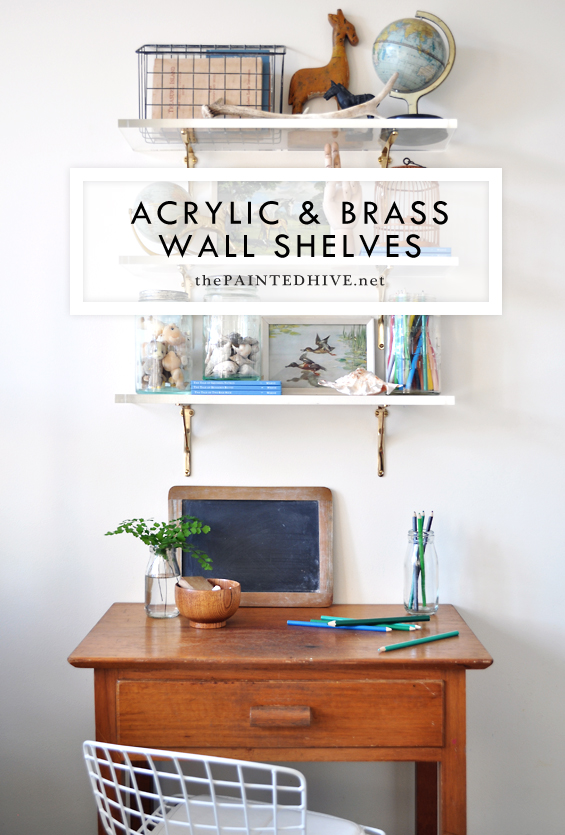
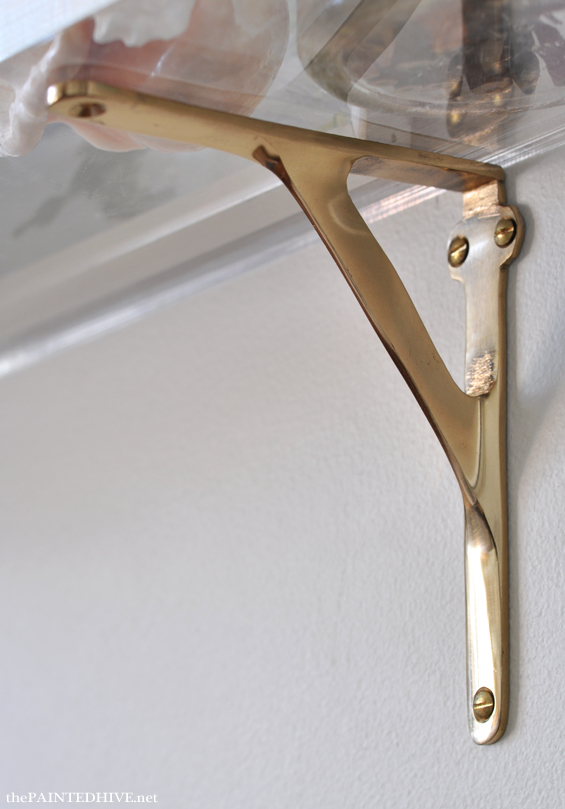
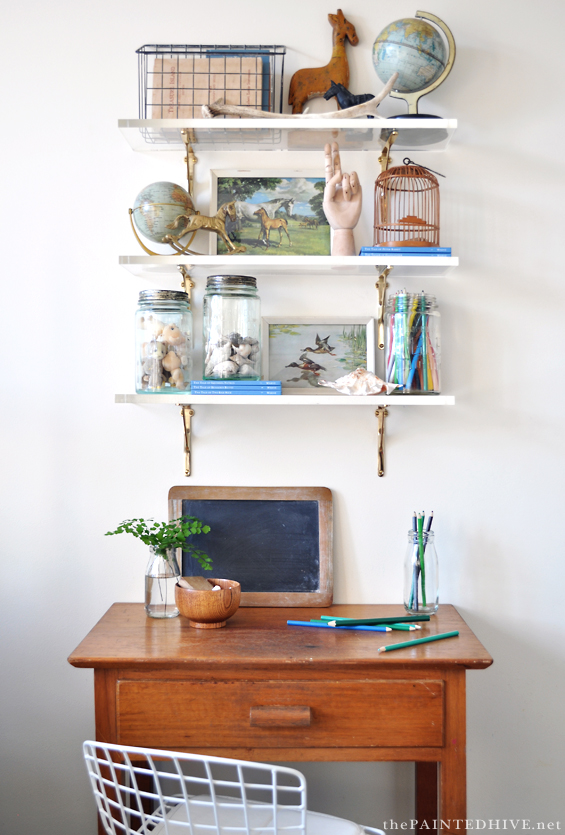
So, I went back to the drawing board and eventually decided to step outside my comfort zone and go with something a little bit fun in the form of contemporary acrylic shelves on traditional polished brass brackets!
Sourcing the brackets was easy enough (I bought them online from Discount Brass).
That said, it did take some shopping around to find the best price, and even then they were more costly than I would have liked at around $8 each – still, much better than $15 each which I’d also seen them being sold for (if you’re in the US, I’m sure you’ll be able to find them for much cheaper). I did contemplate saving some money by spray-painting some regular brackets though all the cheap ones I came across weren’t shallow enough (so would extend too far over Charlotte’s little desk – these ones are just 13cm/5″ deep). My husband even made some custom geometric plastic ones using a 3D printer. They were surprisingly cool, though the printer died before he got them all done. Besides, I really did want real brass.
The acrylic shelves were slightly more tricky to get my hands on.
I was open to DIY’ing them so did some research and discovered it would be easy enough. You can cut acrylic sheet with a regular wood saw then polish the sides with standard sandpaper (starting with a coarse paper and graduating down to something fine then finishing with a mild cleaning abrasive, such as Brasso). It would be a lot of polishing, though it was certainly doable.
The problem I had, however, was buying the acrylic sheet. The standard sizes just didn’t suit my needs. They were too thin, too large, too narrow, too long. And they weren’t cheap. I didn’t want to spend a small fortune on a massive sheet of acrylic only to use one quarter of it!
So, I started enquiring about off-cuts. After visiting several factories and encountering numerous head shakes it became apparent that was a dead end. There were bins piled high with generous scraps of thin acrylic sheet, though nothing as thick as I needed. Apparently, the cost of acrylic sheet goes up exponentially with thickness so off-cuts of anything chunky are rarely discarded or on-sold to the general public at a discounted rate. Poo.
It was time to bite the bullet and find someone to make my shelves.
So, once again, I made my enquiries and it wasn’t looking promising. $120 – $150 was the going rate for three small shelves with polished edges! Gah.
And then I came across a small business, not too far from my home, where I received a generous quote for $60 – SOLD!
The edges look frosted in some of the pics though are actually clear and shiny. There also appear to be some imperfections in the acrylic, though it’s just weird photographic reflections. They are perfect.
To hang the shelves I first checked the general area for any wall studs I could attach the brackets to. Although it wasn’t entirely necessary to hang my shelves on studs, it does offer a bit more security (and is easier than messing around with plaster plugs). I located one vertical stud in the required vicinity so used that to attach one column of brackets to. The second column of brackets are attached to the plaster and held in place with small drywall screws.
I didn’t want to screw into my lovely acrylic shelves, so they are simply held in place with a few neat dobs of clear silicone.
Didn’t I just make that mounting process sound super quick and easy?
Truth?
It wasn’t.
For some weird reason I thought it would be best to attempt hanging these shelves with the help of a second person. Ah, apparently I was wrong.
Here’s what I learned…
1 Don’t attempt to hang shelves, or do anything which requires mathematical accuracy, with the help of your sister (if your sister is my sister).
2 Spirit levels were invented for a reason. Use them.
3 When your husband gets home from work, throw your hands up in the air, make a face resembling “The Scream”, use a few profane words then storm out. He will proceed to fix the crooked shelves.
4 If your sister holds a doctorate in mathematics, or doesn’t come complete with two extra little kids (who, combined with your two existing little kids, create a noise, mess and distraction which neutralises the imagined benefits of a second person), ignore all of the above.
All up, this wasn’t a cheap project, coming in at just over $100. That’s a splurge for me. Had I used salvaged wood and cheaper brackets I probably could have done it for under $10!
That said, I LOVE these shelves. They are different, and fun, and perfect for Charlotte’s little room. And I’m confident that I did get the best price I possibly could for them (short of going search crazy!).
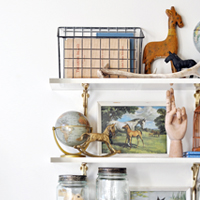
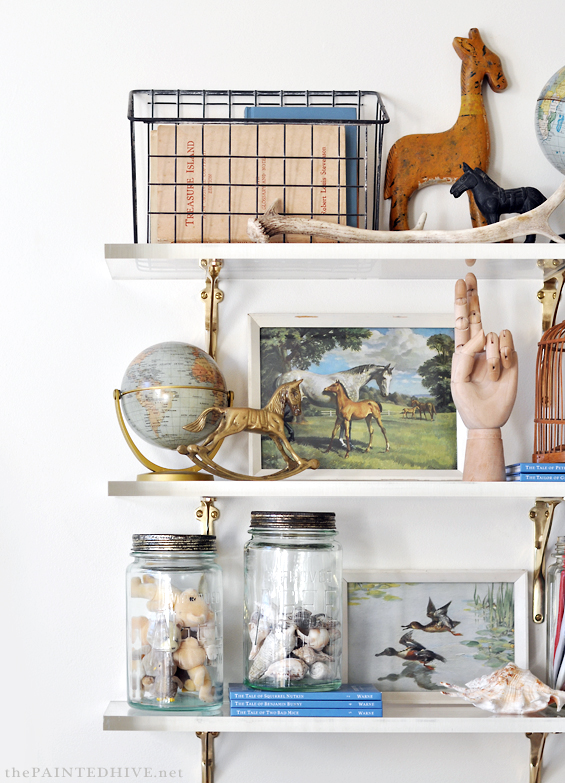
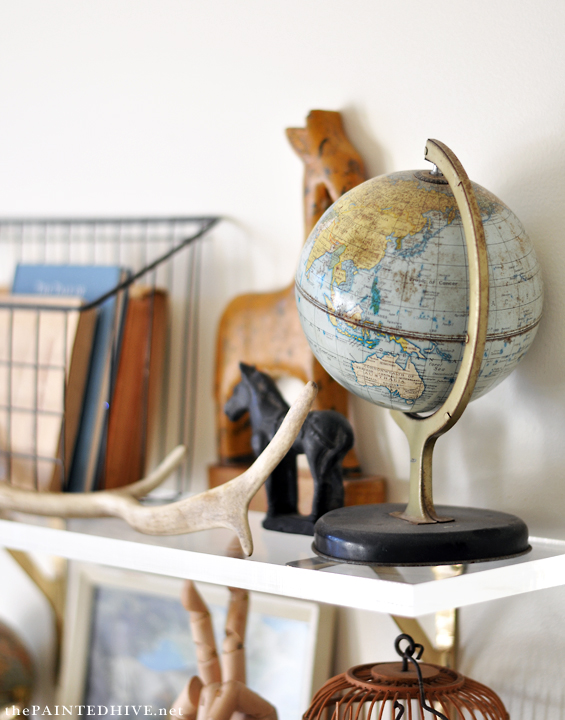
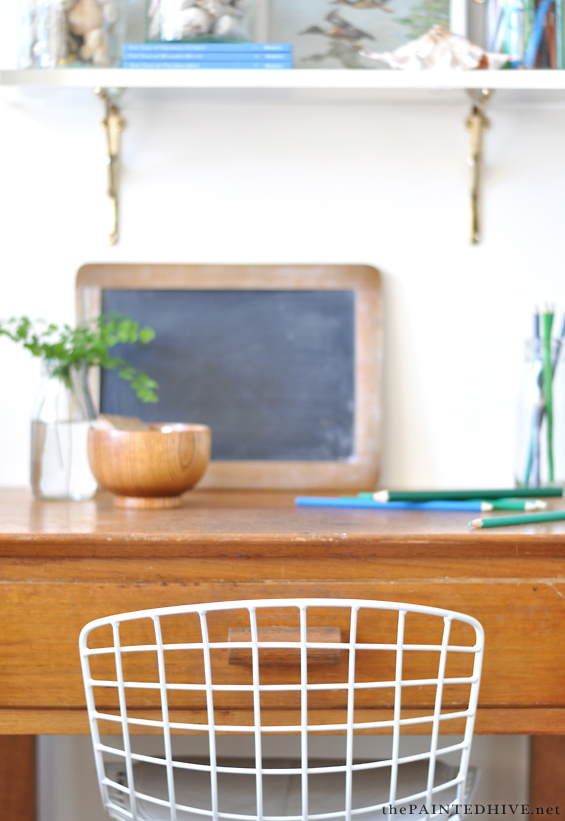
The shelves are dressed with an assortment of thrifted and found objects along with a few trinkets that are special to Charlotte.
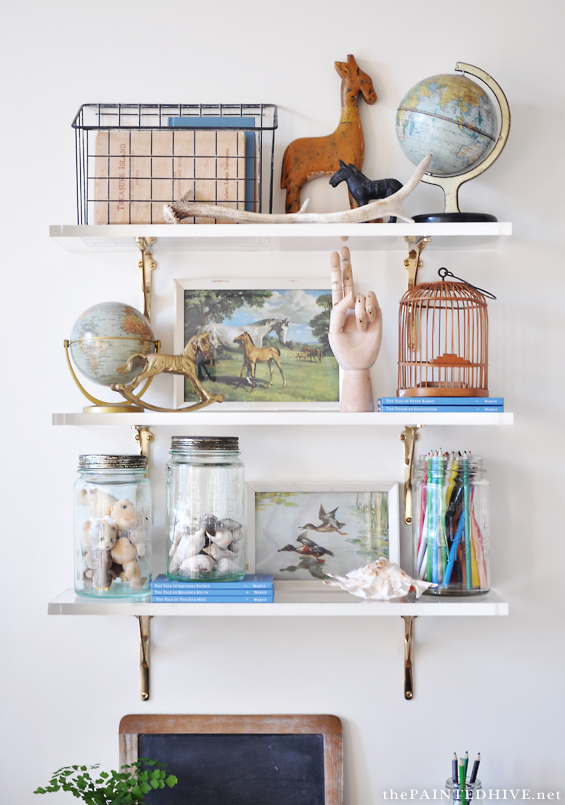
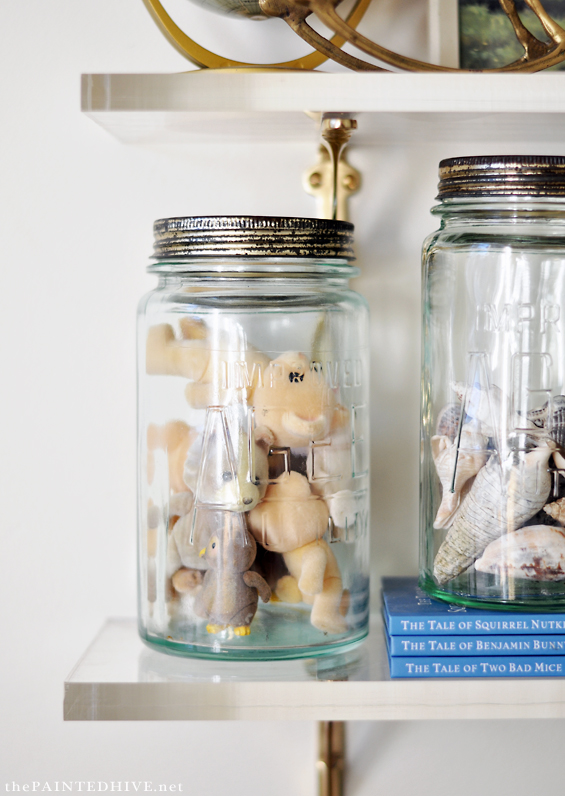
Vintage Agee jars house collections of shells and (slightly macabre looking!) Sylvanian Families figurines along with Charlotte’s drawing pencils. Sweet retro artworks work to create layering. Beatrix potter books lend a linking colour and add interest with levels.
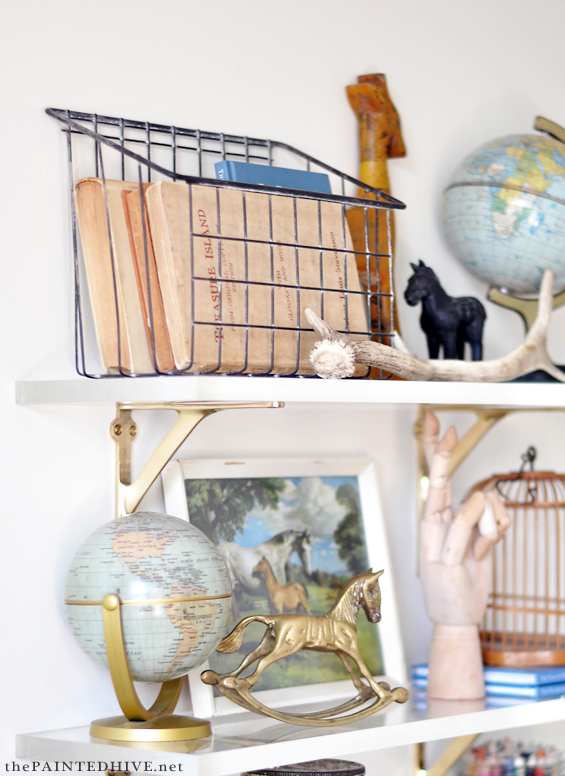
The wire basket was actually a cheap plastic coated one from the hardware store. I simply threw it in my parent’s wood burner for a few hours. Voila!
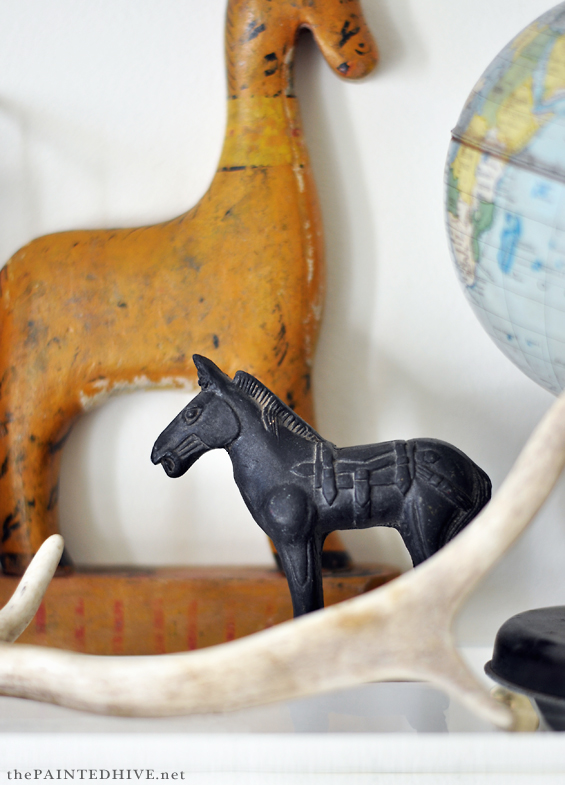
The charming wooden giraffe is a super old antique and the ceramic warhorse was bought at the Museum of Qin Terracotta Warriors in China. Charlotte believes it’s her bedroom’s guardian :)
If you’re a regular visitor here, you might also have noticed that I switched out the original desk and chair…
They were both super cute, though it was time for a change.
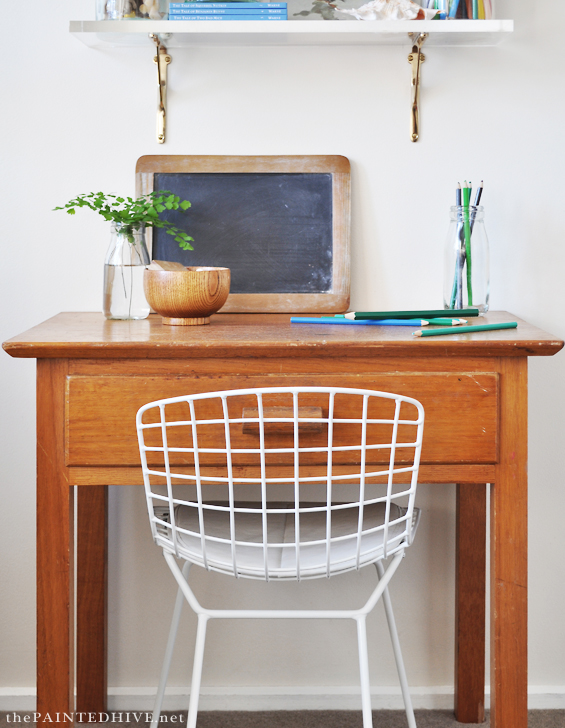
Charlotte was already out-growing the desk, so I swapped it for this vintage hall table which I found on eBay for just $20.
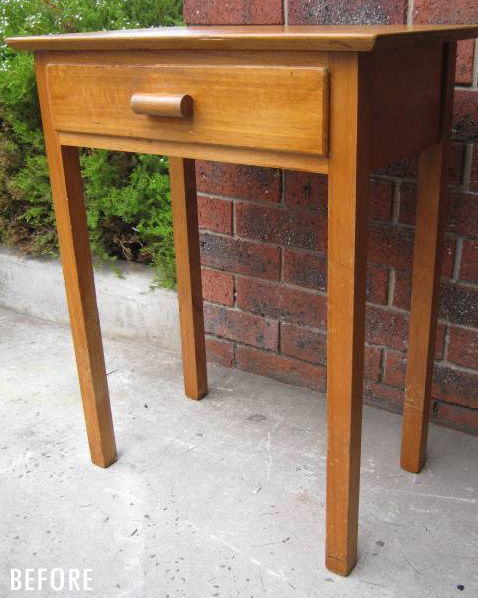
Photo from eBay.
The character-filled wood was lovely and warm so I just gave it a quick refresh with some linseed oil. The legs I simply cut down as required using a hand saw.
Well, when I say “simply”, I really mean “stupidly”. You see, I managed to shorten the same leg twice! Luckily, I’d decided to shrink the table gradually until I was happy with the height so even though I’d stuffed up it was still salvageable. My neighbour and I had a good laugh about it though :)
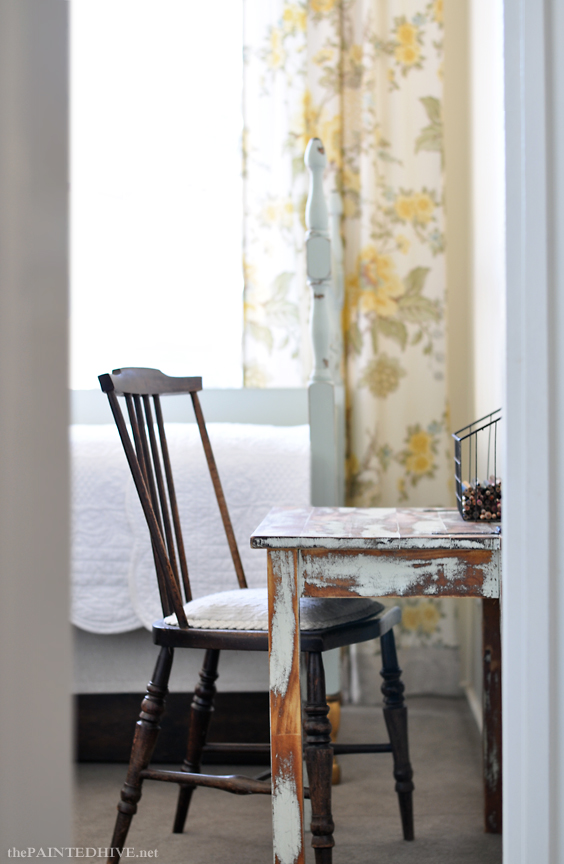
The original farmhouse-style chair was adorable, though never really practical. Even after trimming the legs it was still too tall, and its tapered feet were always difficult for Charlotte to maneuver on the carpet.
I decided to shop around for a more functional chair, with a playful modern nod to reference the shelves, and soon came across this replica Bertoia chair.
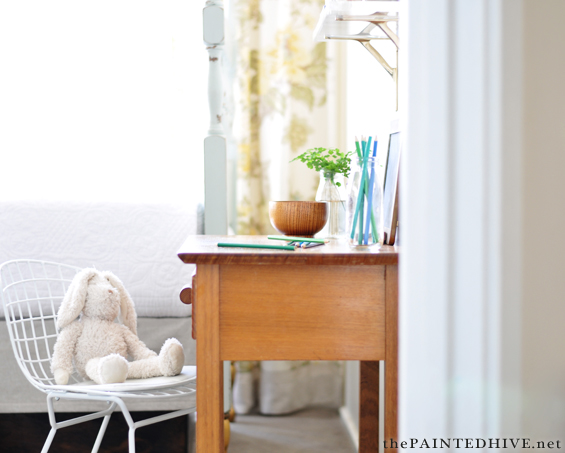
It was perfect. Not only is it incredibly practical, though its open wire frame and low slung back mean it doesn’t impose on Charlotte’s teeny space – and it compliments the shelves so well! I’m contemplating making a prettier seat pad, or perhaps simply painting the existing one, though for now the white vinyl is totally fine.
So in love with the evolution of this space!
![]()
Catch up on all the previous posts about Charlotte’s bedroom here.


Kristen,
I always look forward to seeing what you have come up with and you never disappoint. Charlotte’s room looks so cute (but not cutesy). Great ideal!
Yikes! I have a good friend “Kristen” and must have typed it on autopilot. I know you are “Kristine”! Forgive me…..
Thanks Deb. Oh, no worries about the name typo. “Kristine” is a tricky one anyway because there are so many similar variations. Always appreciate your comments :)
Love those shelves! Good for you for sticking with your idea even when you ran in to all those obstacles! I love the way they add light and pattern to the wall and are still airy, so important in a small room. I am looking to put a shelf in our front hallway which is a narrow space and this idea is one I hadn’t thought of. Or front hall can be a bit dark so this would be a great idea for our space too. Thanks for sharing!
Oh great Lori. Glad to have helped spark an idea :)
Love all the info Kristine didn’t realise you were here in Australia too!! Your shelves are very similar to something I want to eventually do at home but with some marble as well :) I love how you like a bargain and do the hard work to get that magazine look yourself. You are my kind of girl! I always have a number of DIY items/jobs on the go so I can be creative on the weekend depending on the weather. Thanks for the share on where to get the brackets! xx
Too funny. I was contemplating using some marble too. Couldn’t figure out where to fit it in!
Actually, if I’d had more space (in terms of depth) I probably would have used these Ikea brackets (spray painted gold) and covered some lengths of timber with marble contact paper (kinda like what I did here). Because those particular brackets conceal the ends of the shelves they would look like seamless slabs of stone. It’s on my “one day” list :)
Really lovely Kristine!
Thanks so much guys :)
O mer gerd! I love these! You really do turn out some beautiful pieces.
I’ve seriously fallen in love with the Lucite (acrylic) curtain rods I’m seeing on a number of USA bloggers sites, haven’t found any in oz, yet!
Oh yes Jill…and Lucite cabinet hardware too! I’m betting it’s probably not cheap though.
You can buy acrylic rods and tubes from plastic fabricators. I came across quite a few whilst I was researching my shelves and they aren’t too expensive (try Googling “acrylic rods”). If you bought a length of acrylic rod with the same diameter as a standard curtain rod you could use off the shelf brackets and finials (brass/gold would be cool) to create your own custom curtain rod!
What a cute room, I love it! You’ve achieved so much, considering how tiny the room is, I’m really really impressed. Kristine, what software are you using for you virtual projects if I may ask?
Thanks so much Diana. I use Home Designer by Chief Architect. I have the Professional version though the less expensive Interiors version has most of the same features.
Thank you so much, I’ll check it out for sure!
Have a lovely day :)
Another amazing project Kristine! So glad to find Discount Brass via this share, they have so many items that I have been searching for.
Oh good, glad you found it helpful Etta :) Thanks.
These shelves (and Charlotte’s room) are really so lovely! Very clever use of such a small space. How thick did you end up making the shelves?
Thanks Melissa. They are around 15mm/.5″. I originally wanted them to be thicker though cost wise it just wasn’t worth it. For an additional 5mm/.8″ (pretty tiny) they would have been double the price!
These shelves are GORGEOUS! I love this room and the way you styled these shelves so much!
Thanks so much Deb :)
So glad you found Acrylicraft Kristine, it’s a great place. I’ve used them a few times for different things too. The shelves look great!!
Ha, really? Small world Lesley. The guy I dealt with there was great – really lovely.
Thanks so much :)
Your projects are really amazing! This is just gorgeous, just finished your new post for the completed room….absolutely FABULOUS! Your aesthetic is lovely, and i LOVE all of the DIY and thrifted items that help achieve suCh a great look on a budget! thank you for sharing all of the awesome details. Your blog posts are some of the most detailed i have ever read, but still tell a lovely story! You are a gifted and talented lady!
Thanks so, so much Julie for this too sweet comment (and your comments on IG too!). It’s lovely feedback like this that motivate me to keep doing what I’m doing :)
I just came across your post and have been searching everywhere for acrylic and brass shelves but it seems like I’m going to have to diy them as well. Do you happen to remember the dimensions of your shelves? Most importantly, the thickness. I’m in the states so I’m going to have to find my own acrylic befor and want to know what to ask for :) Thanks!
Sure thing. Each shelf is 55cm long x 15cm deep x 1.5cm thick (approx. 22″ x 6″ x .7″).