UPDATE
You can now download my full-size, high-resolution edited heron artwork as a FREE printable here.
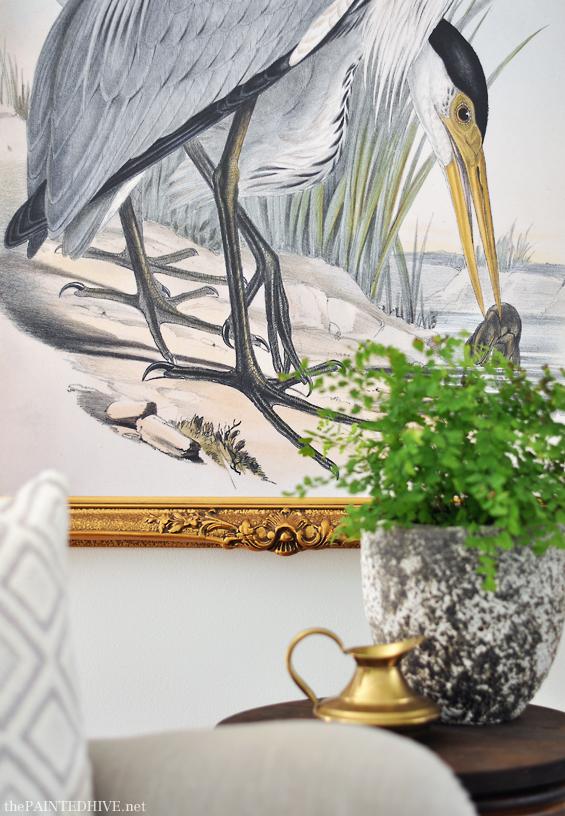
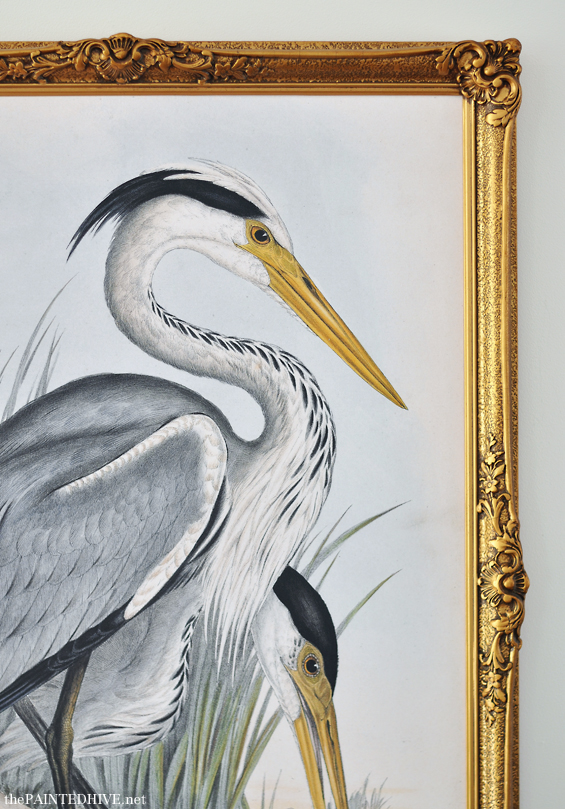
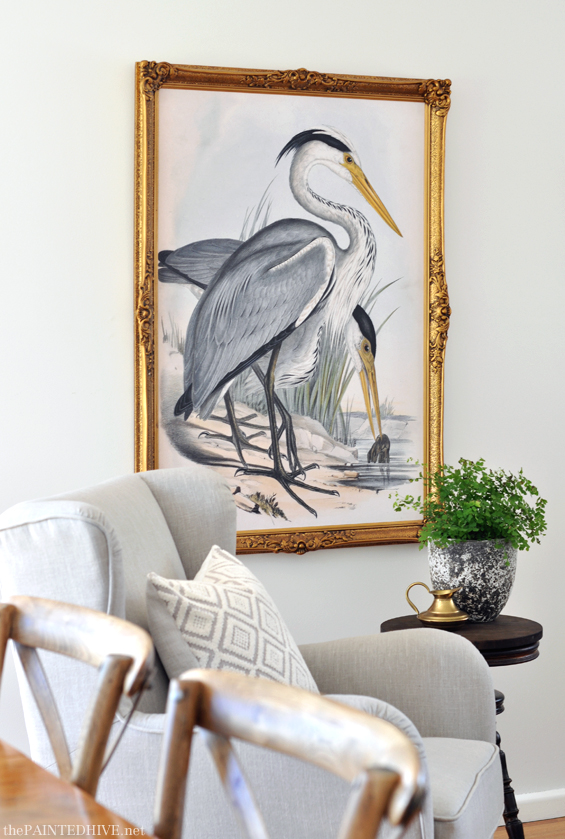
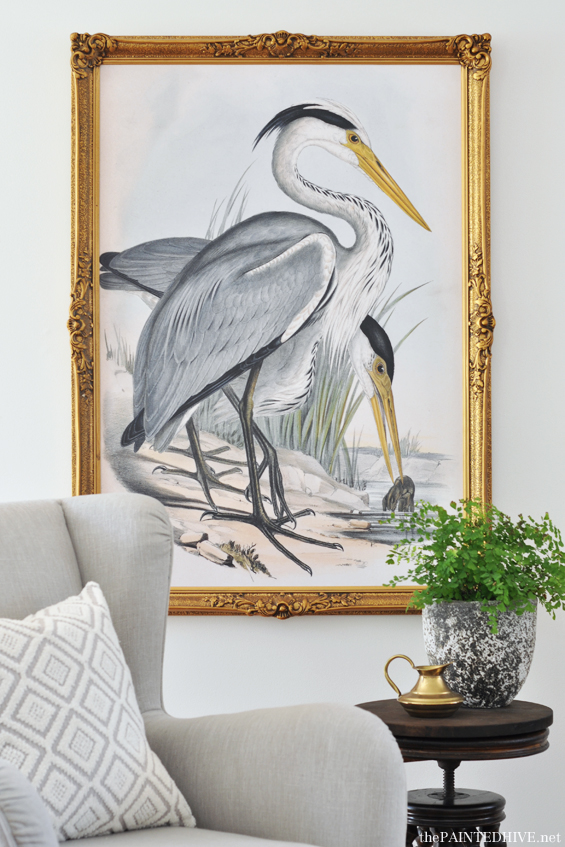
Before I get into how an inanimate object brought me to tears, let’s talk about this artwork.
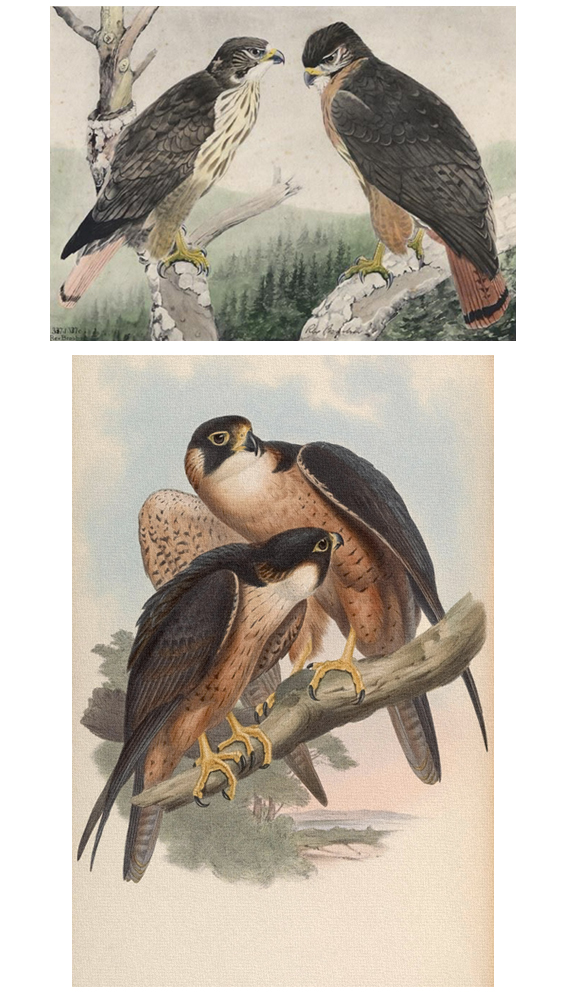
If you’ve been following along with the living-dining room makeover at my parent’s house, you might recall I was initially planning to incorporate an art piece featuring birds of prey…
I felt the masculine vibe would give the space a bit of edge and depth.
Though as things progressed in the room, it became apparent that a softer touch was actually called for. A hint of femininity to subdue all the browns and greys and reconcile the overall scheme.
So, despite days (yes, days!) already spent scouring the internet for the perfect free large-scale image of predatory birds, I tasked myself with a new hunt for something a little more elegant – and was immediately drawn to tall water birds. There’s something sculptural about their lanky yet graceful form which walks that perfect line between powerful and pretty.
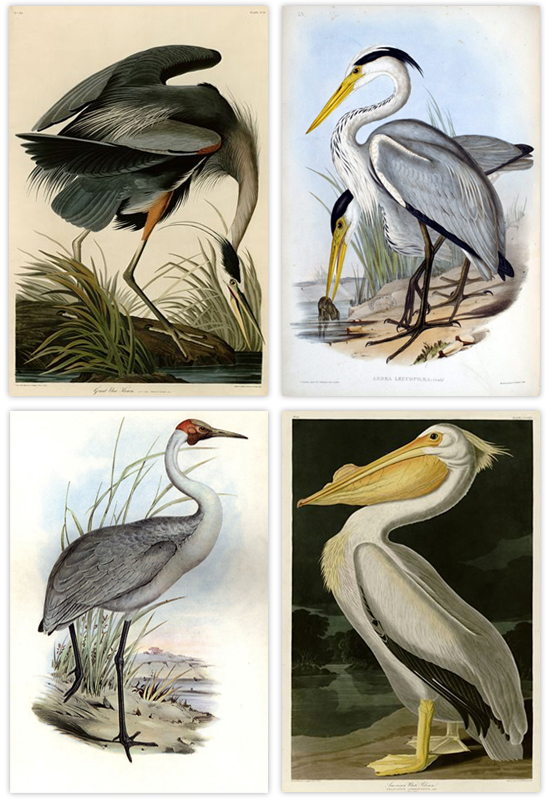
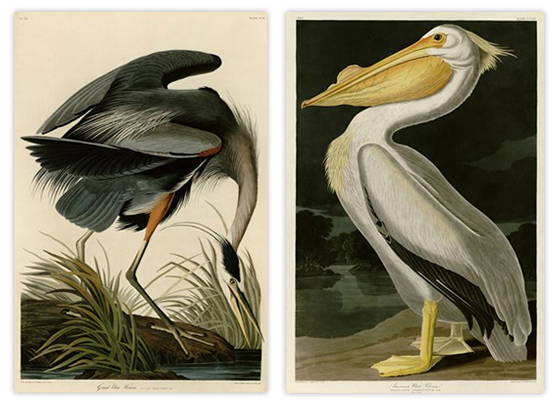
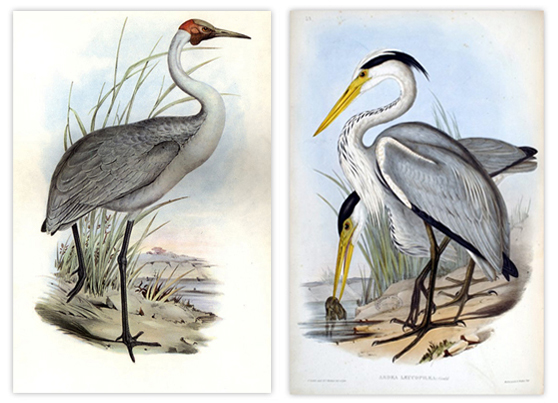
If you follow me socially (via Instagram or Facebook) you may already have seen, and possibly even weighed-in on, the four choices I eventually narrowed my selection down to…
Clockwise from top left:
Great Blue Heron (Audubon), Australian Heron (Gould), American White Pelican (Audubon), Australian Crane (Gould)
The contrast in opinions between Facebook and Instagram was really interesting! The Audubon Pelican was the clear favourite on Instagram, whereas Gould’s Herons were by far the preferred choice on Facebook. There was also lots of love for the other two illustrations as well. And, naturally, a bit of downright “noooo” for some of my choices!
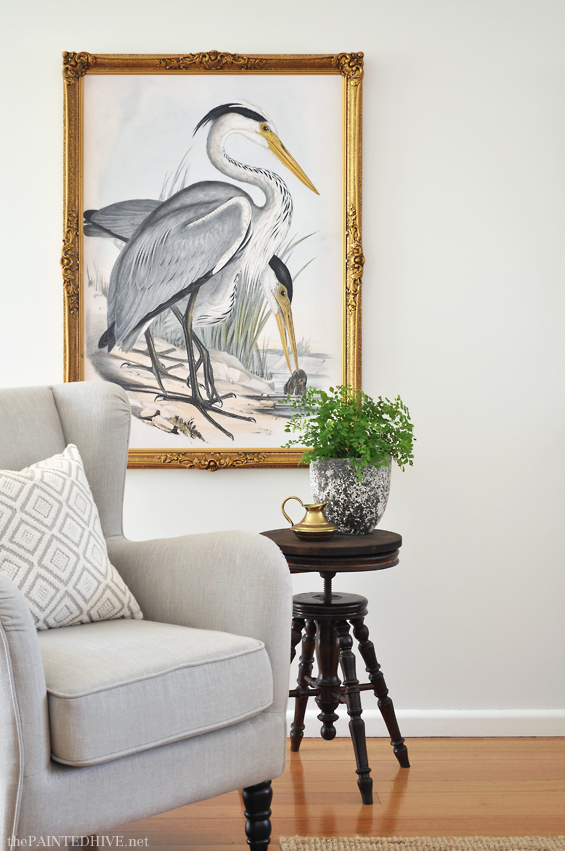
Thanks so much to everyone for the feedback. It wasn’t an easy decision! I weighed-up lots of pros and cons and in the end Gould’s Herons won out.
The main deciding factors were; the fact the subject is Australian (which gives context to the artwork), the dominant use of soft blue-grey with hints of golden yellow (which perfectly references the overall scheme of the room), the form of the birds (which expresses a gentle fluidity and lovely balance I find personally appealing), and finally, the fact it’s a relatively unknown work (which makes it more unique – I love the Audubon illustrations though they are much more prolific).
As touched on above, I needed my digital image to be large enough to allow for over-size printing (as my artwork is around 100cm x 70cm/40″ x 27″) so not just any image would do. Luckily, nowadays there are heaps of large-scale online images freely available for download!
The Audubon illustrations can be found on the Audubon Society website (you’ve probably seen my gushing posts about the awesomeness of the Audubon Society before, though if not you can read more here – where I offer search and download instructions).
I found the Gould illustrations on Internet Archive, a site which is new-ish to me. Are you familiar with it?
Internet Archive is an extensive online library featuring free large-scale scans of millions of books. Yes, millions!
TO FIND AND DOWNLOAD ILLUSTRATIONS FROM INTERNET ARCHIVE
1 Visit the Internet Archive website and search by title or author (or use the ‘Advanced Search’ option).
I’d already come across – and fallen a bit in love with – a small-scale image of Gould’s Herons via a Google search. After some investigation I discovered the artist and book. So, I jumped on Internet Archive and searched for “Birds of Australia, Gould” to see if it was part of their collection…and it was!
2 Click a book title from the returned results.
3 Once open, click the “Fullscreen View” icon (top right – four arrows) then the “Thumbnail View” icon (bottom right – four squares) for easy viewing.
4 Scroll through the book pages until you find an image you like (if you like my Herons, you can find them here) then click it.
5 Click the “Zoom In” icon (bottom right – plus magnifying glass) until you are at full zoom then right click the image and save it to your computer.
6 Once saved, you can use an editing program to check the size of the image (my Herons were 202cm x 128cm/80″ x 50″ at 72 PPI) and make any changes.
I used Photoshop to custom size the image and adjust the brightness, contrast, saturation and sharpness. I also gave the image a general tidy-up, added a subtle canvas texture and flipped (mirrored) it so the orientation better suited my room. You can learn more about setting-up, customising and editing large-scale images for print in part three of my extensive Free Printables series here.
7 Say “Yay”!
Originally, I was going to DIY the frame using simple timber trim (similar to this one I previously made). However, I happened to come across this large gilt frame for just $15 at a charity store one day…
It was the perfect size, and mum really loved it, so we decided to use it instead.
So, as touched-on above, I custom sized my image to fit perfectly and had it printed through Officeworks via their online print service for just $30 – bargain! I then used a jigsaw to cut a thin sheet of MDF to form the new backing for the frame and went about attaching my print to it using a diluted mixture of water and PVA – as I’ve done several times in the past.
And, here’s where things start to go downhill…
I completely stuffed up my first attempt. I’m not sure what it was (kids were yelling, dogs were barking, I was rushing) though there was no saving the crinkled mess I had created!
I’m a rational person though. “Oh well, these things happen. I’ll cut my losses and have another go tomorrow”.
And it had to be tomorrow. Swift redemption was called for to soothe the sting of my failure.
So, early the next morning, USB in pocket, I took the twenty minute drive to my local Officeworks store to have a new image printed in person.
Only my USB wasn’t “in pocket”. What the? Where the heck was the dang thing?
A fleeting image of a USB atop my kitchen counter crossed my vision. Oh man!
I’m a rational person though. “Oh well, these things happen. I’ll just drive home, with my screaming toddler and over-it four year old, grab the effing thing then drive all the way back again”.
So, I did. And I had my new image printed super promptly while my kids happily tested all the pens in the “Try Me” section.
Onto round two.
Given my confidence had been a little crushed by my first failed attempt, this time around I decided to go with trusty spray adhesive. It’s almost fool proof. And extra handy when you actually have some! I swear, there was a full can in the shed last week.
“Okay kids, back in the car”.
I’m a rational person though. “Oh well”.
Back home, spray adhesive in hand. Right, let’s do this thing already.
So, I did. Very meticulously. I was just so conscious of stuffing it up again I really needed every ounce of my concentration.
The kids grew understandably bored by my inattention and curious new center of focus, so started playing around. Running, jumping, rolling. Just regular kiddy things which normally wouldn’t bother me but today, oh today, I could feel the heat rising from my collar.
Then, it happened.
I was around half way through adhering my new print to the backboard when I heard it.
“Riley, noooo”. It was my daughter Charlotte chastising her little brother for what was about to ensue.
I turned just in time to see it.
The beautiful gold frame I had so carefully propped up on the lawnmover arms (what, isn’t that a perfectly safe place to leave an object which to children doubles as a personal picture show?) was falling fast toward the concrete garage floor.
BANG!
A gazillion little gold pieces flew up into the air (okay, it was more like fifteen though you feelin’ me?).
I didn’t yell, I didn’t pick the frame up, I didn’t scurry to collect the fragments.
I just stood there…and cried.
It started slowly. Soon, however, great big heaving sobs – that seemed to scare the heck out of my kids – were escaping my body.
It was bad. I am, by no means, a graceful crier.
My reign of rational had ended!
Of course, after a short while I giggled at my silliness, hugged my kids, miraculously found all the little gold pieces and fixed the frame.
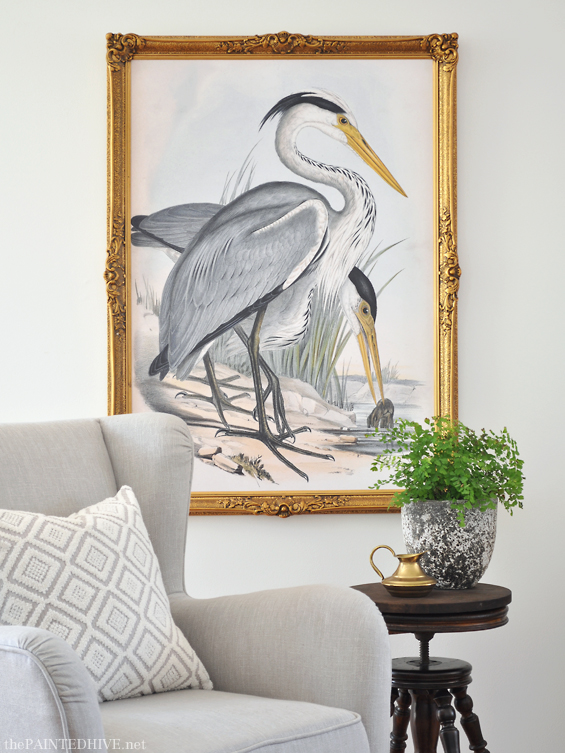
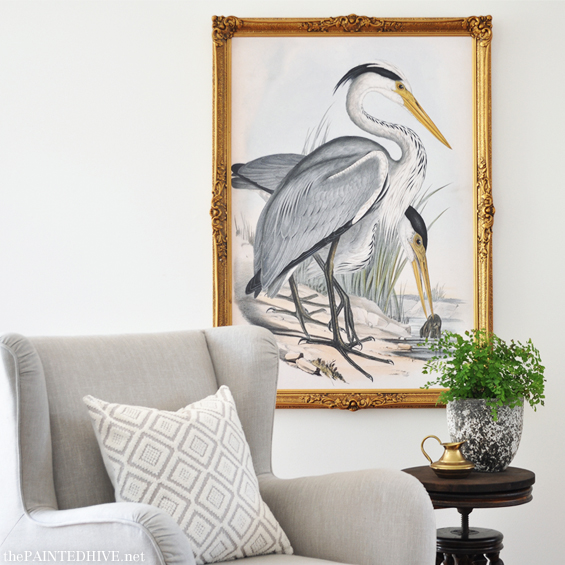
I then finished adhering my print to the backboard, mounted it in the frame and hung it on the wall.
This simple project might have taken me all day and cost $30 more than it needed to, though in the end all was good in the world once more.
I should probably attempt to claw-back some dignity and separate myself from the title of “basketcase” by mentioning this was a rare moment for me. I’m aware that the whole scenario qualifies as little more than a “first world problem” and if it’s the worst series of events I encounter all year I’m a very lucky girl indeed!
Catch up on all posts related to this room makeover here.





OMG!!! Too funny. You are so cute.
On a different note, the print is just beautiful and the frame is perfect as is your lovely styling. I adore that pillow too.
Thanks so much Lorraine :)
I would have cried too! Kid wrangling and DIYing just don’t mix sometimes. But the print and frame look lovely!
Ha, ha, Jen. They don’t mix at ALL times for me lately :)
kids and barking dogs have made me cry before and i am so glad you were able to fix the gorgeous frame, i wish i was your mum just so that room could be mine xx
Thanks so much Chris. It’s nice to know I’m not alone :)
Kristine ~ oh, I feel your pain! There are only so many times “That’s ok.” will abate a building frustration. Thanks for sharing some “normalness” with us. It might be a 1st World problem, but it is one that most of us can empathize with. :)
As usual, (I’m saying this now every time it seems!) you conjured perfection with this picture and frame. I am looking forward to the whole room review now to see how the parts fit into the whole.
Keep on keeping on.
Thanks so much Deb :)
Yes, the rising frustration just needed to be set free! LOL.
So, so close with this room now. Just some DIY pillows, a few bits of decor and to finish the curtains.
I really like how this turned out and love the frame. How to the prints hold up without glass? I’m assuming you’re printing onto paper but maybe you’re using a canvas?
Hi Kamila
I find the paper prints hold up really well without glass. I generally print onto thick-ish paper which is then fully adhered to a stiff backing board so it’s really no different to any art print which has been reproduced on paper and attached to a backing board.
I’ve had the map above my bed for almost six years now and it still looks the same as the day I made it.
I guess some care would need to be taken around areas which might experience excessive air moisture (the paper could begin to wave) though I’ve personally not had any problems with my paper prints.
Kristine
x
Agreed! Today’s digital/archival prints are surprisingly durable. Unless they’re in a kitchen – near messy cooking – or hanging in a steamy bathroom, they should hold up just fine without glazing. A quick spray of fixative goes a long way, too. Doesn’t make a print ‘washable’, but it really can protect against fingerprints and everyday dusty bits and pieces.
(Worth a mention: It’s not ideal to frame any print directly under glass without a mat or some kind of spacer. That’s when built-up moisture – and those nearly invisible bugs and spiders – can do some permanent damage.
Thanks for the input Mary :)
Totally feel your pain! But the end product is so great and worth all of the effort it took you to get there! Thanks for sharing with us. :)
Thanks so much :)
Kristine! Isn’t it amazing how a whole day of frustrations, at the end, turns out fantastic!
Will and I had 4 kids in 5 1/2 years! Stories we could tell!!! We always sit down at the
end of each day, and it was and it is even now, we always have a fantastic
days end.
Great article!!! Sooo human!
Hugs,
Kay and Will
Oh wow, four kids in under six years just might have killed me Kay! Though you’re totally right, at the end of the day all is good :)
Looks perfect despite all the woes!
Thanks Ruth.
oh wow! Thank you for sharing. DIY and kids are sometimes a crazy mix… on one hand you want to get your project done perfectly, on the other hand you want to be a good parent and not completely either a) completely ignore, or b) lose your cool at the kids in the meantime. It is a balancing act and by the sounds of it you did well. Kids need to see us have a cry every now and then.
The frame looks as good as new! The print is fabulous! I love your work as usual.
xxx
Oh yes Adele, they are a crazy mix (hence my sporadic and sparse posts since adding kids to my blog mix!). It did all work out in the end though :)
I suspect every parent, even the rational ones, can tell stories like this. Mine includes my first day at work, damage to a hub cap on a bluestone gutter, several attempts to buy a replacement before having to confess to other half, driving halfway across Melbourne, picking up my kids late and finally scraping the side of my car on my MIL’s gatepost which I had negotiated safely at least a thousand times before. That’s the point at which I stopped coping and cried.
The print is utterly lovely, and I am impressed with your frame repair skills. And it is always fun to own something with a story.
Ha, ha. I know I shouldn’t laugh Robin though your story totally made my day! We are all the same!
And yes, what was once an unconnected object is now part of the family and that is fun :)
As frustrating at is must’ve been at the time, I’m thinking this frame’s ‘back story’ makes it even more special. Think of the laughter and smiles you’re going to get from this frame in the coming years. Sounds kind of priceless to me!
Over the years (I”m probably one of your oldest followers), I’ve seen some pretty major ‘flubs’ turn into the best – and most repeated – family stories. (Or, maybe our family’s just easily amused.)
Ha, ha, yes, you’re right Mary. The story behind the frame has given meaning and life to what was initially an unconnected object.
Really? The frame looked like just a new piece. I didn’t expect that story of your frame. But you really did a great job. What a superwoman. ;)
Hi Kristine! I just discovered your blog tonight and am in awe of your creativity! Would you mind sharing the final draft of your herons post-touch up? I love how soft and muted you made the colors!
Hi Kathleen
Thanks so much.
I did consider having my final image as a free download though there are two reasons I decided against it; 1) it is a really large file and might kill my bandwidth if I get too many downloads, 2) although the original work is out of copyright I’m not certain of the on-sharing conditions put forth by Internet Archive.
I’ll have a look into working around the file size and will investigate Internet Archive’s policies. If all is fine I’ll put up a new post next week with the download of my final image :)
Kristine
Hi again Kathleen
Good news! I have been granted permission to on-share my edited file! I’ll work out where I can host the download and will publish a new post next week.
x
That’s so awesome! Thank you!
The post is up Kathleen :)
Feel your pain! But the end product is so greatI really like how this turned out and love the frame. Thanks for sharing with us.
So beautiful Kristine! This painting is totally stunning & gives a artistic look to your room. You are really very creative & talented. Well done!
Thanks so much :)
I love what you did with this page and your explanation. You always have some wonderful art and insights in the Scripture. As always, thank you for sharing your heart. once again thanks
Wow you did an amazing job! I enjoyed reading your real life story along with the tutorial. I recently did a post on a photograph I took of an Osprey and baby in their nest. I would love to enlarge it you gave me some good ideas on how to, Feel free to visit my post of the Osprey. Thank you for linking to Talk of the Town you are my feature pick for this weeks party!!
Julie @ Love My Simple Home
Thanks so much Julie :)
I love your photograph and the simple frame upcycle is so effective.
Your framed print looks gorgeous, but heck – I just enjoyed your story! :) Thanks for sharing it at Talk of the Town – I’m pinning it to the Knick of Time party board!
Thanks so much Angie :)
Awesome idea. In the process of doing this now. Can you give a quick tutorial on how you actually edited and adjusted the picture? Thanks
A “quick tutorial” for this type of task is a little tricky. In short, I used Photoshop to re-size the image then I played around with some colour, brightness and saturation adjustments before applying a canvas texture.
I do have a series of really thorough posts covering editing images for print (you can find them here). If you don’t have Photoshop, I also explain how to use GIMP (a free photo editing program).
Hope this helps.
Kristine
There is nothing wrong with being honest, I have cried myself over frustration. It looks beautiful and now there is a story to tell as well!
Thanks so much Elizabeth :)
Some awesome decorating tips here, the images that you’ve used are fantastic, the herons are beautiful!
Love it! So perfect! Where did you get your pillow?
Thanks Kara. I made the pillow myself. Believe it or not, it actually used to be a bath towel! I came across it one day on sale and just had to have it. Only thing was, our bathroom isn’t renovated yet so it felt wrong having it languish away in there. Instead I decided to make four throw cushions to show-off the lovely texture and design.
Luv your ideas but I am not so very “crafty”. I want things done NOW! I know they will look good when I finish but it takes time to do it right and I sometimes try to hurry things to be done which of course disappoints me with the outcome. However, I do have 2-3 ‘antiqued’ furniture pieces which are so pretty. This was popular back in the ’60’s when I was first married & I was just so proud of how they turned out. Think I will try some of your ideas & get going with some simple projects to get me in the mood. Can’t wait.
Oh, I often find myself wanting to rush through projects too Carol. I’m like you in that I find satisfaction in the finished piece, though I don’t have a heap of love for the process!
I just wanted to thank you soooo much for the heron and crane prints! I had them saved on my laptop desktop for a while now, and finally decided to take the plunge and order them at office depot! Yeay! On sale for 24×36 for $20 each! Cant wait to see them. (Maybe that will make up for the fact that I just touched up 5 walls with paint that is the right color but wrong finish (flat vs semi gloss) to match my current walls. YIKES!!! Love your sense of humor too!!!
Oh no! Well, at least you got the colour right. LOL!
Thanks so much for sending a message to say thanks. I don’t have both bird prints displayed together though have seen pictures from some of my readers and they look really stunning as a pair – statement art! I’m sure you’ll be happy with them.
If you feel inclined, I’d love to see how they look in your home too.
Kristine
x
I LOVE this print. I live in Florida and it reminds me the classic Audubon plates of birds. I’m definitely printing it for my home.
Thanks Carol. Yes, I was tossing up between a Gould or an Audubon. Decided on this one because it’s a little less prolific and has just the right colouring.
I really enjoyed reading your article. Also, the genuine efforts you made to get everything right. The results are visible, on the wall. More than that, your children gained a greater appreciation of what you achieved. Also, definitely, your acceptance of something that was beyond your control, which led to a positive solution.
Internet Archive: Since the first decade of this century, this website has been invaluable to me. I use it almost every day. I’ve gained extraordinary insight, greater appreciation and a better understanding of our world, past and preset, because of Internet Archive.
I also donate to them, every month. Exactly $10.00, automatic PayPal transaction on the same day each month and I’ve been doing this for years. I consider this as an investment in attaining knowledge. I don’t take this site for granted. I’m hoping you’ll encourage your readers to consider helping this amazing site, too. For me, $10.00 a month, every month, year after year, it adds up, along with so many other contributors helping to keep this site active.
It takes a tremendous amount of work to locate and download so many pamphlets, booklets, journals, magazines, books, multi-volume series. It’s knowing I can see books or journals published in Europe in the 1500-1600’s, France in the 1790’s, or the USA in the 1840’s, England in the 1850’s, Brazil in the 1860’s, Egypt in the 1890’s, Russia in the 1900’s, Australia in the 1910’s and so much more.
Give a shout out to Internet Archive, so this tremendous website can go on.
Thank You Very Much!
Joe in North Hollywood, California