
If you’re anything like me, you probably have a stash of lovely left-over fabric scraps testing the seams of an old box somewhere.
There’s heaps you can do with those pretty remnants though this particular project is something I’ve been meaning to try for a few years now.
And I finally got the perfect excuse!
When Circa Home invited me to share some inspiration around creating a sanctuary at home, the first room that came to mind was the bathroom*.
* Granted, if you too have adhesive offspring, preferably a lockable one…with some soundproofing…and maybe even a mini bar!
Not only because bathrooms are often thought of as potential havens, though also because I’ve been secretly working on a new bathroom re-do of my own (more on that soon – and some sneak peeks below!).
And what’s a lovely bathroom without some lovely towels?
This is a simple and effective little project which is fast and affordable.
YOU WILL NEED…
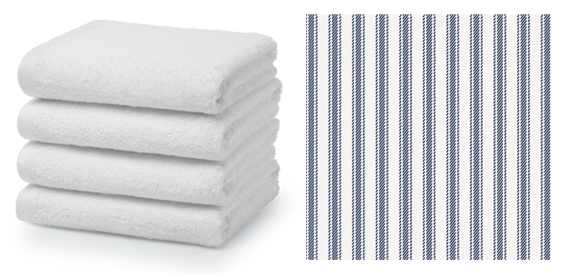
PLAIN TOWELS
Of course, you can use whatever you like. I went with classic white with a subtle herringbone weave. If you’re extra adventurous, you don’t even need to start with plain towels!
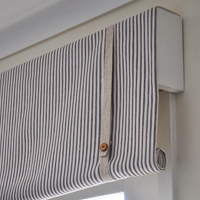
FABRIC, RIBBON OR BRAID/GIMP
As mentioned above, one of the best things about this project is the fact it’s a vehicle for using your left-over fabric scraps. That said, you can of course buy new fabric or use ribbon or braid/gimp (ribbon or braid/gimp is an even easier alternative as you can omit cutting and hemming the long sides). From the start I envisioned pairing my white towels with timeless ticking. Luckily, I always seem to have a supply of ticking off-cuts lying around!
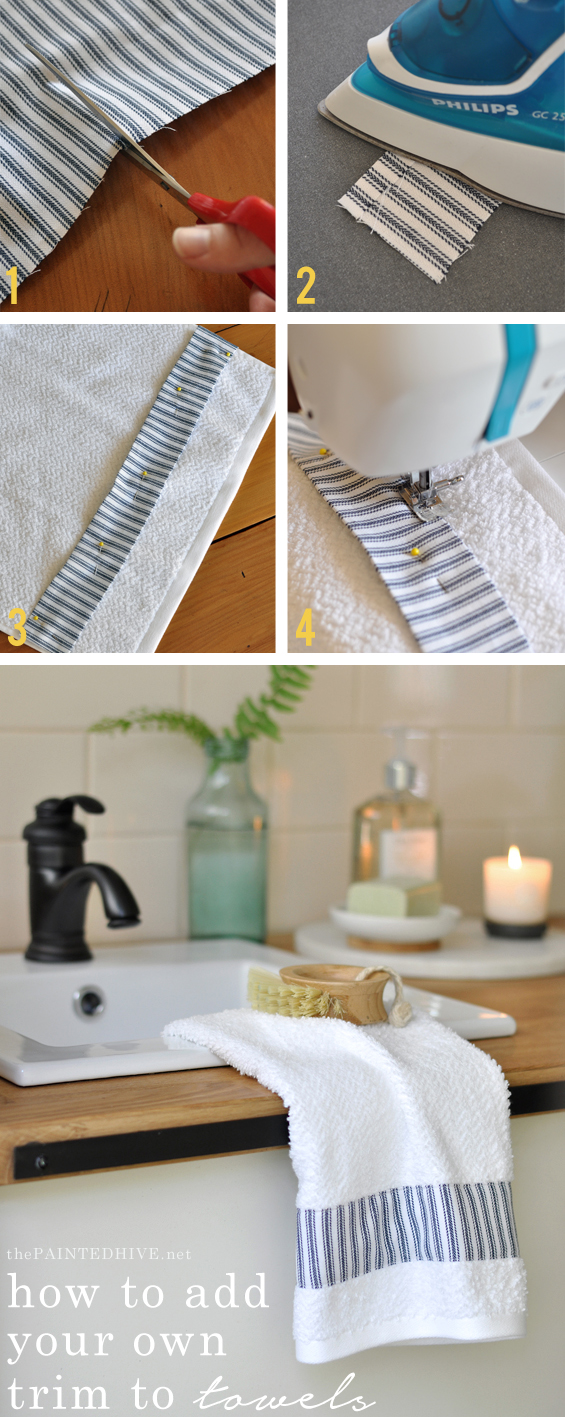
STEP 1
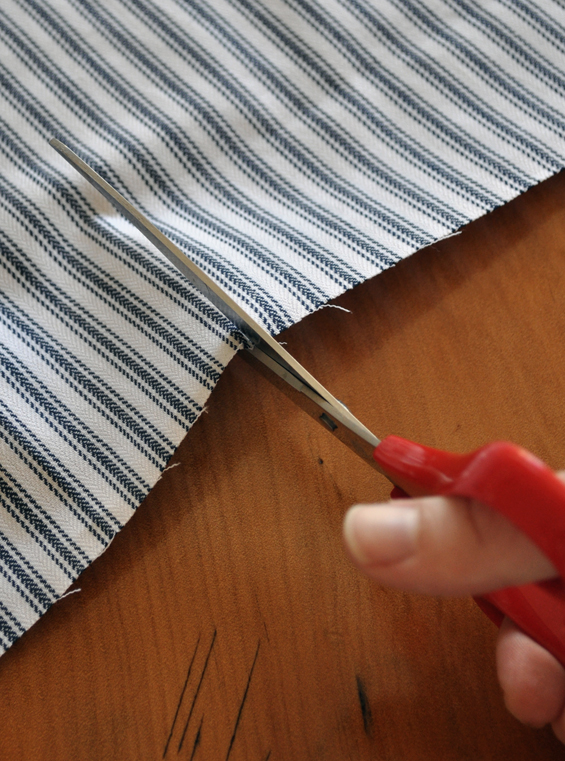
STEP 1 Measure, mark and cut fabric.
Decide how wide you’d like your decorative trim to be then measure the width of your towel to determine how long it needs to be. Add around 1cm/.5″ all around (this is the turn-under allowance) then mark and cut your fabric.
For example, I wanted my trim to be 6cm/2″ wide and the width of my hand towel was 40cm/16″. Taking into account the turn-under I needed to cut my piece of trim for my hand towel to 8cm/3″ wide x 42cm/17″ long.
Note: To avoid uneven future shrinkage (which may cause the trim to pucker, pull or sag) it’s a good idea to launder the towel and fabric first. It also helps to iron them both following laundering.
STEP 2
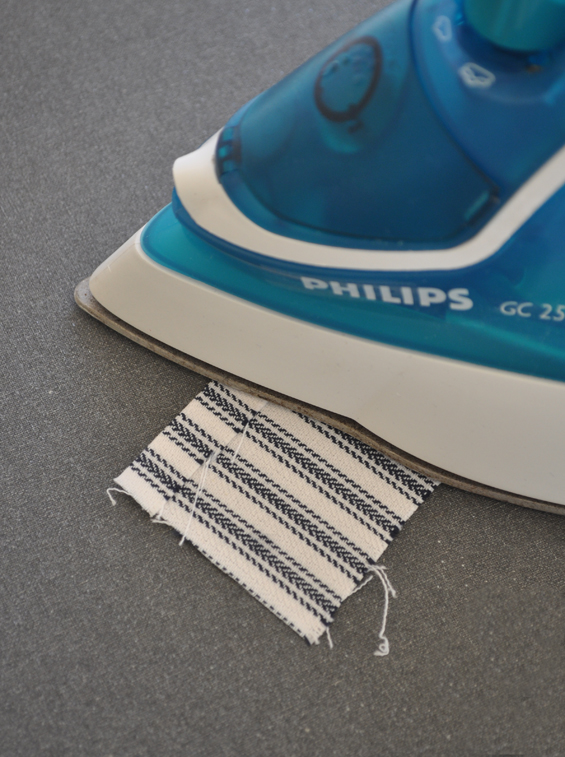
STEP 2 Fold in edges and press into place.
Neatly fold each edge in and press into place with a hot iron. Start with the long sides and finish with the ends. Use your towel as a guide to ensure the length is correct.
STEP 3
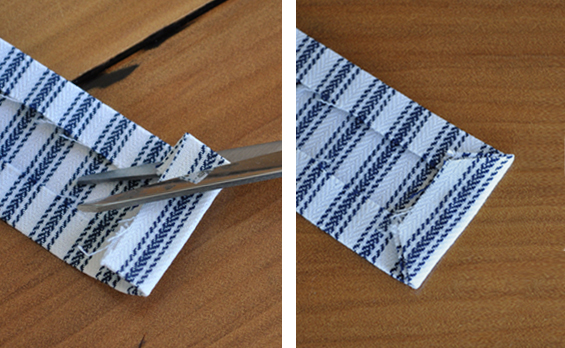
STEP 3 Cut off excess at corners.
Make a diagonal cut at each corner to create an envelope-like flap. This just removes bulkiness and makes for neater, easier sewing.
STEP 4
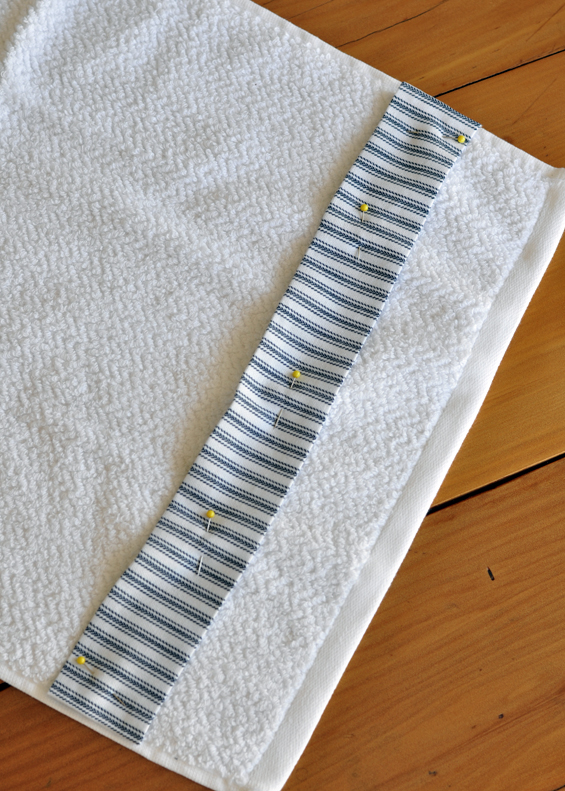
STEP 4 Pin fabric in place.
Position your piece of trim in place on your towel and secure it with pins.
STEP 5
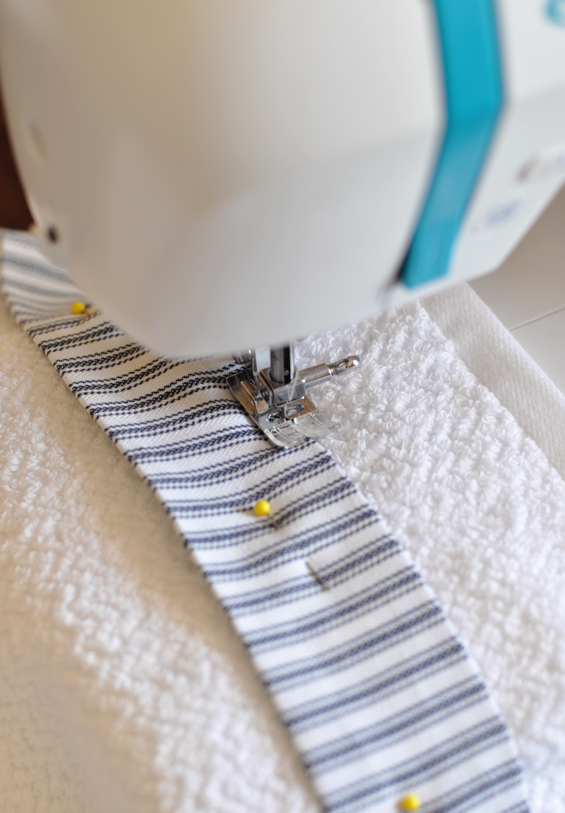
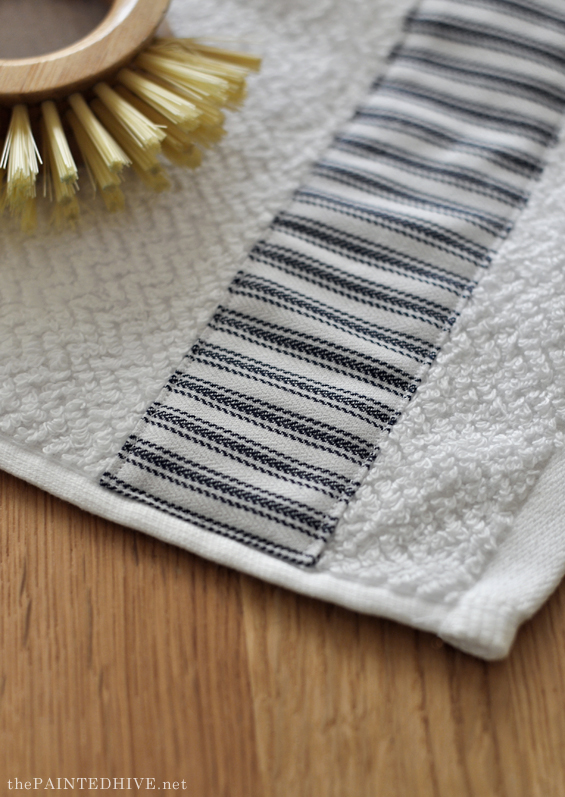
STEP 5 Sew.
Using a short stitch, carefully sew around the entire perimeter of the trim. Take your time and stay as close as possible to the edge of the fabric. Too much of a gap between the stitch line and fabric edge may cause the sides to lift slightly.
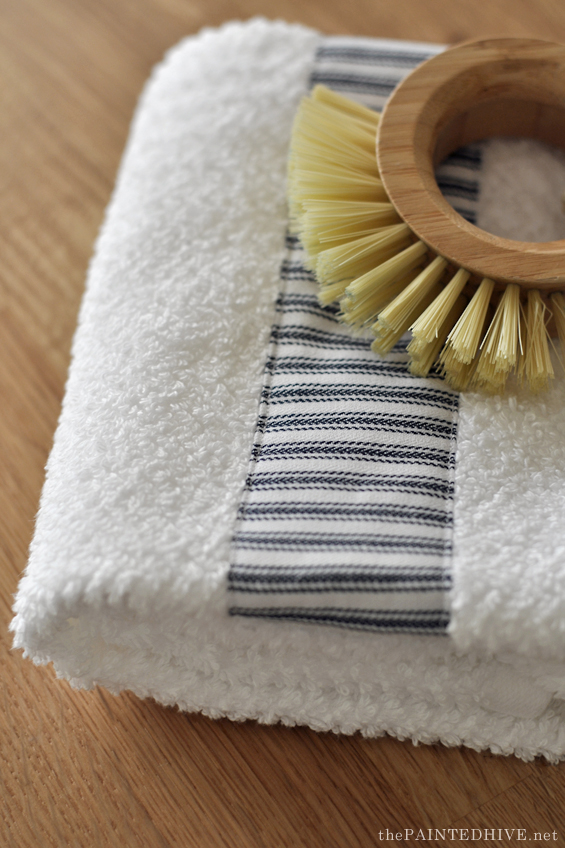
STEP 6
STEP 6 Done!
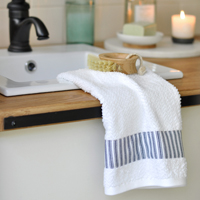
That little added detail makes such a difference.
Suddenly my inexpensive plain white towels look tailored and special.
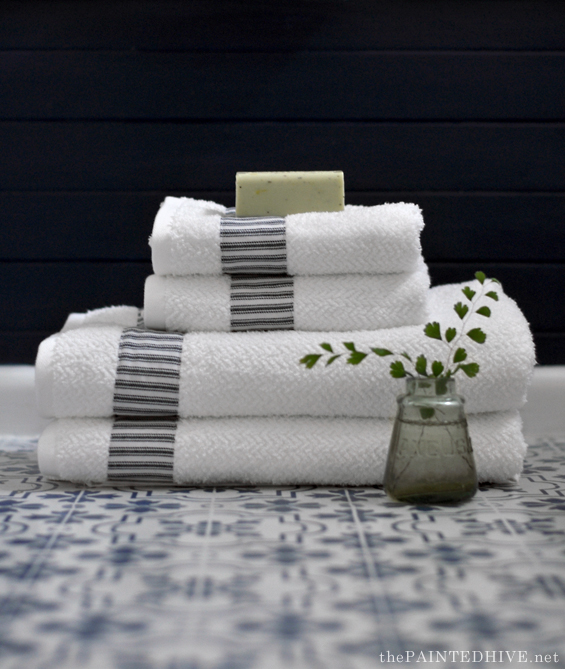
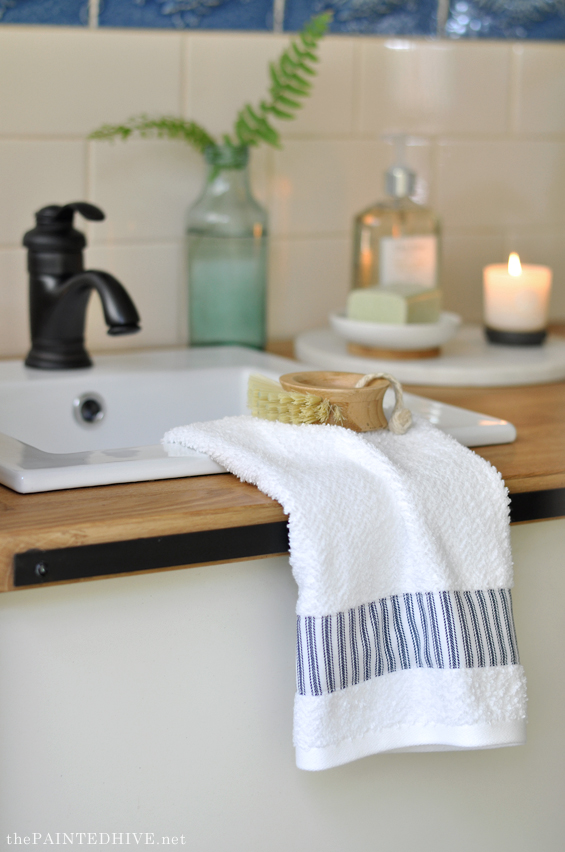
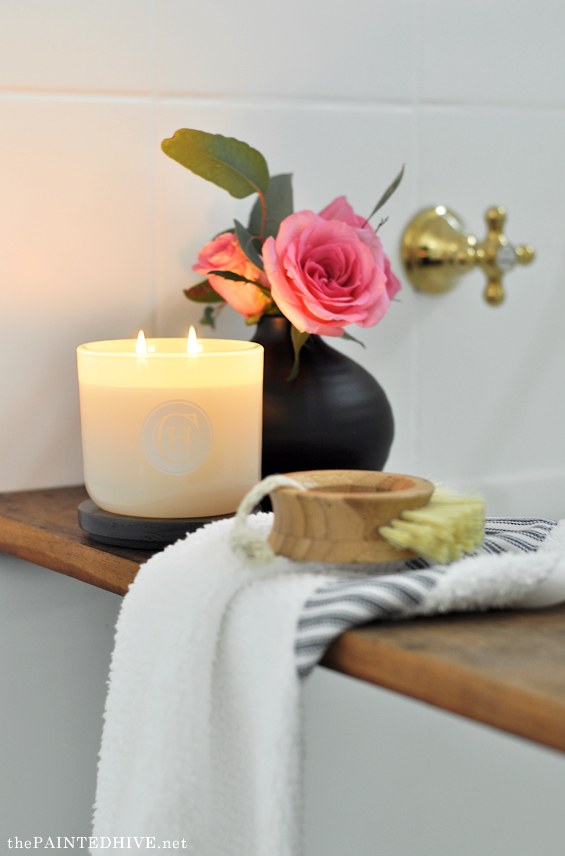
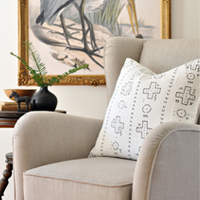
Just for fun I styled the towels in a few different ways incorporating some of the beautiful Circa Home products.
They look perfectly at home in my parent’s recently made-over powder/laundry room…
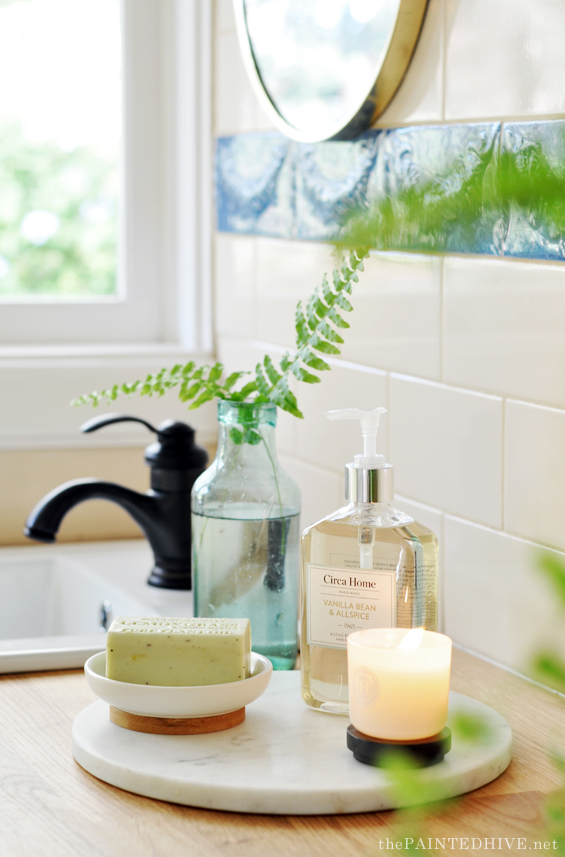
And I’m loving the Circa Home hand wash paired with their sweet candle. Not to mention the amazing aroma!
So simple, classic and understated.
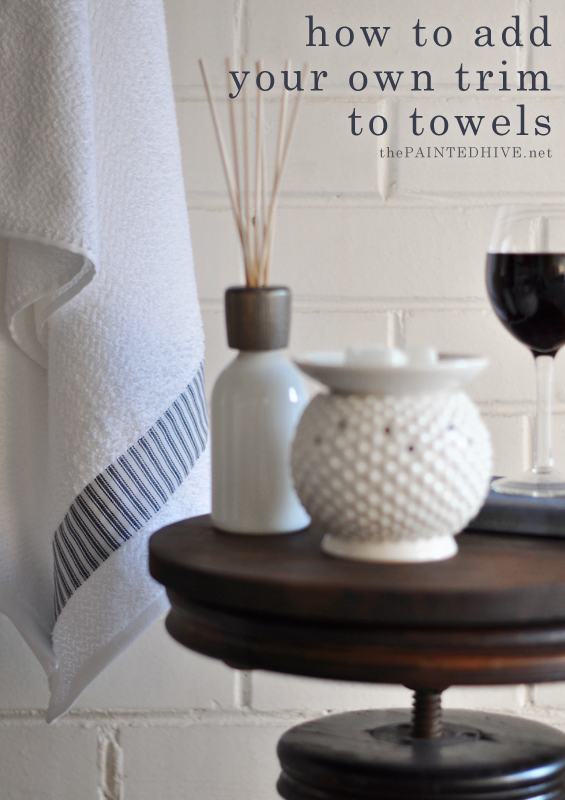
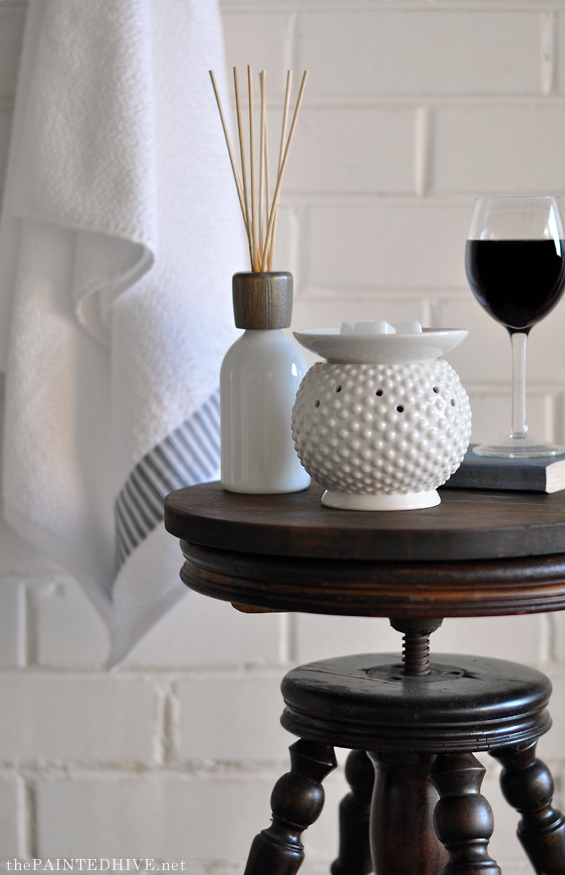
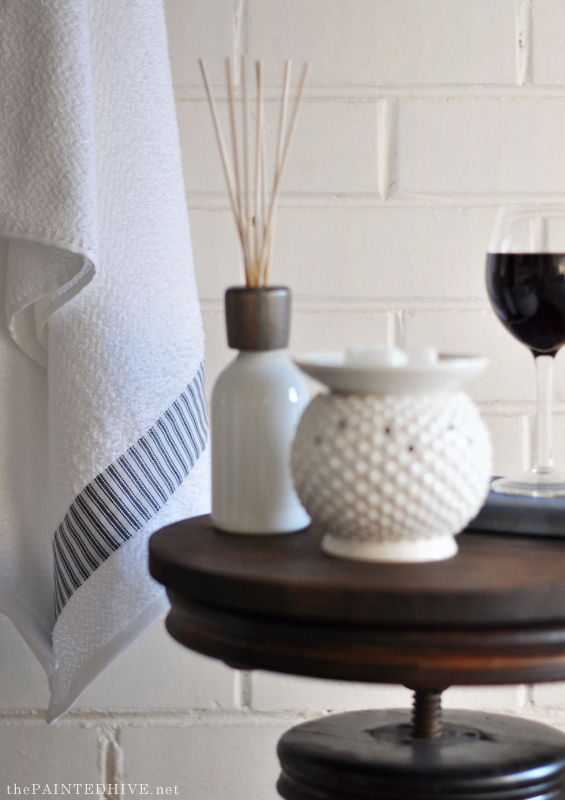
In my second life I imagine I might have a trendy, minimal-meets-grungy bathroom kinda like this…
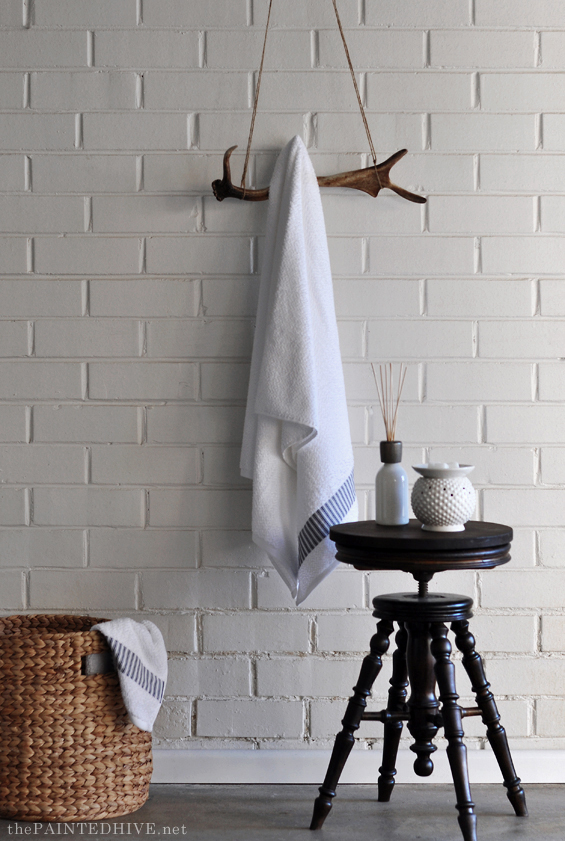
Complete with obligatory glass of red wine, handsome wax warmer and stylish fragrance diffuser.
And here’s a sneak peek of the bathroom I’ve been working on…
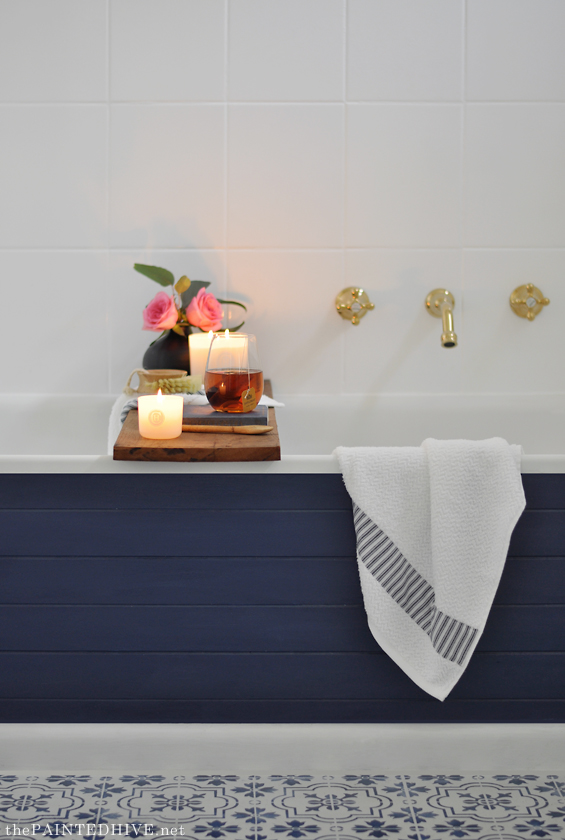
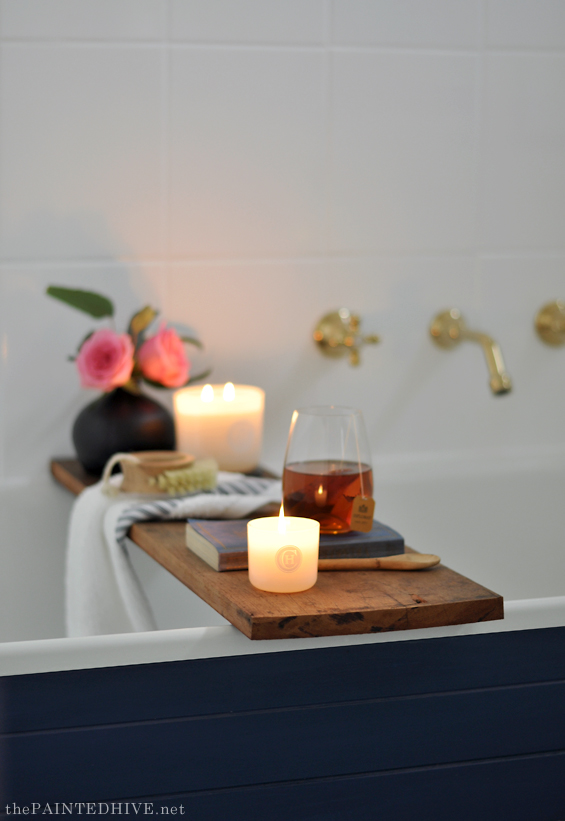
You will not believe the before pics of this space – I can’t wait to share more!
I still need to purchase/DIY a ceiling light and some sconces though even incomplete it looks so, so pretty all dressed up.
As a bonus it now also smells amazing too! Seriously, I’ve never been a huge fan of home fragrances, though after using the Circa Home products for this post figure I must’ve been doing something wrong all these years! The scents are just gorgeous – harmoniously subtle and uncomplicated with a pleasing linger.
What are your favourite home fragrances?
I must admit, just like my colour schemes I’m a neutral and natural gal so adore subtle, earthy fragrances. Vanilla Bean and All-Spice is an absolute go-to. Yum!
![]()
If you’d like to save this project for a later date, you can pin the image below.
Thank you to Circa Home for working with me on this project.


It is the little touches that take a room for nice to wow! I love the detail you added to the towels. It makes it easy to have towels match whatever your room color, curtain or whatever else needs coordinating. You could do the same to customize pillowcases too. I love the blue along the tub and can’t wait to see the finished room!!
Thanks Patricia. Yes, exactly, you can completely tailor the towels to suit your style and colour scheme which is perfect. And like you said, this same treatment can be applied to pillowcases too, and dish towels, throw blankets, table cloths…anything!
Say, would that be leftover ticking from the window valance (to cover up a roller shade)? That tute still resides on my master bedroom to do page. :) Love this idea, although my straight seams need a lot of work at this point, it’s a good reminder that even little changes can make a big difference. The bathroom peeks look incredible – lush blue and brass! Would that be faucets coming out of the wall in the MIDDLE of the tub? Oooo, I can. not. wait. for the reveal.
This is actually a slightly different ticking Deb. I think it’s left-over from making throw cushions.
And the faucet isn’t in the center of the tub unfortunately. That would be very luxurious! :)
This is such a great idea….I am going to have to try this.
Beautiful, beautiful bathroom coming soon. I especially like the patterned tile with dark tub surround, and the ticking is the perfect choice to accent it. I love ticking too. I’m currently making pillow covers for our living room with it. I do want to send a little hint to those trying this trim technique for the first time. Be sure you wash both the towel and the trim fabric or gimp before you sew them together. If there is any shrinkage in either it will cause the towel to go all wonky and it won’t lie flat. I speak from experience and great frustration.
Spot on there….was about to leave a comment too about prewashing towel and fabric. Don’t they look sharp!
Yes, I should mention that. It also helps to iron both the fabric and towel first. I’ll add it as a note in Step 1. Thanks!
Oh how fun. I remember adding trims to towels back when we were first married. Such an easy way to make plain look so designer!
Yes Sharon. Isn’t it so cool and easy? My mum has had DIY trimmed towels in her house for as long as I can remember.
So lovely – a great idea :)
Thanks Cherie :)
I’m with you, vanilla and a bit of lavender are the only fragrances I like. Can’t wait to see the make-over but your towels look so lovely in these stylings too. That piano stool is one of my favourite make-overs you have done too.
Thanks Sherylee. Yes, that stool goes with everything!
You seriously have some serious skills and style … love the little touch on the towels but am super excited to see the bathroom renovation. I can see some inspiration already and am looking forward to seeing what you do.
Thanks so much Kelly. You’re too sweet.
I love the look, only one problem, the tea on the tray should be a whisky. ;-)
Jen
LOL! Too true.
Just lovely. I have a problem w/almost any aroma. Perfume, cigarettes, flowers, after shave. Not everything but many, many aromas. They give me terrible headaches. I even put my crock pot in the garage when cooking beef. I would like a nice smelling light aroma to go with all the pretties in my bath also. Do you know of one that is very, very mild that I might try?
Hi Jean. I sometimes get mild headaches/nausea from certain aromas too though only if they are quite strong. You sound like you’ve got a super sensitive nose! Vanilla might be a good place for you to start.
I’m with you and Sherrylee on that piano stool!! Love Love it! And your whole look!! I’ve saved some screen shots for my inspirations!! We are in middle of taking a jetted tub out and installing a freestanding wood tub my son designed and makes. We finally have the
Tub installed and plumbed. Excited!
You’re look is what I’m going for. I actually looked into the diffuser and wax melt but they don’t ship to the USA. Sad face! I look forward to more as you complete it!
Ooh, sounds exciting Kary. A freestanding wooden tub would be amazing – especially one designed and made by your very own son!
So sorry they don’t ship to the US :(
Oh thx!! I meant to include my sons Facebook link to his WaterWood page when I commented above. You can look there for the design of our tub. It’s similar to the “Elizabeth” tub. Also I’ve just requisitioned my son and his artisan team (they all live &a design in Mongolia) for a tray to slide over my tub similar to yours. My son and his wife and their 5 children have lived in Mongolia for a little over 2 years working and also sharing Jesus. @waterwoodtubs is his Facebook address.
I’ll continue to follow your bath updates!! Thank you!
Be sure to measure from the towel hem to the fabric trim edge, and be sure to cut all trim strips the same dimensions. From your photos, you omitted the measure-to-hem step, so the fabric is not in the same position on all the towels.
Hmmm, not entirely certain what you mean. Are you referring to the distance between the trim and towel hem on the finished towels? I can assure you they are all the same and I certainly did measure (didn’t include this in the tutorial because well, it’s kinda a no brainer). Each strip of trim is positioned 6cm/2.3″ from the towel hem on all towels. They might look a little skewiff in the pic with the stacked towels because I deliberately folded and layered them a little haphazardly.
Cheers
Thanks for the vanilla suggestion. I enjoy your posts so very much. You instill excitement and bring out my creativity. Keep up the great work!
Thanks so, so much :)
such an inspiration! I love how you can notice beautiful moments in simple things, seems like you can decorate anything, no matter even how it looks like! So good and thank you for sharing :D