
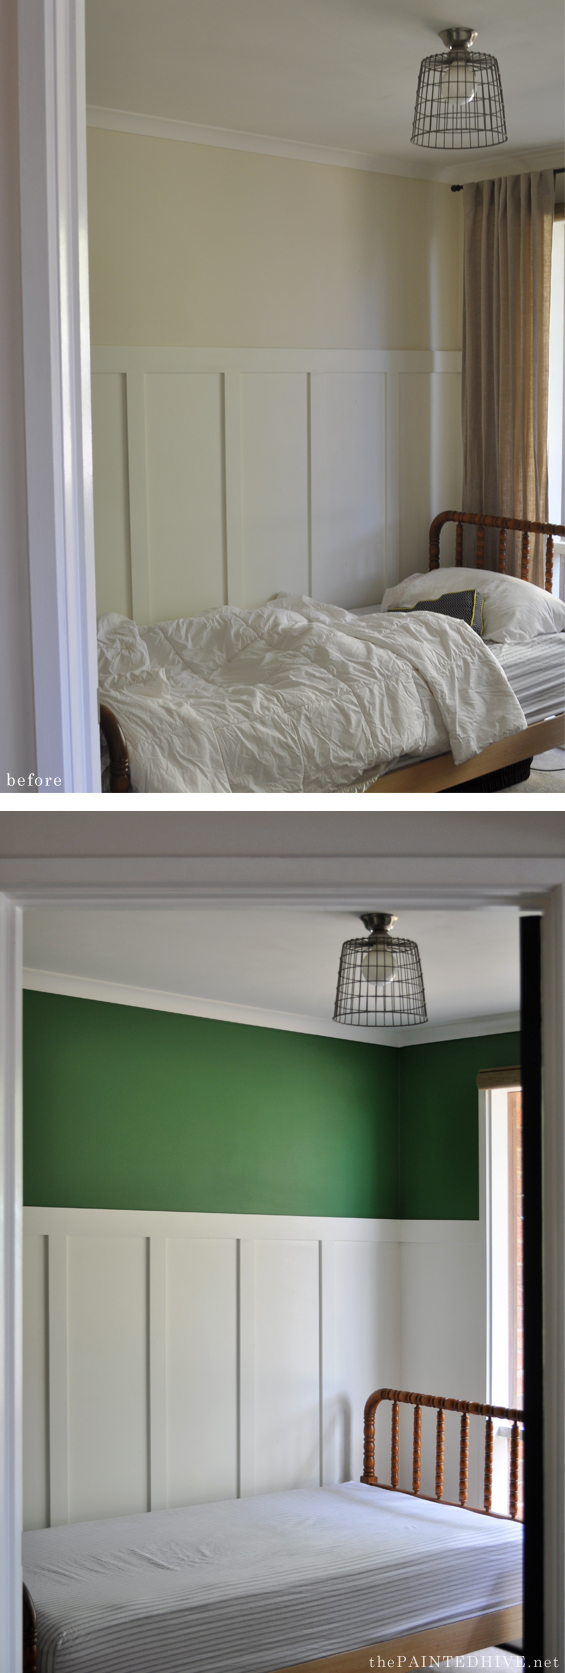
I’ve said it before and I’ll say it again…the difference some paint can make is amazing!
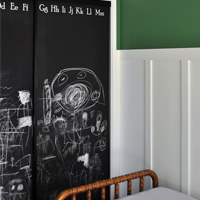
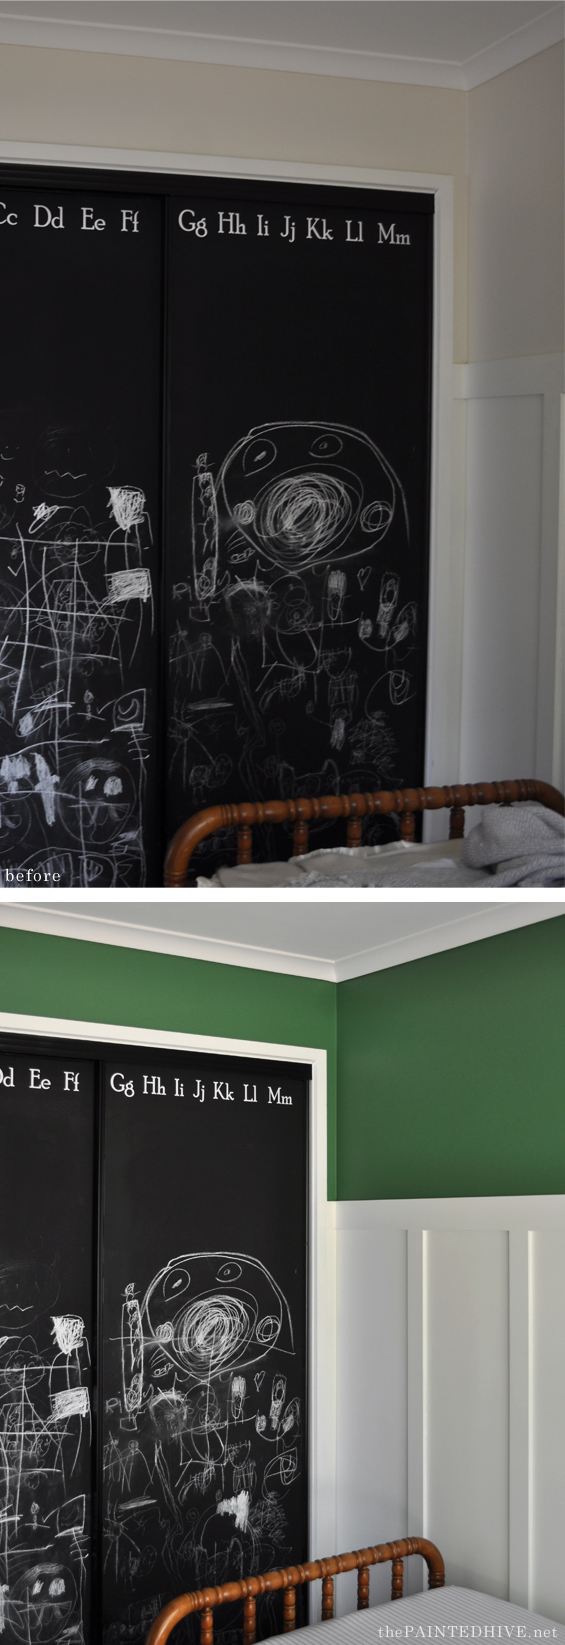
Excuse the (slightly disturbing) chalk art!
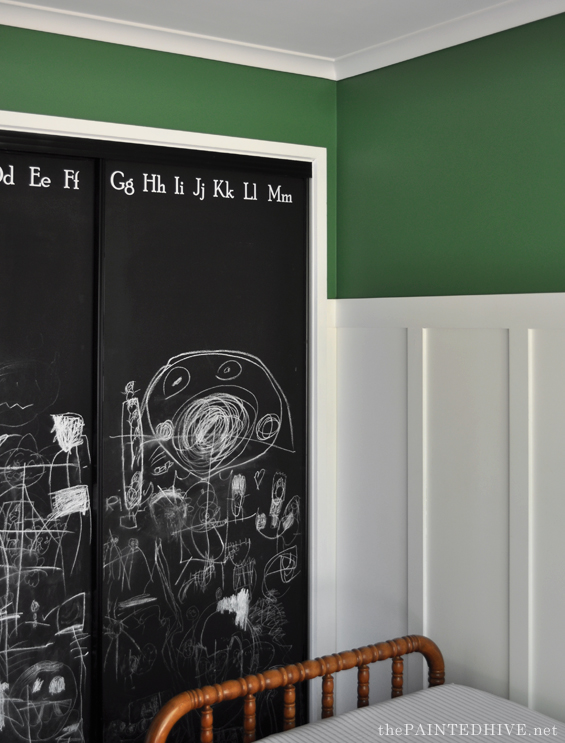
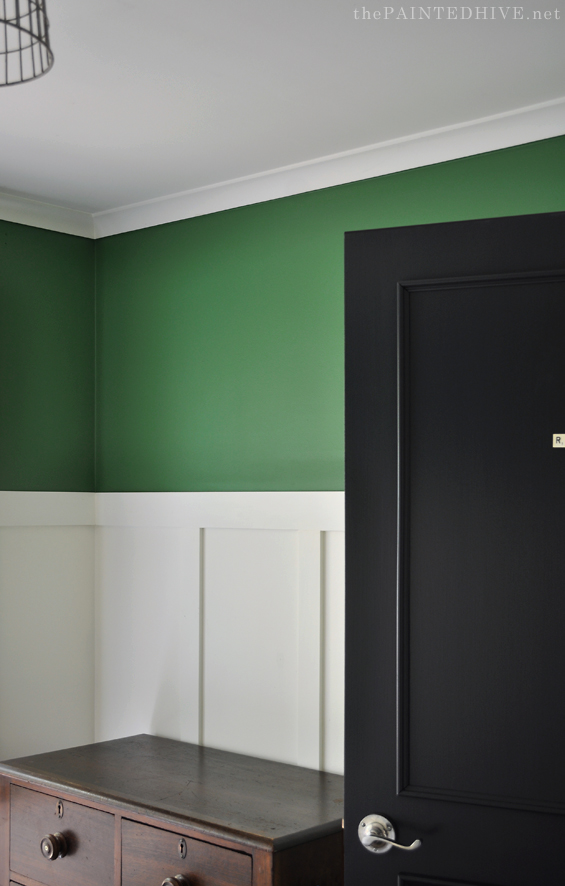
Usually I rely on the transformative power of neutrals, with their ability to freshen any space and create a nice, blank canvas. However, I’ve reversed things this time around, stepping way outside my comfort zone to go from neutral to nitro! Yep, the upper portion of Riley’s bedroom walls are now a rather full-on shade of green!
If you follow me socially (on Facebook or Instagram), you may have weighed-in on the colour choice…

I was always going to go with a deep green, though choosing the exact colour wasn’t easy. There were lots of mixed opinions, however in the end “Tarmac Green” won out. It was my favourite from the start and it’s just perfect I think!
Still, you should have seen the look on the guy’s face who served me at paint counter. “Whoa, that’s certainly a very green, green,” he said, as though I’d made some kind of mistake. I felt like saying, “Trust me, I’m a DIY blogger,” in that authoritative ‘doctor’ kinda voice. Though let’s be honest, I barely trust myself. So, I just smiled.
Anyhoo, the yellow undertone provides a beautiful warmth which should compliment the cosy feel I’m hoping to achieve…
It’s vibrant enough to say “hey, I’m green!”, though not too saturated that it’s overwhelming and not too dark or dull that the colour is lost in Riley’s somewhat light-deprived bedroom.
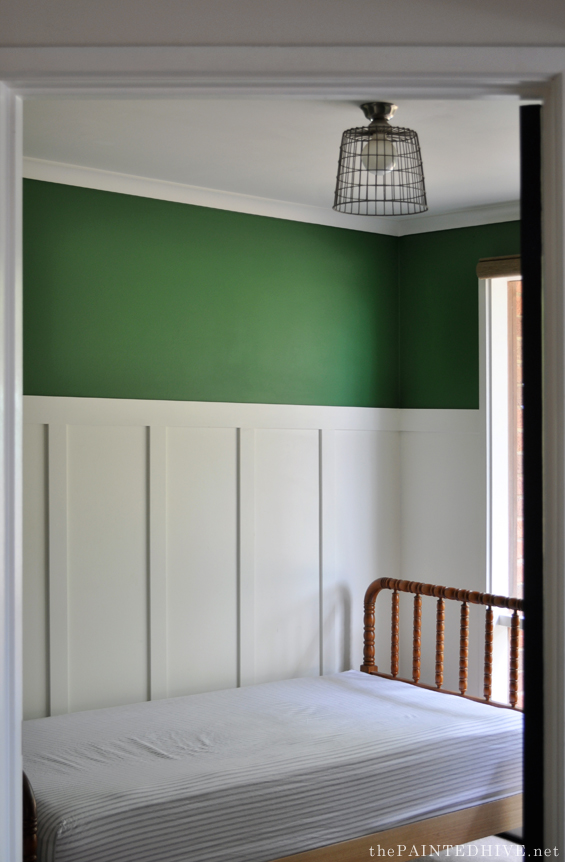
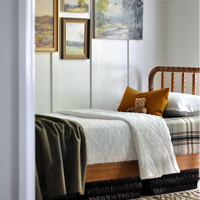
And, as a bit of a bonus, the room actually feels a little bigger now too! Although creating the illusion of more space was never one of my objectives (let’s face it, it’s a teeny tiny room which was never going to appear otherwise), I did think using a dark tone might close things in further. So, it was a nice surprise to find that the green actually works to give more prominence to the board-and-batten, making it appear brighter, wider and taller.
The boring solid core door also got a little makeover…
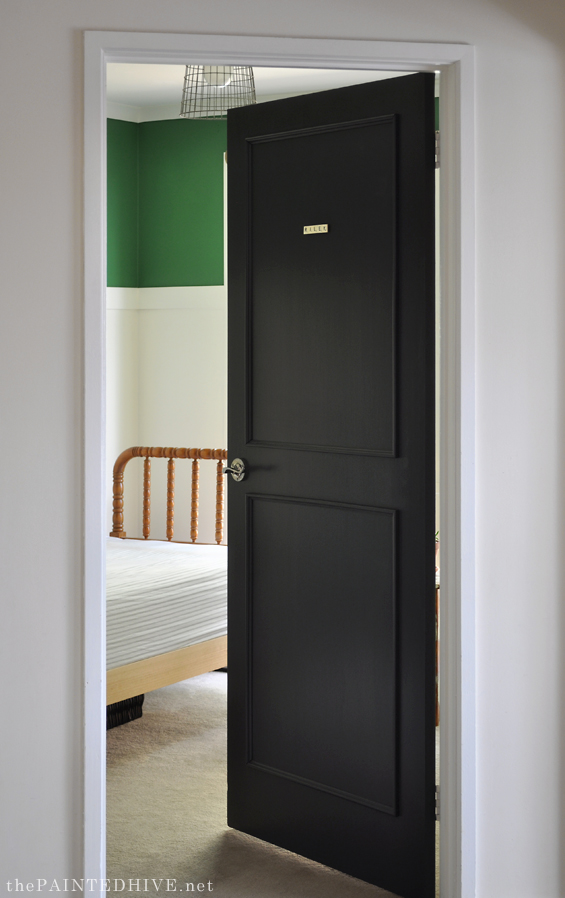

It now matches my little girl’s bedroom door (which sits right beside it) and was a quick and easy project. Eventually I plan to re-finish all of our interior doors in the same manner. If you’re interested, you can find my complete tutorial for adding trim to plain doors here.
For a little touch of whimsy I also added Riley’s name in vintage Scrabble tiles.
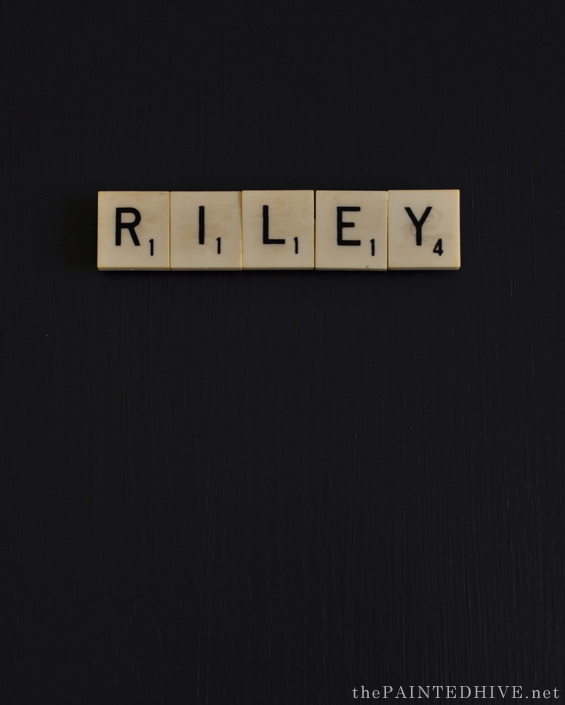
I bought them from eBay (I think they were 50 cents each) and attached them to the door using a Command strip.
I love the way the new green paint plays with the white of the board-and-batten and the charcoal of the door and the warm brown of the timber furniture. They just all go so perfectly together! #happyaccident
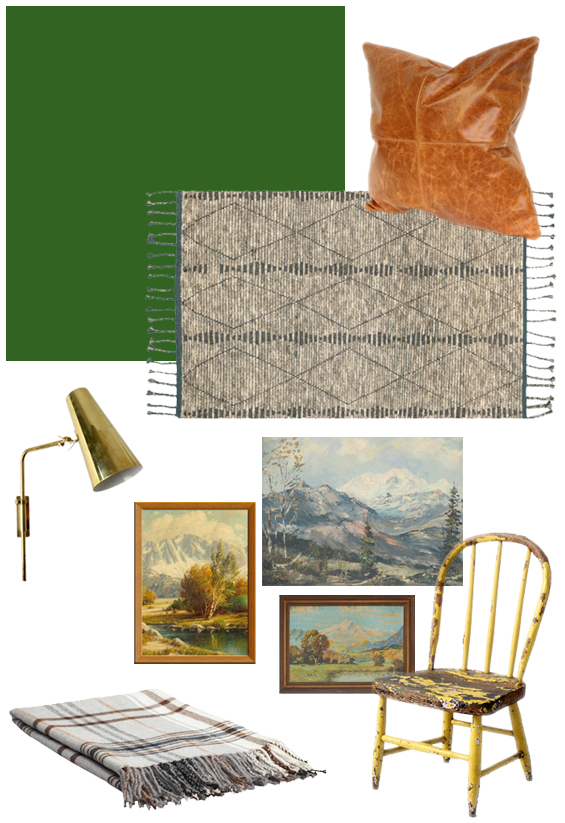
Along with painting the walls and refurbishing the door, I’ve also been collecting items and working on some DIY projects for the space.
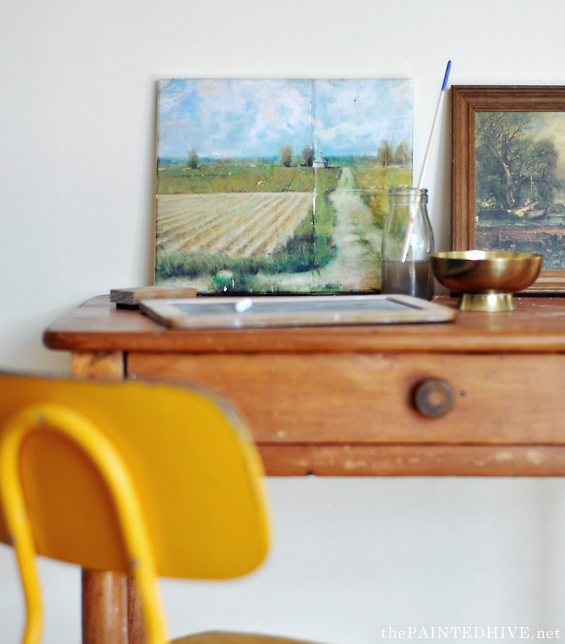
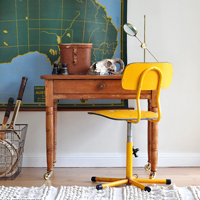
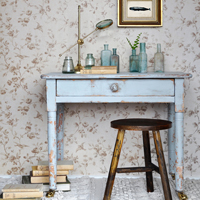
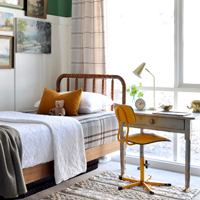
I found an awesome old desk (still need to shorten the legs) and a really cool vintage swivel chair. I’ve also hunted down some vintage landscape art for the gallery wall.
Speaking of vintage landscape art, although I’m finding it easy enough to come across affordable reproduction prints, I’m not having much luck finding actual paintings within my price range (and part of my vision for the gallery wall involves unframed canvas paintings). Sooooo, what’s a DIY’er to do? Well, DIY of course! The artwork shown above was a really easy project and I’ll share the full tutorial soon.
Soooo, things are really starting to come together! What do you think so far?
![]()
Catch up on Part 1 of Riley’s bedroom makeover here.


Goodness Kristine it’s amazing!! Love, love, love the green. You truly have a great eye.
Aw, thanks. I love the green too!
Stupendous! That green is a perfect fit. Anything else to say would be repeats of previous gushing and I don’t want to sound like I’m blowing smoke up your bum, but, it looks great. :)
Ha, ha. Blow away Deb – LOL!
Thanks so much :)
Gorgeous! The tarmac green really made the wood tone of the bed frame pop. I’m preparing to make the green plunge (probably something less GREEN green since it’s the living room), but this definitely gives me courage.
Yay! Green is me favourite colour though I don’t use much of it so I’m glad I took the plunge.
It looks so good! I love the color combination!
Kathryn
Thanks Kathryn :)
Can you share a link to the brass lamp you have on your inspiration board?
Ah, I’ll see if I can find it again. I just grabbed that image from Google because it had the feel I was after though it’s probably way out of my price range. I think I might end up DIY’ing something. I’ll let you know if I find the link :)
Hi again Robin
Just did a little research and discovered that the lamp I have used is actually an original mid-century light designed by Paavo Tynell. It’s BIG bucks – like $5,000!
If you’re in the US I might suggest checking out Lamps Plus for some alternatives.
Kristine
I always like green. I have my home in an olive, subdued green and I’ve been very happy with it. I would think that a young man like Riley might enjoy that primary color!
Thanks Linda. Yes, he loves it!
Gorgeous green color. Green is my favorite color, and that is a good one!!
Evokes nature, and happiness. :)
It’s so on point. This room is going to be amazing. I so wish I had time to do the doors in our house. Too many other projects call for my attention, but I love how the change of a door makes a difference.
They do make a big difference Sabrina. Something about nice doors helps a home look more custom and considered. I have no idea when I’ll actually get them all finished though….two down so far!
It looks great! I love the green!
I love it! A hunting lodge, camp feel never goes out of style & always feels warm & cozy! When my son was young, probably ages 6-10 ish, his room was a very similar green, with bunk beds, a red-white-green-black plaid comforters, white trim, wood floors with an oval braided rug in a tiny walk-thru bedroom; it was probably my favorite bedroom ever! Great job, anxious to see the final results!
That sounds adorable Connie. It’s so nice to know that this style is so timeless :)
Wow you are right – the green really brings out the rest of the room! Love the door too and I can’t wait to see your DIY for the picture. It is really fun to see how your mood board comes together – that desk is gorgeous!!
Thanks Sherylee :)
I love it so far!!
Thanks Jeanna :)
I’m blown away by how awesome the green paint looks. It really does make the room look bigger and brighter. The black door really complements the look. I’ve always thought the right huge of green makes the prefect backdrop for wood furniture and can make it pop. Can wait to see the next reveal. :)
Thanks Pat. Yes, I’m so happy with how it’s coming together!
Love the colour:-) On NZ Trade-me there is a coastal theme paint-by numbers picture for $16! There is also one that hasn’t been done, for $1. Might be worth a look. I could always buy and ship for you if you would like.
Aw, thanks so much Megan. What a lovely offer. I’ll have a look :)
I really love your work!
I remember taking a poster of artwork with bold brush strokes and gluing it to a canvas. Then we took ModPodge and painted over those brush strokes. Saw it in a magazine 18 or so years ago. We were really pleased with the outcome.
You’re very talented & whatever you do will be wonderful but for those who aren’t so talented, maybe this will help.
Thanks Yvonne Yes, I did something along this same vein. The artwork isn’t one of my paintings.
Gorgeous!!
Colors look awesome. It’s looking gorgeous.
Love the green too! Really fun for a child”s room!
Thanks Debbie :)
As always, SOLID! I just love this! I really need your service…so clever! :)
Ha, ha. Sure thing, if you’re not opposed to waiting several months for me to make up my mind and then get around to actually implementing the design :)
Thanks Cynthia.
Hi there – LOVE LOVE LOVE your dark gray doors. What shade gray/charcoal have you used and have you painted the front & the back of the door? We are in the process of revamping our hallway and doors etc so would love to know what colours you have used for the doors. Thanks Emma :)
Hi Emma
The colour is “Domino” by Dulux. I have only added trim to and painted the external sides of the two doors I have finished so far. I will probably paint both sides of the remaining doors in the house. The main reason I only painted the external side of the two doors I have so far finished is because they are the doors to my kids’ bedrooms and they both have black decals on the reverse side.
Cheers
Hello Kristine! I couldn’t love your outcome more! What a beautiful transformation all the way around.. I’ve looked all over your page here and can’t find the maker of your green. Would you mind telling me? I’ve scoured google for tarmac green to no avail too. Green is our favorite color too, and we’ve had a dozen different shades but never this one! Thinking this might go in my son’s room too.. Thanks for all of your sharing.. Love it all.
Hi Victoria
It’s by Dulux. Based on the way you spell “color” I’m guessing you’re in the US? I’m in Australia. Not sure if Dulux is in the States.
Kristine
Excuse the (slightly disturbing) chalk art! ??….
If it was his scribbles, I thought Riley shows his potential to becoming another Basquiat.
Only time will tell.
LOL! Yes, they are drawings by both of my kids. My daughter in particular has a somewhat macarbe streak – I love it!