Thanks so much for everyone’s comments, emails and messages following my last post. I honestly feel like you’ve all been beside me throughout this house flipping journey and I really don’t think I could have done it without you!
Anyhoo, returning to my regular scheduling now by sharing two of the last three spaces from the property!
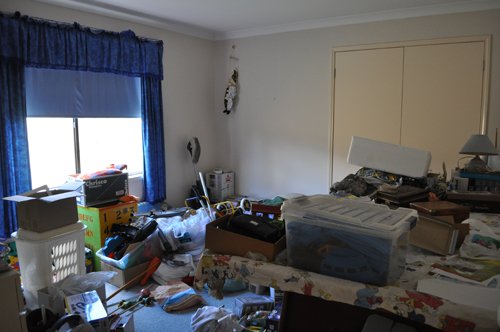
The ‘guest bedroom’, as I’m calling it, was originally a dumping ground for anything and everything – including a huge billiard table! For the purpose of selling the house, it made sense to switch that huge billiard table for a nice queen size bed.
Here’s the space before…
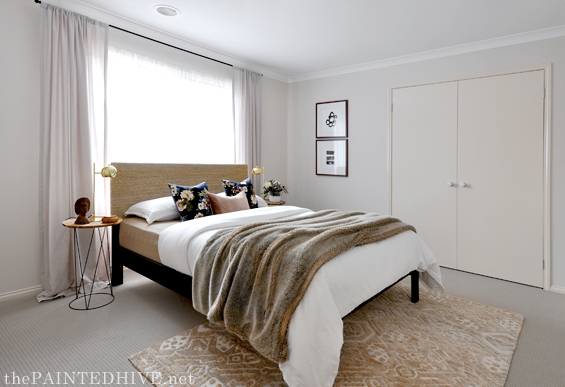
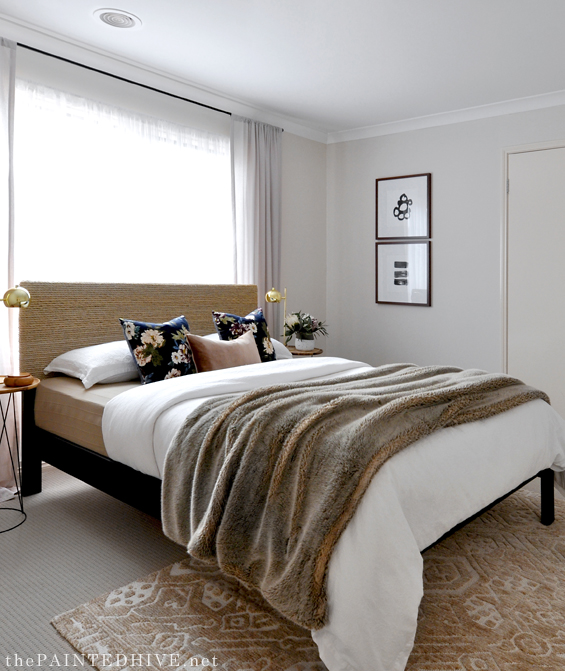
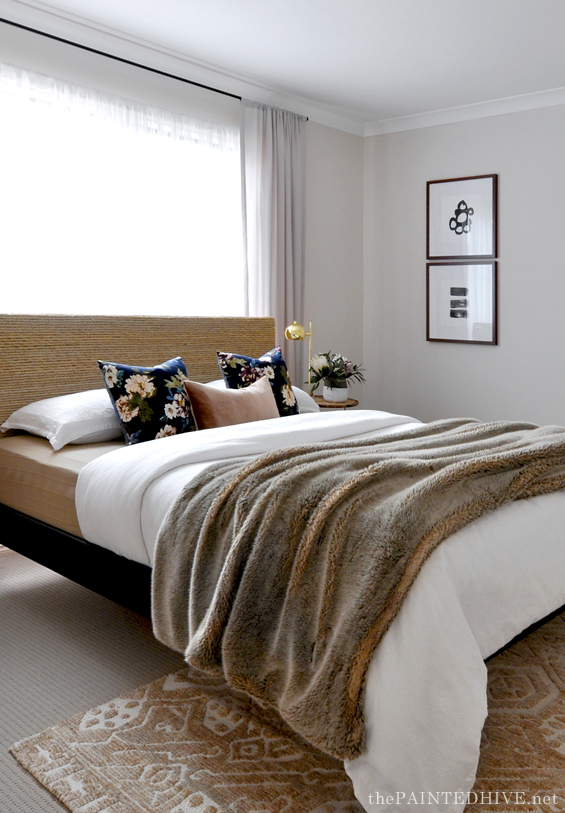
And here it is now…
Sorry, it’s a tricky room to capture so I had to use a wide horizontal shot.
I went for a slightly different vibe in here.
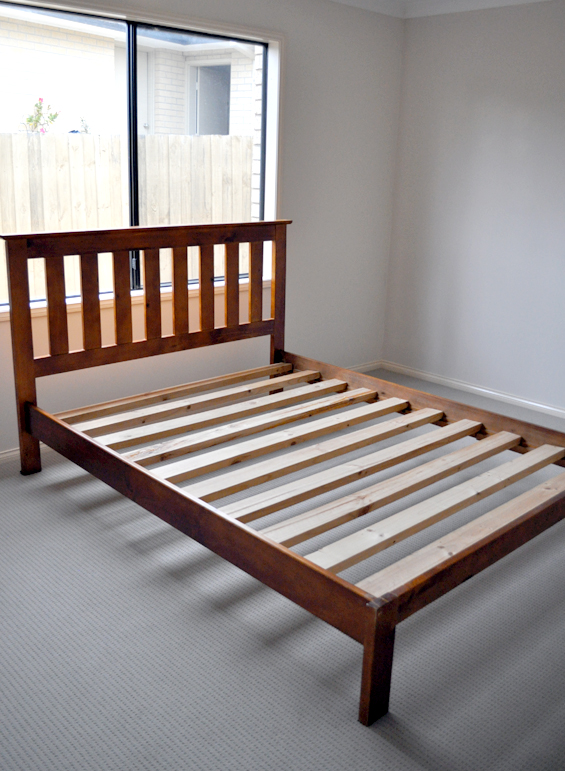
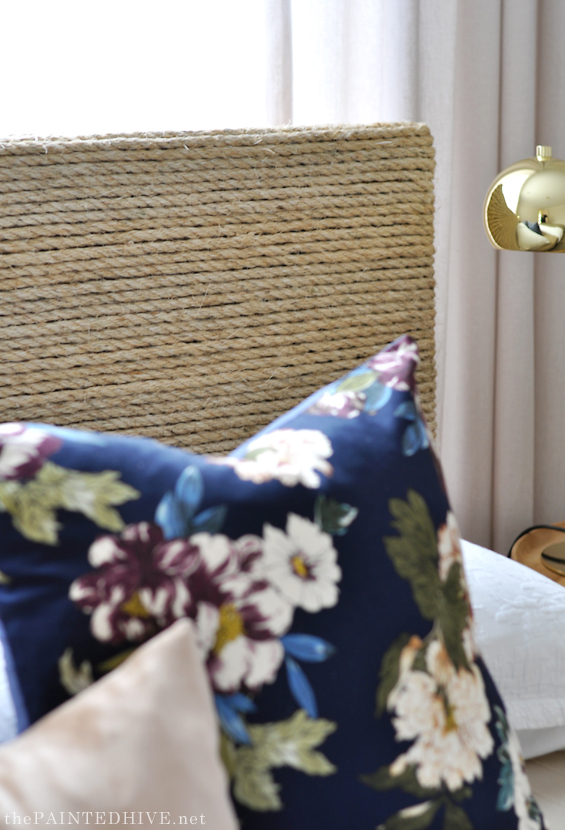
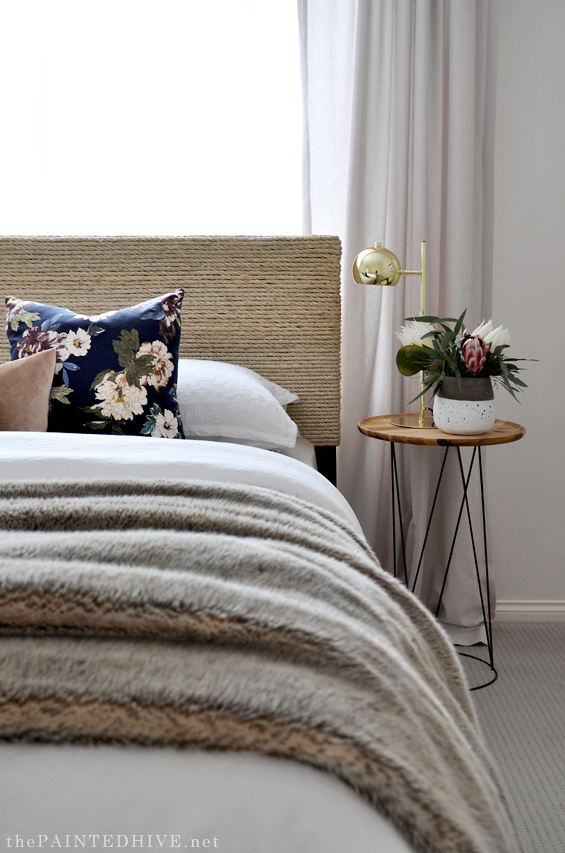
It all started with the bed, which we picked up for free, that I decided needed to be wrapped in rope.
BEFORE
It was a pretty straight-forward project though it took about ten times more rope, and twenty times longer, than I had anticipated! Still, I’m glad I did it.
In short, it was just a matter of hot-gluing strands of rope across the headboard until it was completely covered. I can probably rustle together a more detailed tutorial if there is enough interest. Obviously, I also painted the rest of the bed frame black.
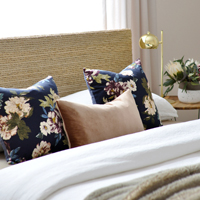
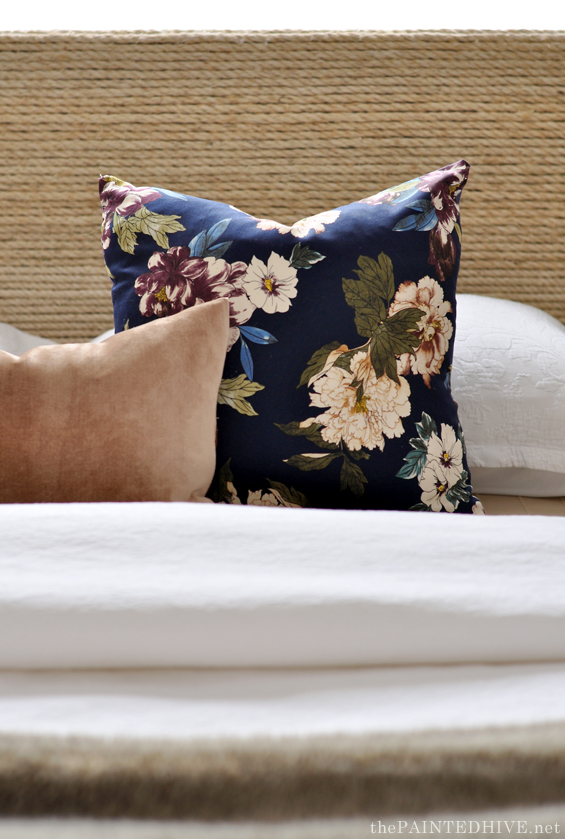
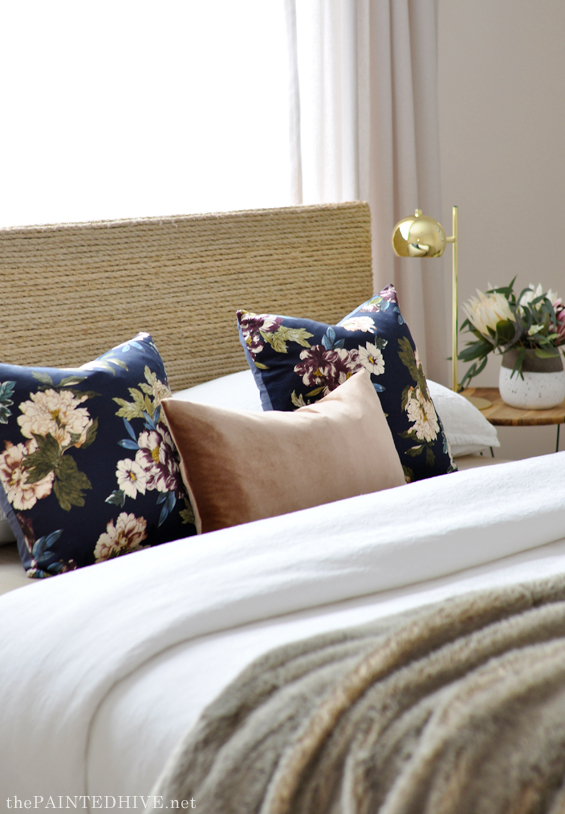
Next came this lovely floral fabric I found at Spotlight (which mum made into these accent cushion covers).
Isn’t it gorgeous?
It was tempting to play up the indigo though I decided to leave that as a pop by keeping everything else more neutral. So, instead I went with a soft rusty velvet (which mum made into this lumbar cushion cover) which pulls a less obvious colour from the floral fabric.
Using a secondary colour, rather than the predominant colour, from whatever is your jumping-off point (whether that be a rug, artwork, or fabric like in my case) is a good tip when putting a scheme together. It can help tie everything together without drowning out any statement elements.
All of the other bedding are things we already owned. You might recognise the faux fur throw from my own bedroom.
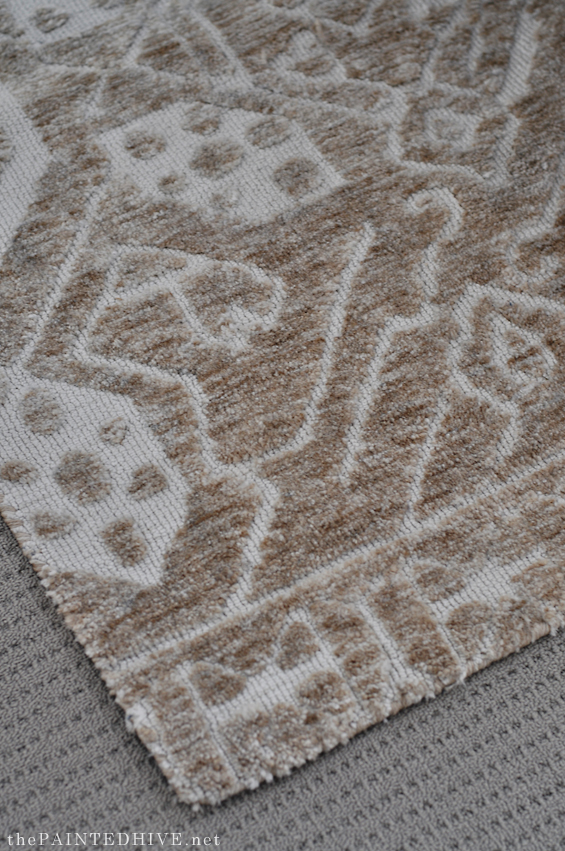
I always like to use a rug to help anchor a bed and provide an extra layer of texture. Like the rug in the master bedroom, this one was a bit of a happy accident. I chose it before I really knew which direction the room was going in though how perfectly does it reference the rope headboard and add that little point of interest?
I’m absolutely in love with the subtle aztec-style pattern too.
As you’ll be able to see in the before pic of the bed, the window in this room looks straight into the neighbours house. Not the nicest of views.
We added simple pocket rod sheers to obscure things, which also work to soften the room for a subtle romantic edge. To finish the window I hung these long linen-look drapes which I found at Spotlight for just $30. I don’t normally puddle my curtains though when I was testing these for hemming height, they looked just right softly spilling on the floor so I decided to leave them.
The bedside tables are simply Kmart plant stands with Kmart wooden serving trays on top. The gold lamps I got on sale from Big W.
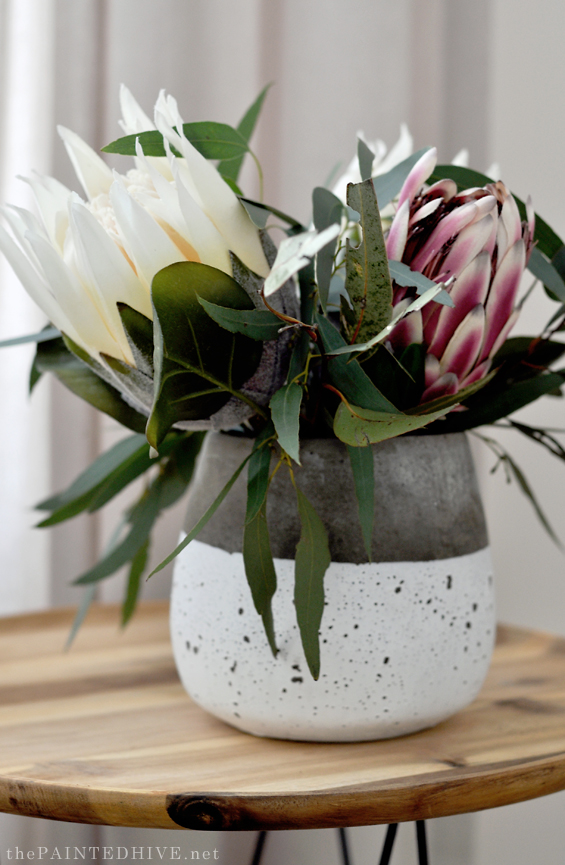
The concrete pot holds some artificial native flowers from Koch & Co. which I’ve teamed with a few sprigs of real gum leaves.
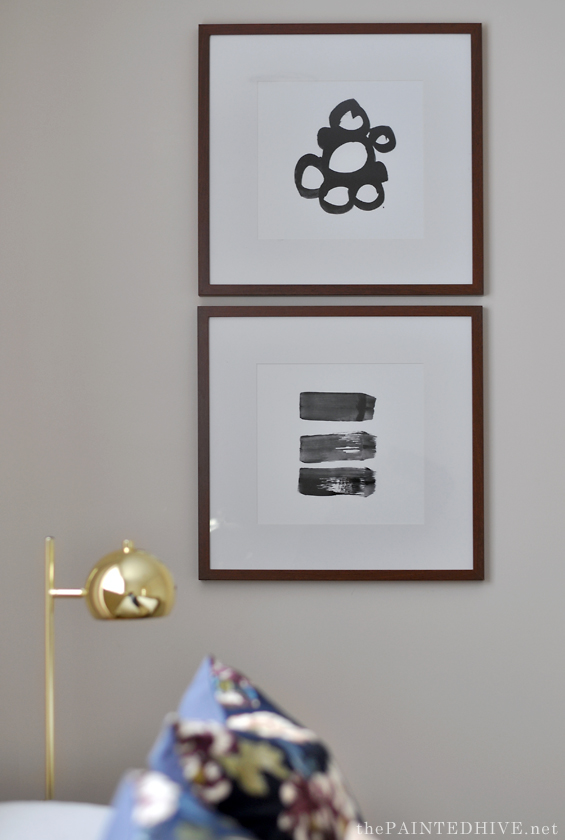
Finally, the artwork are digital downloads I purchased years ago from Etsy (you may recognise them because I use them often). I had them printed through Officeworks then placed them in these large square frames from Spotlight. It’s a nice little modern touch which references the other abstract art in the house to give the room a sense of belonging.
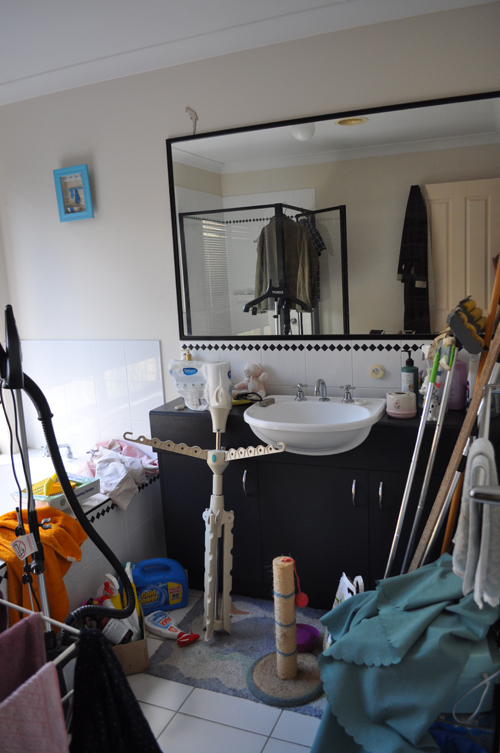
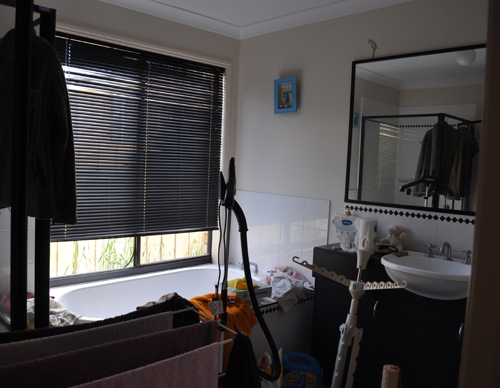
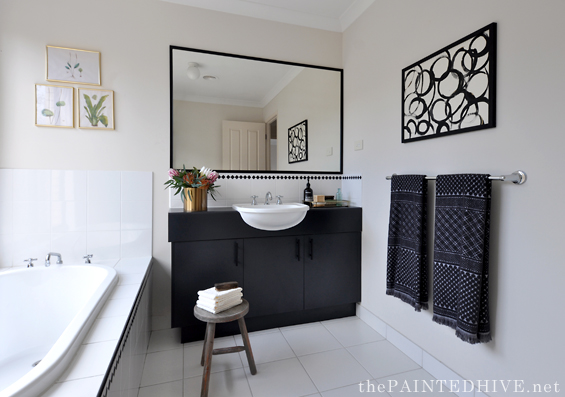
Like many of the rooms in this house, the main bathroom was being used for storage and just needed a declutter, a really good clean and some fresh styling.
Here it is before…
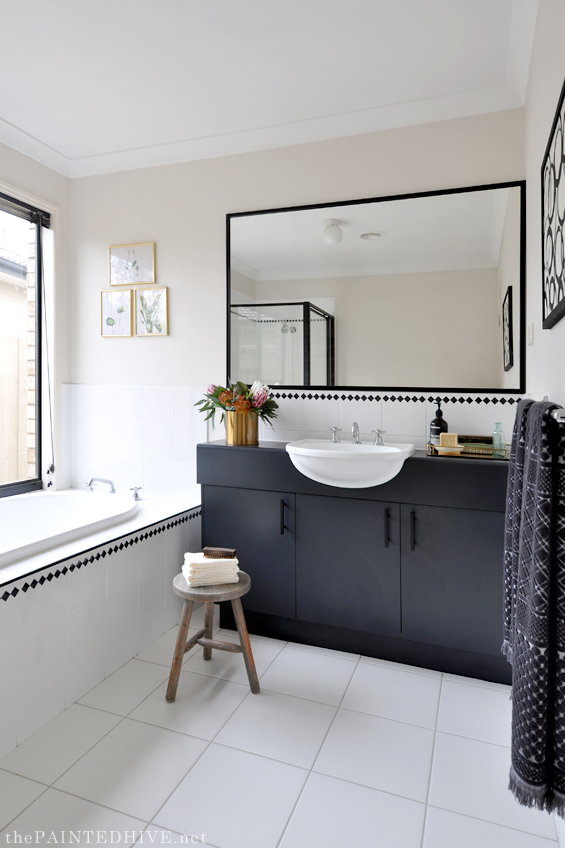
And here it is now…
Aside from switching-out the vanity handles (using left-overs from the kitchen cabinets) we haven’t made any actual changes.
It’s merely staging, using mostly things we already owned.
The gold framed botanicals are free printables you can grab from my blog HERE, and the abstract over the towel rail was an easy DIY I painted with my son (using an old print from Kmart).
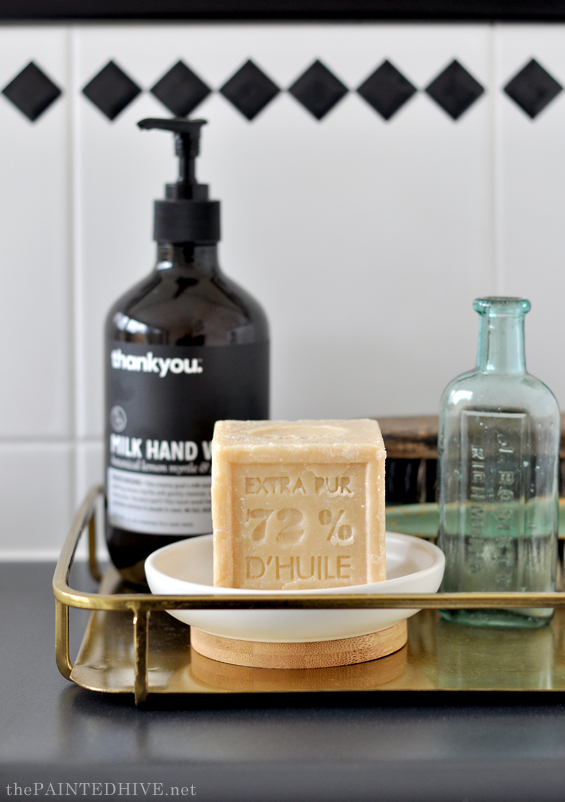
The brass tray (originally from H&M) holds some pretty accessories and a fancy cake of Savon De Marseille soap.
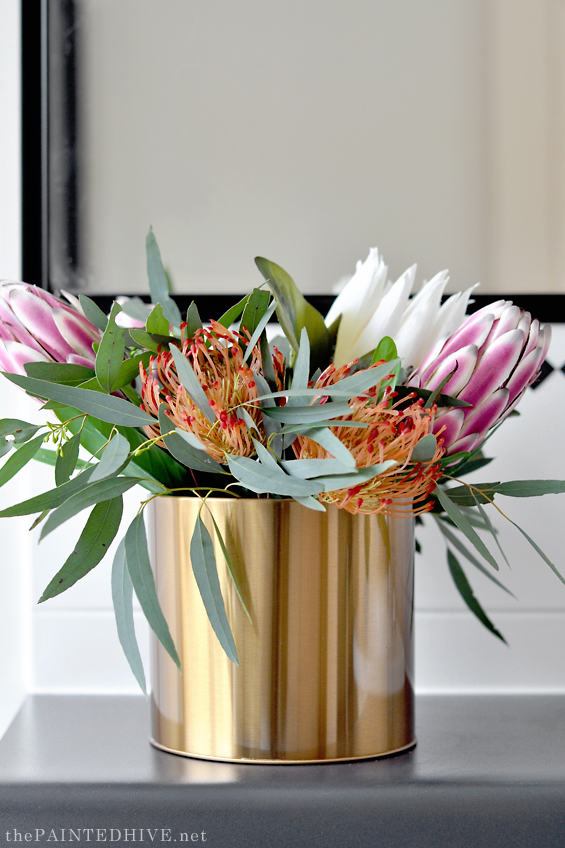
And to add a bit of life I filled a brass pot with some faux native blooms from Koch & Co.
Again, I teamed them with a few real gum leaves to make them appear extra authentic.
PRICE & SOURCE LIST (BEDROOM)
Carpet | Beaulieu Daytona in ‘Green Beige’ | $400
Bed & Mattress | Originally Free from Facebook BSS then DIY Rope Treatment Applied | $100
Rug | Lotus Hi-Low Rug in Beige from Spotlight | $200 on sale*
Window Dressing | Pocket Sheers, Cotton Drapes, Rods and Fittings, all from Spotlight | $80*
Indigo Floral Fabric | Spotlight | $10*
Light Rust Velvet Fabric | Spotlight | $8*
White Quilt Cover Set | Already Owned | $0
Beige Coverlet | Already Owned (originally from IKEA) | $0
Faux Fur Throw | Already Owned (originally from Bed, Bath & Table) | $0
Feather Cushion Inserts | Already Owned | $0
Bedside Tables | Kmart Plant Stands Topped with Kmart Wooden Trays | $18 each
Gold Lamps | Big W | $22 each on sale
Concrete Dipped Pot & Artificial Flowers | Koch & Co. | $20 total*
Frames | Square Walnut Frames (48cm x 48cm) from Spotlight | $8 each on sale*
Abstract Artwork | Printed through Officeworks | $6 each
Other Decor | Already Owned | $0
TOTAL $592
PRICE & SOURCE LIST (BATHROOM)
Stool | Already Owned | $0
Abstract Wall Art | DIY using Old Kmart Print | $5
Botanical Wall Art | DIY using Free Printables and Frames we Already Owned | $6 total
Cabinet Pulls | eBay | $3 each
Brass Pot | Large Metal Plant Pot from Koch & Co. | $17*
Faux Artificial Flowers | Koch & Co. | $15*
Other Decor | Already Owned | $0
TOTAL $40
*We were super lucky to be gifted some items from Spotlight and Koch & Co.
I’ve provided their costs however they are excluded from the total.
Find all of the previous flip house posts HERE.



I check your site every day waiting for the next reveal, lovely surprise to see a new one tonight. The house looks just great. I’d be interested to know how you scheduled the work and how long from start to finish the project took. Did you do all the planning in advance or on the fly?
Thanks Jodi. I’ve been publishing posts in line with the works that have been carried out. So, if you check through the previous flip house posts it’s a pretty accurate indication of time-frames. Have just been planning, sourcing and designing as we go. Obviously, there have been a few quiet weeks when life got busy, then a few more full weeks when we had extra time. You can easily look through all of the previous posts here:
https://thepaintedhive.net/tag/budget-house-flip/
Truly phenomenal!!!! You are so gifted Kristine.
Thanks so much Julie :)
OK, suddenly I’m in a flip situation myself…my brother in law passed away, leaving an early 50s ranch house behind that has 25 years’ worth of nicotine everywhere, as well as 25 years’ worth of very little dedicated cleaning (!!!). Also, we are finishing up some final things at our house before we list It, as we are going to be building a Craftsman in 2020. SO! Your flip house has been a huge inspiration for me, it’s given me that “I can do this!” feeling, and I’m so thankful that I’ve run across your blog. You’ve helped me look forward to starting on Chuck’s house, (megatons of work involved or not!) because we’ve decided that once it’s clean and painted we’ll move into his during the Craftsman build, make it a showplace, and save at least 18 months of mortgage payments. I’m looking forward to making this place a home someone will be thrilled to own. Thank you, Kristine!
Sorry to hear about your brother-in-law.
Sounds like you have a great plan for the future. So glad to heave helped inspire and encourage you :)
After seeing the before and after pic’s I would never have know it was the same room. I want to crawl through my computer screen and take a nap on that bed. I’m in LOVE with the faux fur throw. Just amazing.
I would love to see a tutorial on the robe headboard, but if it’s a toss up between it and the dinning room lamp shade I’m choosing the D.I.Y. lamp shade.
ATTENTION ALL COMMENTERS…PLEASE SHOW INTEREST IN A D.I.Y. FOR THE LAMP SHADE! THANKS
LOL, thanks Pat :)
I don’t normally comment on blogs but I must say this is stunning. Every room is beautiful and with economy in mind. it’s really inspiring for the everyday person who values style (and money :-) ). Thank you for sharing. (And that fabric is amazing!!)
Aw, thank you :)
Kristine this is just so beautiful! I love how every element that you use looks just right. That bed is gorgeous! I can’t believe how perfect that looks. I really like the way that you’ve used the rugs in each room – they really pull the space together and in the bedrooms, they add another layer of…visual interest.
Thanks Leslie :)
The idea to add the rope to the headboard was brilliant. What a great vision to re-purpose something and work with what you have in a budget. Very well done!
Thanks Michelle :)
I haven’t commented on your blog before but I have been following your progress and have been very impressed with the changes you have made. I love the cushion fabric and the rope headboard is fantastic.,
Extremely Amazing work!!
Never a disappointment, always a thrill. What an amazing talent you are!
Thank you :)
Lovely as usual. I would love a tute on the rope headboard as I’d like to wrap some chair backs. Did you remove the top rail of the bed?
Yep, it was just screwed on so I simply took it off. Will try and get a tutorial sorted shortly :)
Hello. Looking at the “before” and the “after” pictures, I realize how sad it is to think that some people live in “dumps” because they’re old or sick. I think it’s wonderful how you “revived” that house. It must have taken some courage to declutter it too!
Yes, it’s sad. My friend and her family did most of the decluttering side of things so they could sort through the belongings. A big job and a difficult one too.
That headboard—another brilliant idea. Congratulations on the sale of the house (but I’m not surprised). I certainly would have been interested, but would not have even considered it in the “before” condition.
Thanks Vikki :)
I’ve enjoyed this whole series, as well. What are you going to do with all the cool furniture and decor items you have made/adapted for this space now that the house has sold? If you have a yard sale, please let me know! :) Or, where to go on Facebook to see anything if you are going to post it there for relative locals like me.
Thanks Elayne.
Most of the furniture will need to be sold because we have nowhere to use or store it. Will be sure to let everyone know when I list things for sale :)
I’ve followed you for quite awhile, and I have to say that every single thing you post is so inspiring! A room that looks great and feels great to be in is so inspiring and you deliver (on a reasonable budget) every single time, thank you! Love your work.
Thank you :)
I would love to know how much rope you ended up using! I could see myself doing a similar thing.
I think in the end it was close to 100 meters! You can buy 100 meter long reels for around $70 – $90. To save using too much rope we didn’t wrap the entire head, just a few inches around each end post. Still need to tidy up the back with a fabric cover of some sort.
Hi what color are the walls of the bedroom?
Thanks
Audrey
Sorry, I’m not sure. It’s just the original wall colour.
I love what you did with the bedhead, such a great idea and so effective. Congratulations on the sale.
I would move in today! Gorgeous doesn’t even come close to describing this wonderful haven.
Thank you :)
Wow, du hast gezaubert. Es ist eine gelungene Verwandlung. So schön geworden. Liebe Grüße aus Deutschland, Theresa
Thanks so much :)
Love, love, love, but you never disappoint! I’m ALWAYS eager to see your creations! I would love any tut on your DIY’s, especially the headboard. What size rope and where did you buy enough?
THANKS
Thanks so much. You can buy 100 meter reels of rope at the hardware store or online (some cheaper options online). Will post a tutorial in the coming weeks :)
I love your design ideas and have followed your posts for many years! I especially love all of your diys and would love a tutorial on the rope bed!
Thanks Leslie.
I have a few tutorials to share from the house. Will get them done in the next few weeks.
Hi Kristine,
I pretty much have this exact bed frame that I was going to paint but am thinking I’d like to try the rope instead. Just wondering if you took the top plate off the frame, and what kind of rope you used?
Love your work,
Corinne
Thanks :)
I’m planning on creating a tutorial for the rope bed though it probably won’t be until next week. Yep, the top plate was just screwed on (look at the underside to find the screws) so I simply removed it. I didn’t realise it was screwed on at first, just thought it was glued, so initially I just banged it with a hammer a few times which leveraged it enough to loosen most of the screws anyway. I also notched out the sides of the uprights (just with a hand saw) so I could nestle the ends of the top strands of rope inside (so when I wrapped the rope around the sides they weren’t bulging out at the top – does that make sense?). Another thing I did was add some thick cardboard to the vertical slats because they were slightly more recessed than the flanking uprights and I found that the rope had nothing to adhere to. Depending on where you’re placing the bed, you may also find you need to fill the blank spaces between the slats because we found that having the light shine through from the window behind highlighted the un-solid areas. Again, we just used some thick cardboard. Rope is pretty expensive so we didn’t wrap it around the entire frame. We cut strands long enough to wrap around each end by about 5cm. You can by 100 meter reals of 12mm sisal (that’s what I used) at Bunnings or online (probably a bit cheaper online depending on postage costs). You will also need a tonne of hot glue sticks! And if you have a helper, it’s soooo much quicker and easier.
Sorry, some of this probably sounds confusing though hopefully I can explain better in my tutorial.