It may have been a long time coming but the bathroom reveal is finally here!
Just to recap, and for anyone new to my blog, this bathroom is part of an upper level suite extension at my parent’s house. So, in a departure from my usual “make the most” style of decorating – where I tend to cosmetically refurbish dated, existing spaces – this room actually needed to be created from scratch. Yikes!
It was a slightly daunting and weird experience to forgo the need to upcycle and DIY pretty much everything, and instead look at using mostly brand new stuff (new stuff is mildly foreign to me)! But even in a new build, there’s still always room for some creative little projects, and of course, being budget savvy never goes out of style!
Although my parents trust me (way more than they probably should – LOL!), they both had some strong ideas about the design direction of this space and weren’t about to sit back and let me run wild with it – which is wise given their conservative taste. The resulting room is a transitional mix with timeless bones, an overall classic feel and some more unique ephemeral touches, which can be changed out from time-to-time. I hope you guys can appreciate what we were trying to achieve.
I’ve covered most of the bathroom progress in my previous posts, however will touch on some aspects as I share this reveal. For your convenience I’ve linked to all of the products and projects at the end of the post. And, as always, feel free to ask any questions if you’d like more info about anything in particular.
I say it every time, though for me there’s always some doubt when a room is in progress, so when things come together nicely in the end it’s such a good feeling!
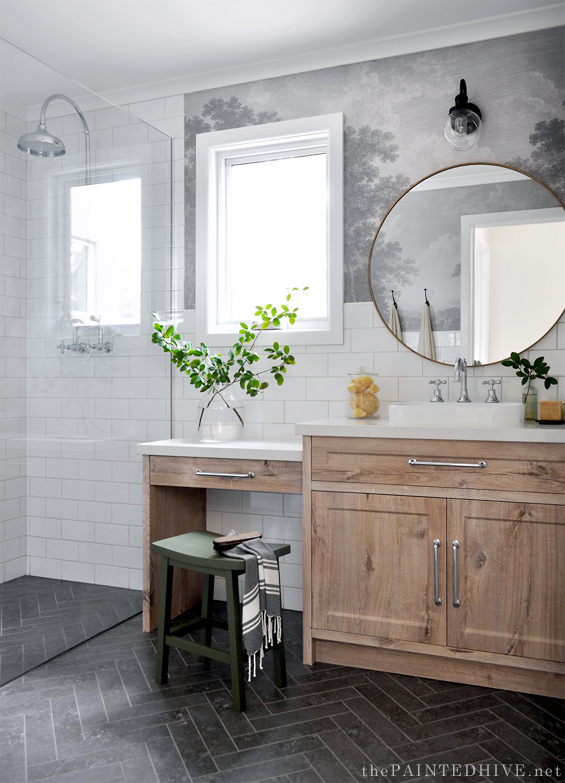
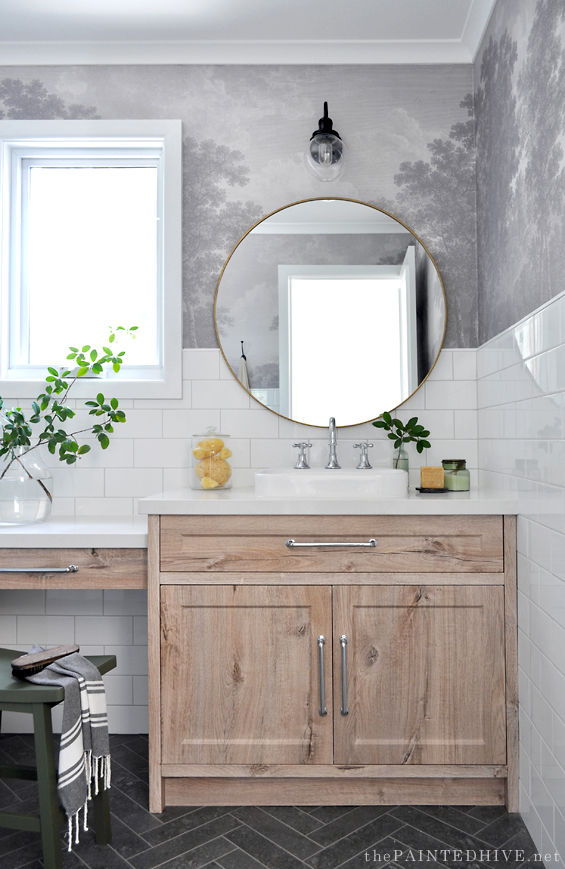
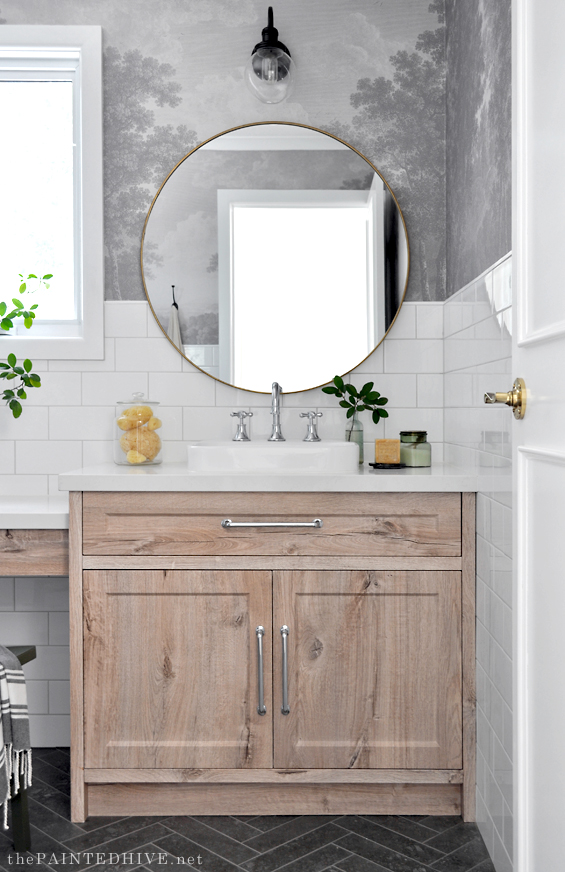
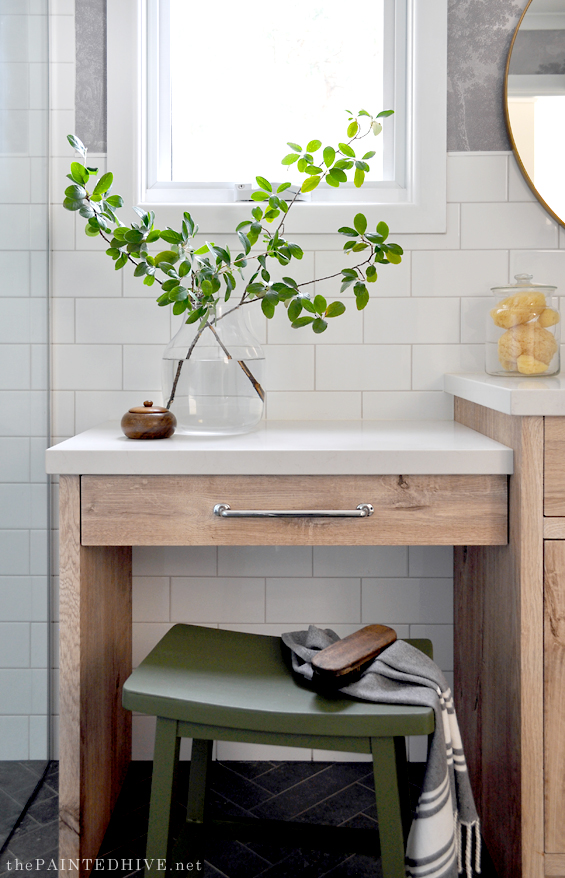
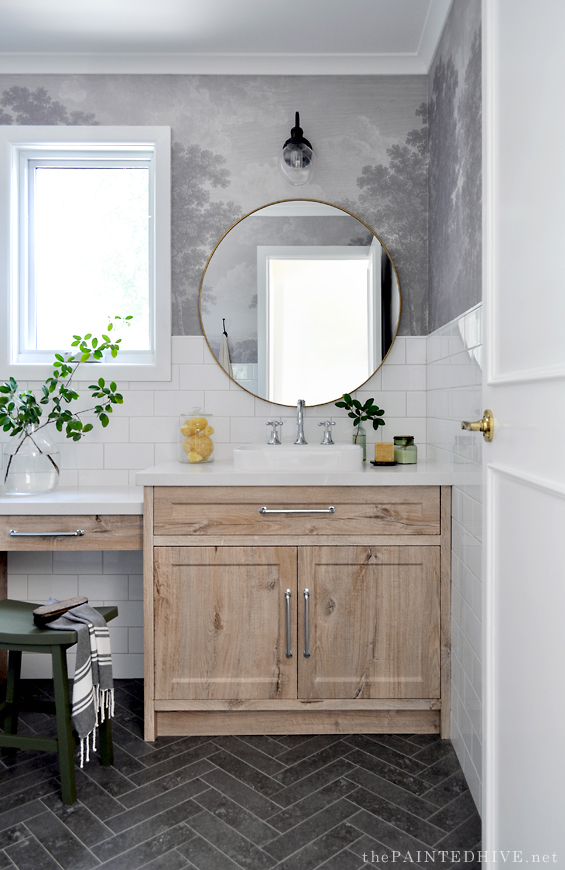
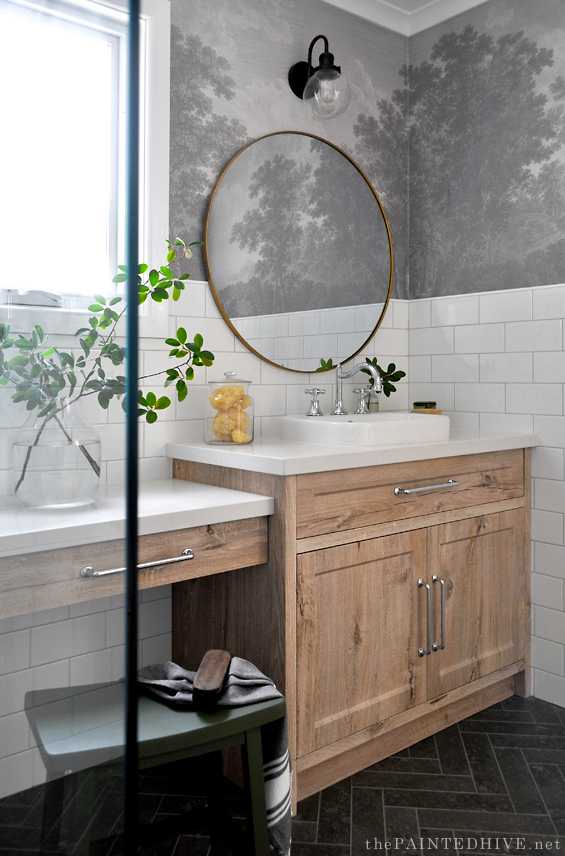
The vanity was one of the more major ‘unknowns’ as we designed it ourselves (which is always a little dicey) and were limited in terms of the finishing materials we could choose.
The timber grain vinyl was a bit of a risk though it looks so good and adds just the right amount of warmth.
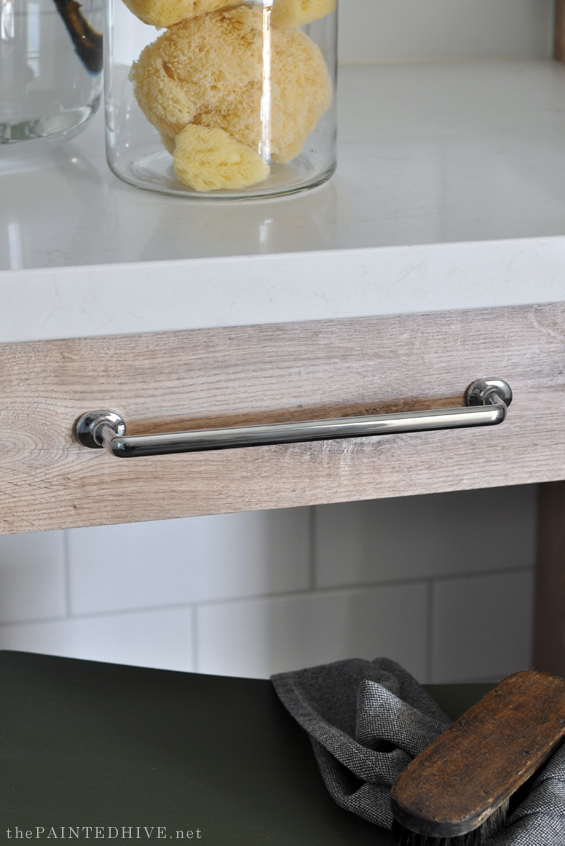
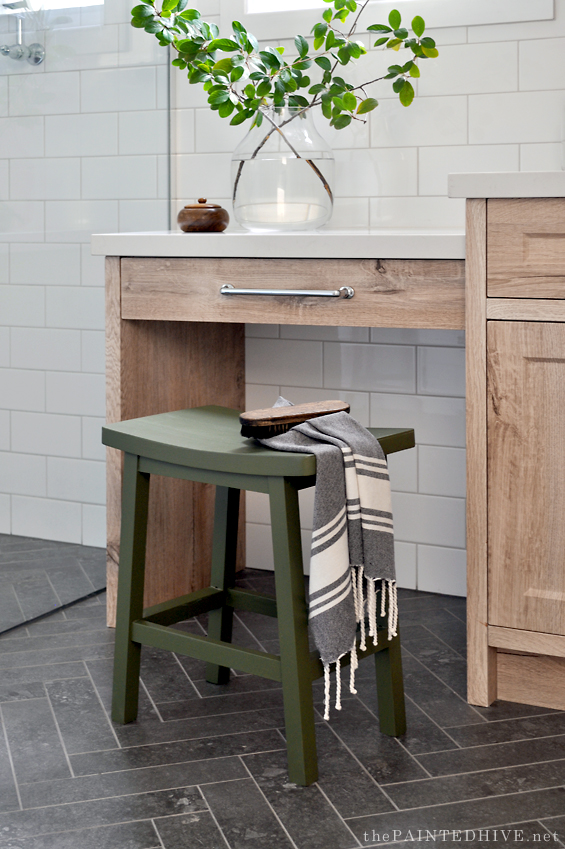
To finish it off we added these simple, almost utilitarian, handles from Handle House which I just love! I was originally going to use black handles (and even tried some out) though they felt too jarring. I thought chrome would be lost against the timber grain vinyl, though their subtlety is just perfect!
We plan to place a free standing mirror on the make-up bench eventually but just haven’t found the right one yet.
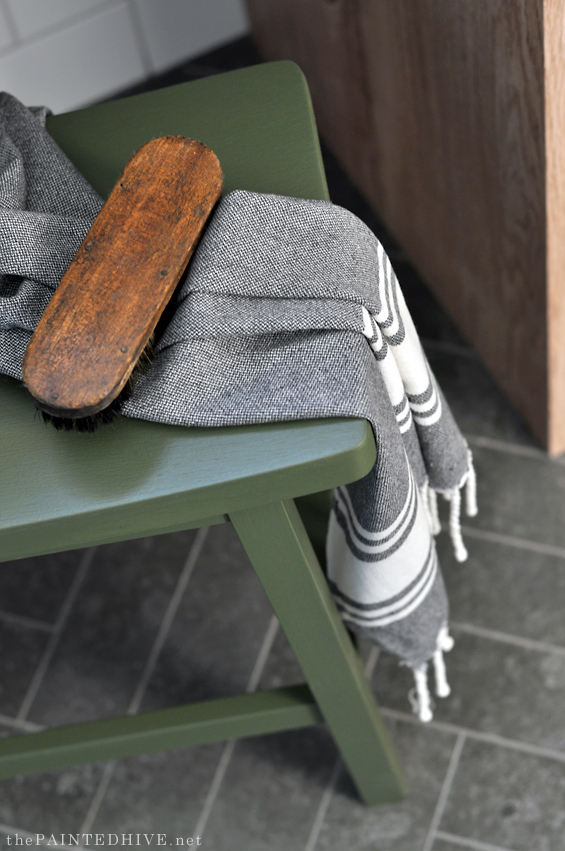
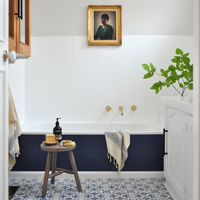
And my basic hacked Kmart stool is still going strong!
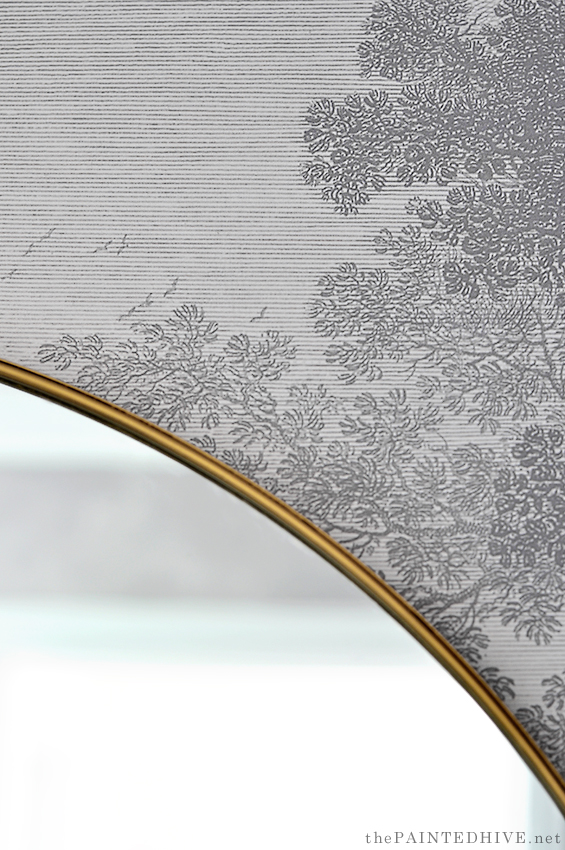
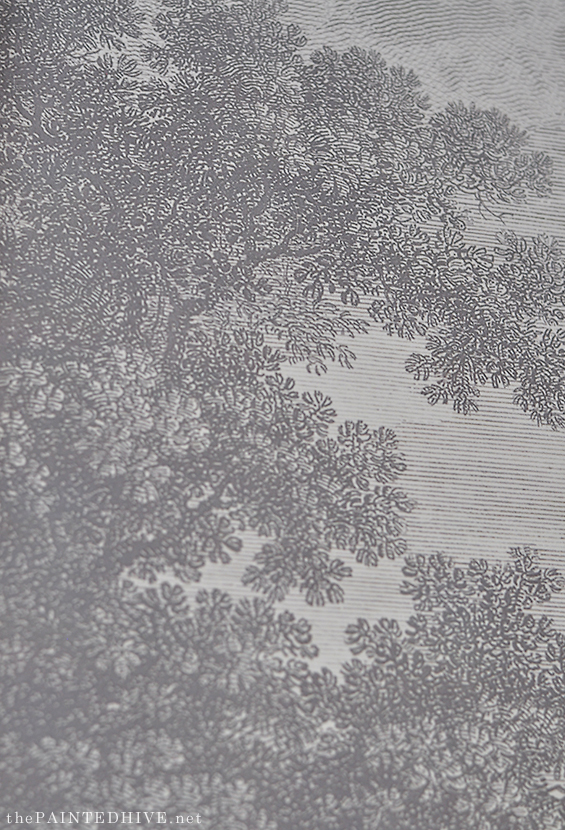
Without a doubt the riskiest element was the landscape mural, which I custom designed.
Having never done anything quite like this before, I really had no idea how it was going to turn out. There are probably a few little things I might change if I was going to do it again (mainly relating to the contrast and tone of the print) but that’s just me being fussy. It’s really lovely as is, and gives the room such a unique vibe.
It cost a total of around $280 to have it printed through a company called AJ Wallpaper, which, based on all of my research, is a great price. Wallpaper can be sooooo expensive!
Unfortunately the wide-angle photos don’t really do justice to the detail in the print so you need to use your imagination a little.
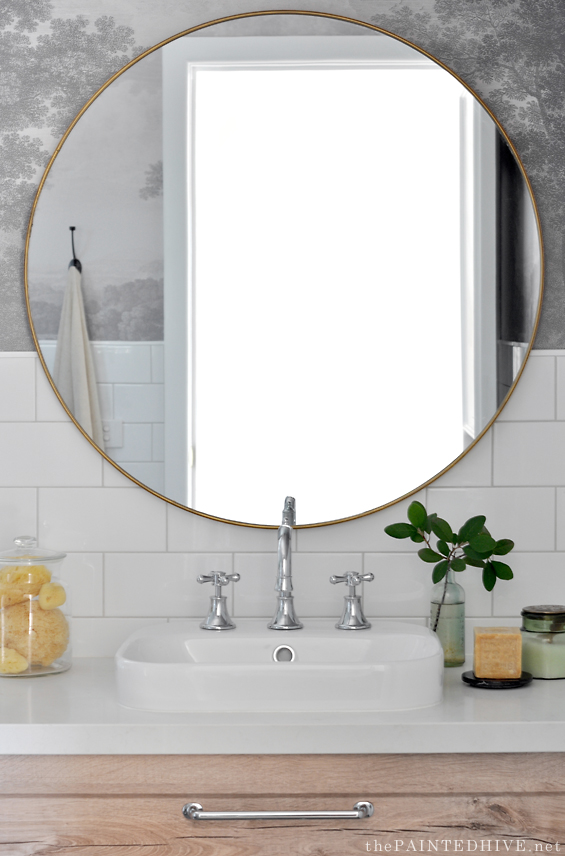
Over the vanity I love the way the trees seem to cradle the mirror.
As promised months ago, I’ll be back to share some free printable large-scale landscape images you can use to make your own wallpaper or art!
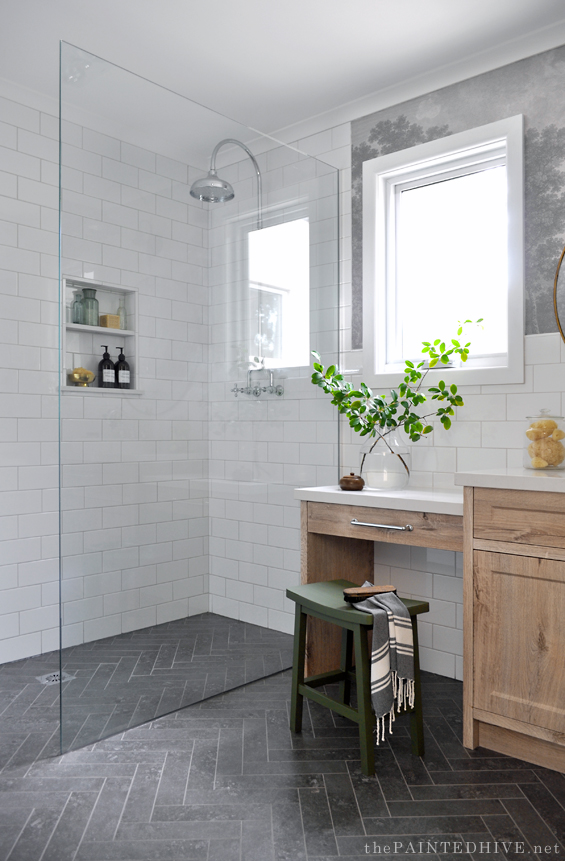
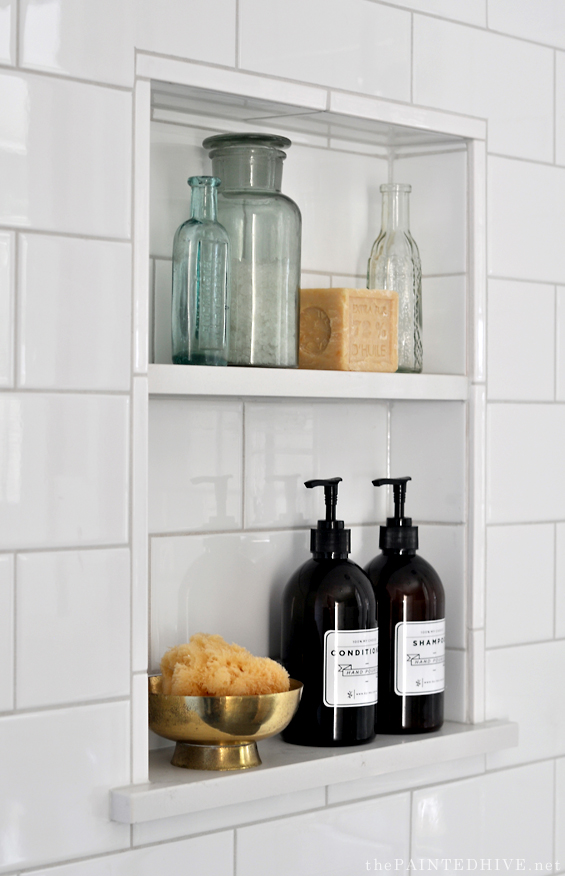
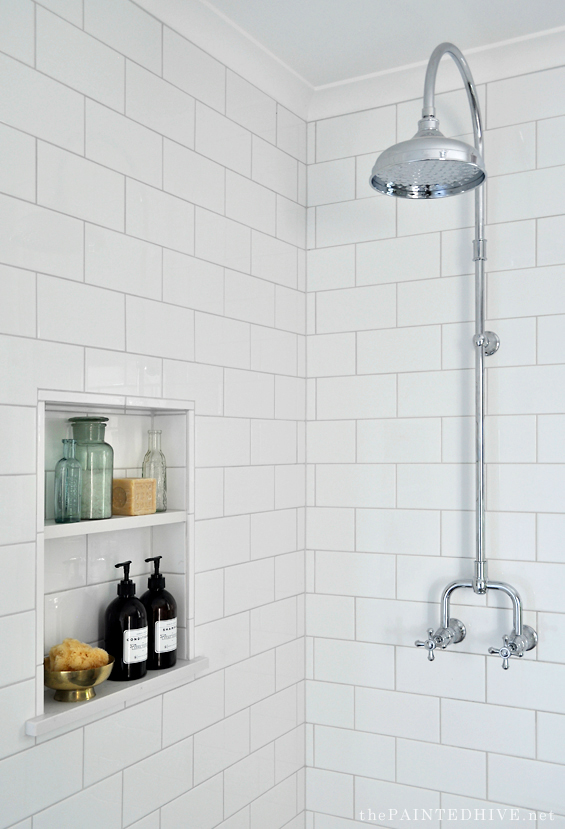
The shower niche is nice and simple with its pencil tile border, and Caesarstone shelves which match the vanity top.
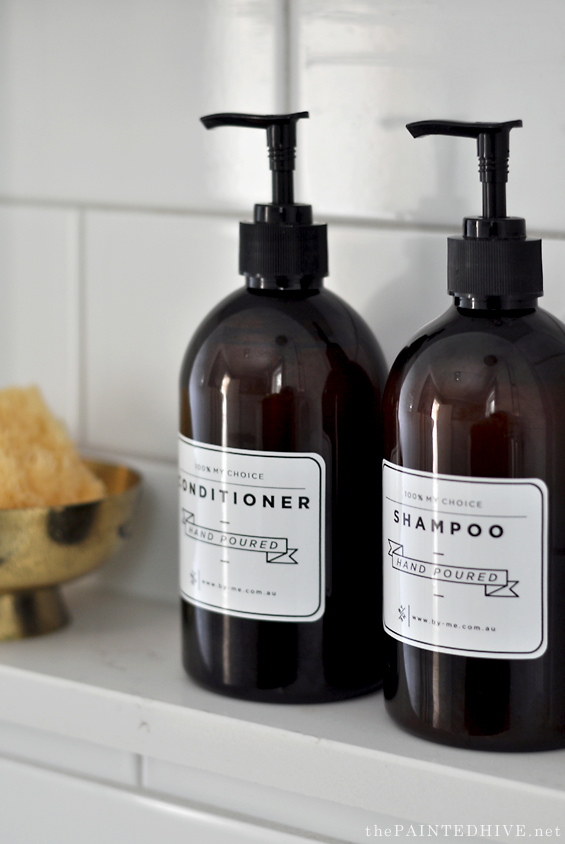
And I adore these static cling labels I found on eBay (I simply removed the stickers from some supermarket bottles and attached these instead).
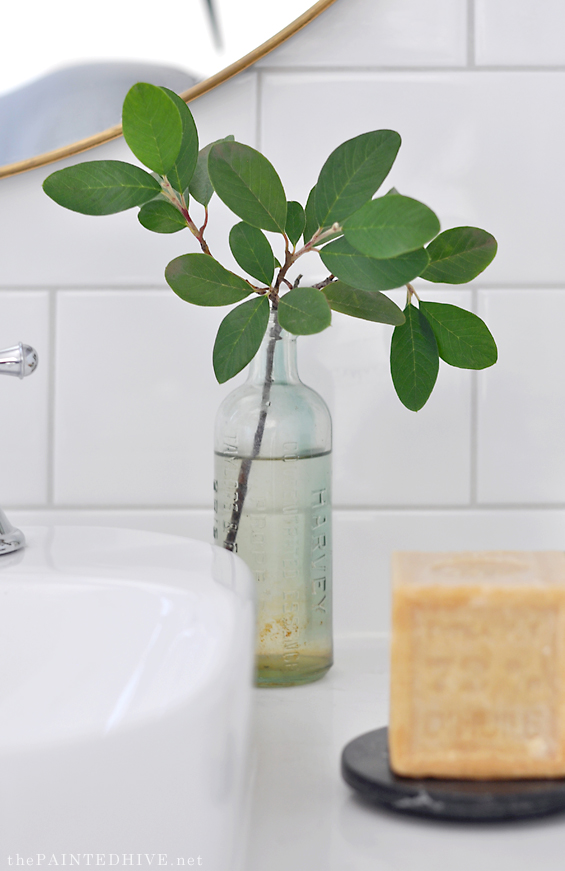
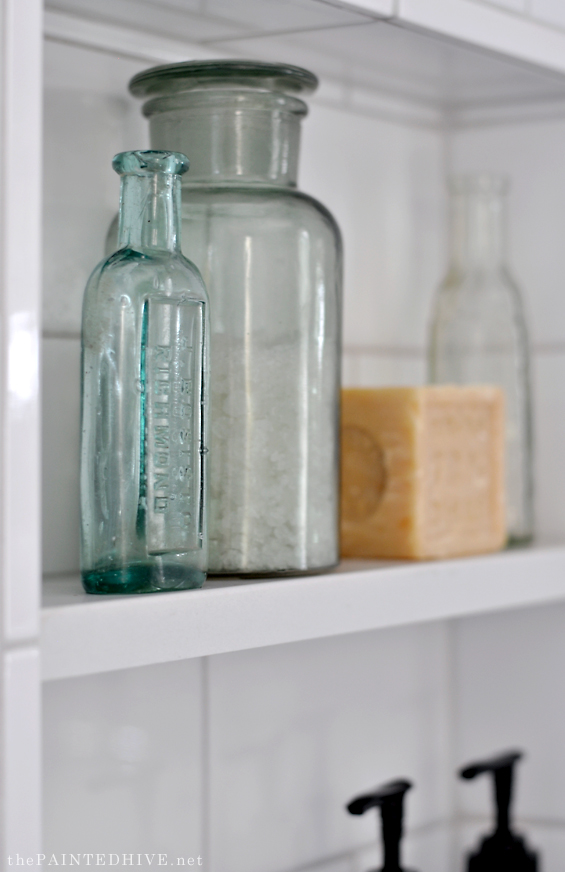
Of course I found a bit of room for some of my blue-green glassware!
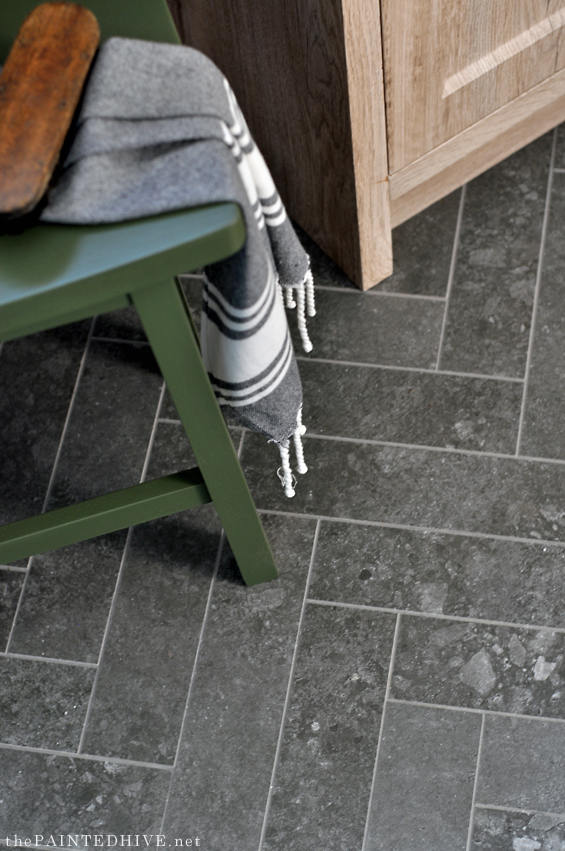
Deciding on tiles was surprisingly simple. My parents knew they wanted classic white subways on the walls from the start, and choosing to pair them with a mottled charcoal herringbone on the floor just came easy.
It’s a great timeless combo which works beautifully to provide both freshness and depth.
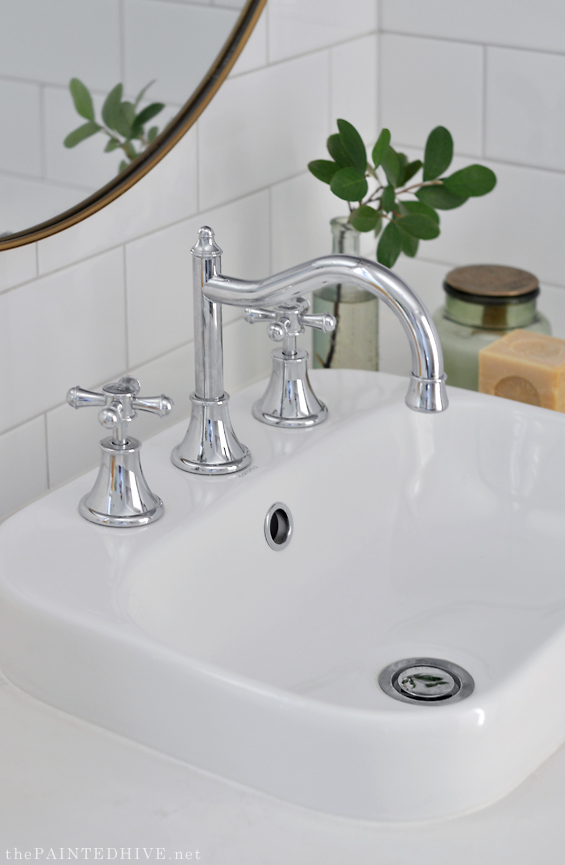
It’s easy to get caught-up on the idea that every individual item in a room needs to make a statement. And, I must admit, when I first saw this very basic vanity basin, I was a little underwhelmed. But, I knew that in the context of the space as a whole, something simple like this would work well to ‘sit back’ as needed. And it’s just right.
Initially, I wanted a wide oblong mirror for this room, though we couldn’t find anything affordable. I contemplated DIY’ing something, but in the end it was just easy to use this round mirror from Kmart for now.
The faux brass finish was a little dull so we coated it with ‘Gold Leaf’ Rub ‘n’ Buff for a bit of extra oomph.
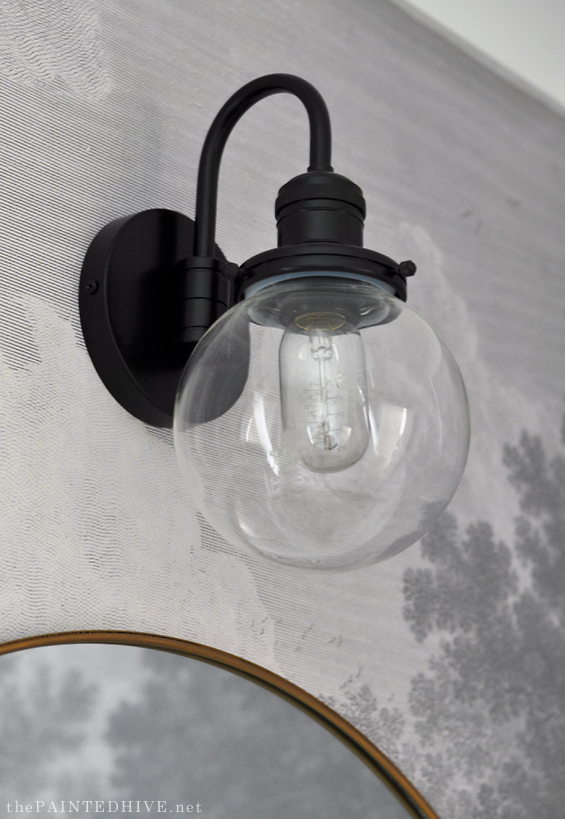
The sconce light is simply from eBay.
It originally had an antique brass finish, which I thought might work, but in the end it was too much so we painted it black for simplicity.
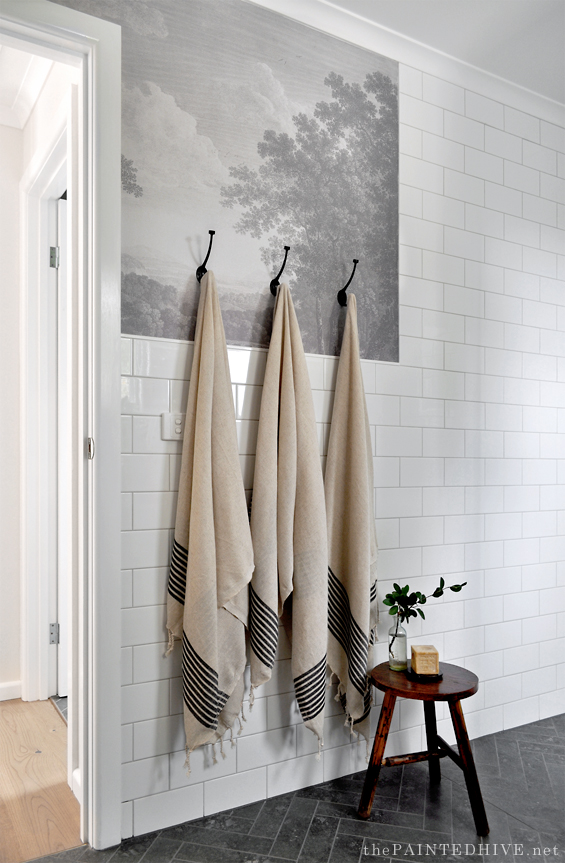
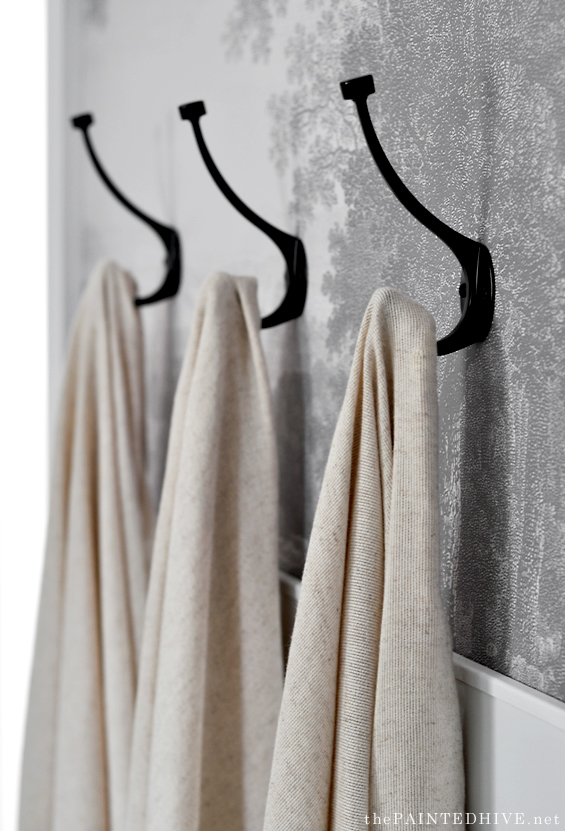
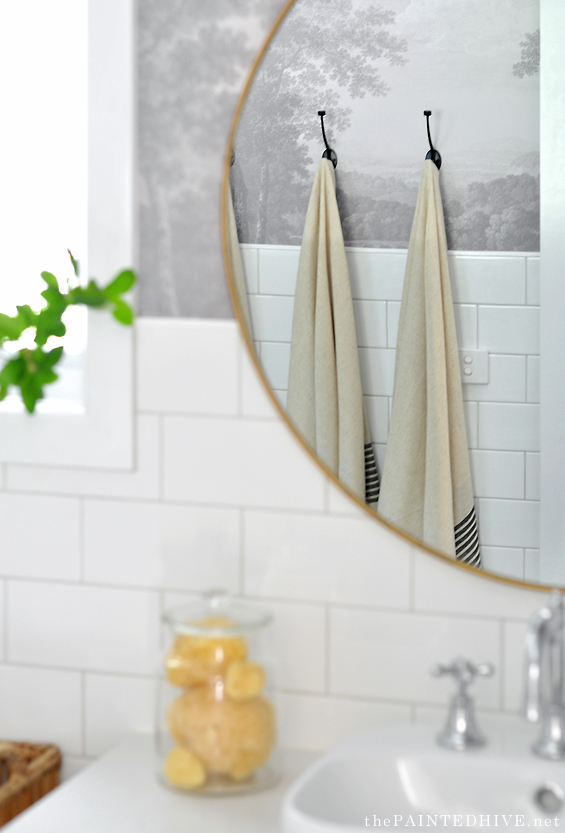
And it works well to reference the classic towel hooks on the opposite wall.
It feels so strange sharing a room reveal without any before shots!
Although it looks quite luxe and custom (if I do say so myself – LOL!), there’s actually nothing expensive about this bathroom. My parents did splurge a little (by our standards, anyway) on the tapware though it was still far from extravagant. For the most part the entire space is actually quite budget savvy. Hopefully it goes to show that with a bit of resourcefulness, patient shopping and thoughtful compromise you can achieve a champagne look on a beer budget!
Hope you like it!
PRODUCT & PROJECT LIST
Floor Tile – Conazzo Charcoal Brick Matt (300mm x 70mm) with Charred Ash Grout ($49 square meter)
Wall Tile – White Subway Gloss (200mm x 100mm) with Misty Grey Grout ($22 square meter)
Wallpaper – DIY Custom Designed Vintage Mural Printed by AJ Wallpaper ($280 total)
Shower Glass Panel – Custom Manufactured ($500 approx.)
Vanity – Custom Designed in Gislaved Sebastion Oak Vinyl with Frosty Carrina Caesarstone Top ($1,200 approx.)
Vanity Handles – Minyana Cabinet Handles from Handle House ($12 each)
Vanity Stool – Kmart Hack ($30)
Sconce Light – Round Sphere Wall Lamp from eBay ($55)
Shower Tapware – Phoenix Nostalgia Exposed Shower Set ($730)
Basin Tapware – Phoenix Nostalgia Basin Set ($420)
Basin – Caroma Luna Inset Basin ($130)
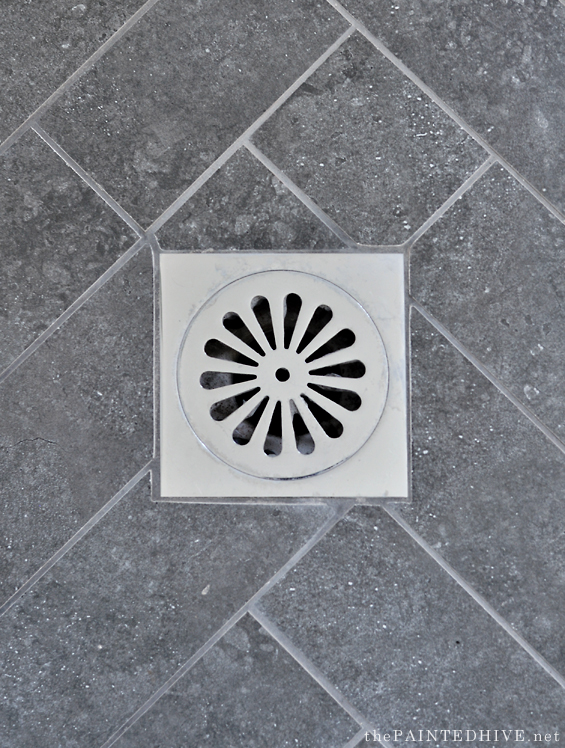
Shower Waste – Sunny Design Brass Waste ($12)
Mirror – Large Brass Look Mirror from Kmart ($30)
Towel Hooks – Adoored Black Deco Robe Hook from Bunnings ($8 each)
Towels – Linen Turkish Towels from Etsy ($12 each)
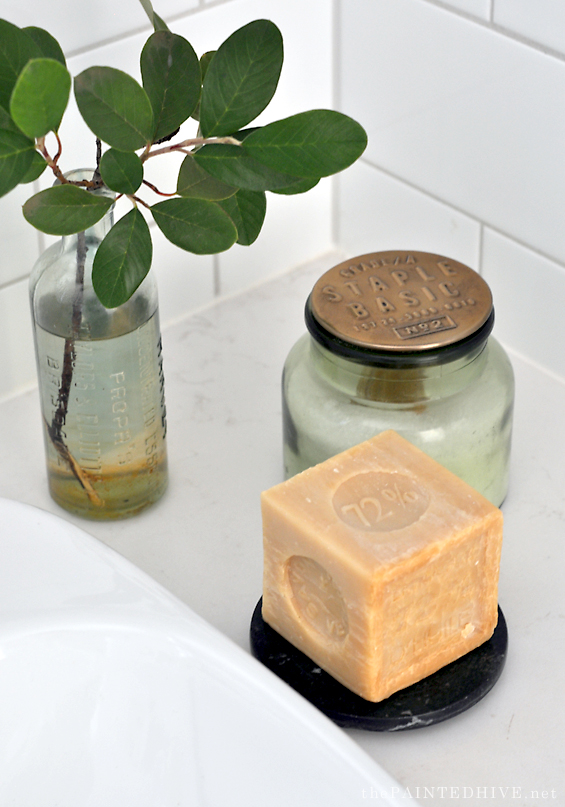
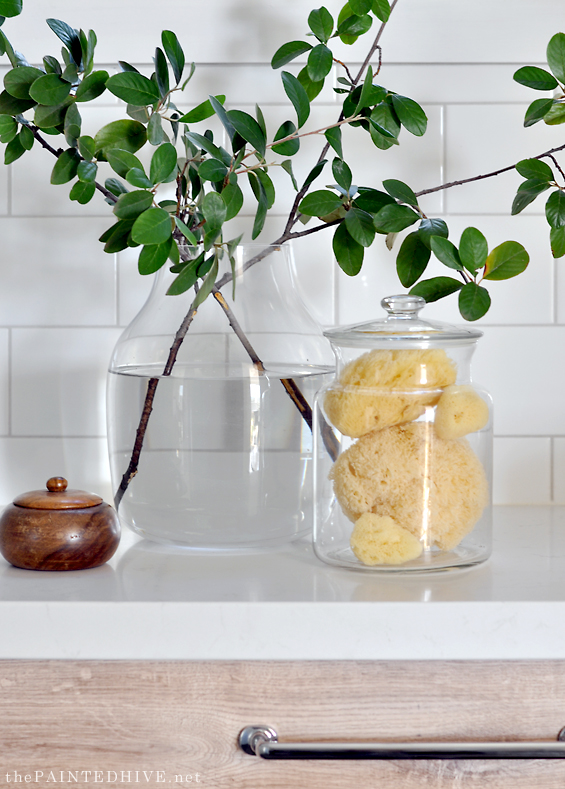
Soap Blocks – Savon De Marseille ($12 each)
Shampoo & Conditioner Labels – By Me from eBay ($3 each)
Note that the shower panel and vanity costs are labelled as approx. because they were general inclusions in the build contract so their prices weren’t individually specified.
Catch up on all of the other suite extension posts HERE.



Absolutely Zen serenity! I would meditate in this atmosphere too LOL
Your marvelous vision at work again…
Aw, thank you so much. Nothing special though we’re happy with the outcome. A nice simple space to enjoy :)
Beautifull, as always. Love how there is lots going on but you are able to tie everything together.
Thank you so much. Yes, I consider it quite simple overall though I guess the wallpaper adds that element of interest. I can’t help myself with decor – LOL!
You never cease to amaze me – this is amazing and that wallpaper = fabulous!
Thanks so much Denise :)
Looks fantastic. Love the wallpaper, excellent choice and well worth the wait!
This is just beautiful! I really love all the choices that you’ve made. And the wallpaper! Wow – I still can’t believe that you did that yourself – it’s really amazing.
Hello there,
I love how you brought all the decor elements together. The vanity with the metall handles looks great. It is just restrained enough to let the wallpaper and the round mirror work it’s stuff. Well done! Thanks for the wallpaper tip btw.
Thank you :)
Really lovely! :) They will love using this every day.
Wonderful! So lovely to see it finished, I have missed your posts. The wallpaper is amazing, congratulations!
I love everything you did with this bathroom! OMG – I would feel SO relaxed in this space after a rough day. Awesome job on that lovely wallpaper you designed and I love those little labels you found on eBay! It’s always the tiniest details that make the biggest impact I think. It just shows you put a LOT of thought into every single little detail in this space and it’s just gorgeous!!
Thank you :)
Such excitement to see an email from you in my inbox, you never disappoint Kristine! I think the round mirror is fabulous; it reflects the circular sconce light nicely (my hubby would be so proud of me for that pun). My favourite aspect of the new bathroom are the floor tiles, they look fabulous and should hide water marks nicely. I’ve pinned those awesome labels to my bathroom board; you should get a commission from By Me. Where do you buy the yellow sponges?
I absolutely love your posts. This room is drop dead gorgeous. So Zen. The choices made are classic and enduring and allow the occupants to inject their personalities. Did you use a white plastic edge strip or thin tile edger (?) at the top of the subway tiles (where the tiles meet the wallpaper)?
Thanks Arlene. So glad you like it :)
We actually attached long lengths of hardwood trim (painted gloss white) to cap the tile. I mentioned this briefly in a past post, and shared a hyperlapse video to my IG and FB pages, but it was an easy thing to miss.
https://www.facebook.com/ThePaintedHive/videos/2698271110248701/
https://thepaintedhive.net/2020/02/suite-extension-progress/
My original plan was to use pencil tile though I liked the idea of the timber providing a nice unbroken line (plus it was much more affordable).
Thanks Julie. Natural sea sponges aren’t cheap! I’d been searching for a while and eventually settled on this bundle from Amazon.
And yes, these tiles are great for camouflage – LOL!
The bathroom looks amazing. So relaxing and calming. The wall paper adds a unexpected something/something to the room.
Waiting for the post was well worth the wait.
Thanks so much Pat :)
Another beautiful space. Love it.
Hello. Congratulations, what a beautiful room. I had doubts about the landscape wall covering, but now that I see it together with the rest, I think it is exquisite!
Thank you :)
What a lovely room, classic and peaceful, yet practical. What are the dimensions? No shots of toilet space so i cant judge.
Thanks Mary. The toilet is in a separate adjoining powder room. You can see the overall suite floor plan here:
https://thepaintedhive.net/2019/10/the-suite-extension-plan/
And the bathroom floor plan here:
https://thepaintedhive.net/2019/11/the-suite-extension-bathroom-plans-product-choices/
You can also make-out the entrance to the powder room in one of the photos included in this post (the one which features the towels – the powder room is the space through the bathroom doorway to the right – which shares the same floor tile).
The bathroom alone is 1800mm x 2754mm (around 5.9′ x 9′).
Fantastic job! I was skeptical about the wallpaper but it’s amazing. Love how you bring a space together and without a huge budget.
Well worth the wait Kristine. Your attention to details is what makes it so special, I’m sure your parents will enjoy it for years to come.
Lovely. But glass bottles on narrow shelves in the shower??
Thanks. That’s just me having some fun with styling for the photos :)
Du hast ein atemberaubendes Kunstwerk geschaffen. Alles passt so toll zusammen und strahlt totale Ruhe aus. Ein tolles Bad – besser geht es nicht. Chapeau und bleib gesund
Too sweet. Thank you soooo much :)
I love the color scheme and how perfectly you warmed it up. Beautiful job!
stunning – I love it!
This is so beautiful!!!
Thank you :)
The wallpaper risk was SOOOO worth it!
Stunning.
Congratulations–you’ve made it beautiful and serene, and functional. Earlier when you first showed the wallpaper, I had my doubts…but it is perfect. Gold Stars for you!!
Great job. Looks beautiful! Where did you get the glass panel and the approximate cost. Thanks 😁
Thanks so much. The glass panel was an inclusion in the build contract and came from a local glazier. It’s oversized at 135cm wide x 213cm high x 1cm thick. I’m actually not sure on the individual cost as, like I said, it was a build contract inclusion which wasn’t individually specified. Based on my research the price of a standard 120cm wide x 200cm high x 1cm thick panel can be as little as $160. Hope this helps.
Absolutely stunning! I’m always hesitant have glass products in the shower/tub area as lovely as they are…….
Thank you. Yes, that’s just some styling fun for the photos :)
Stunning! You certainly have an amazing ability to have a vision and then bring it to life. Great work.
You hit it out of the park, to use a baseball term. As usual! It’s a lovely room.
Wow! As always.
A few things:
– LOVE the wallpaper!!!!
– As asked above, can you give some stats on the glass divider?
– What if you coated the bright gold door handle with the ‘Gold Leaf’ Rub ‘n’ Buff, too? It’d take the shine off and tie it into the mirror.
– What was your slope for the shower? The photo makes the floor look level. We’re getting ready to redo our small bathroom and would LOVE to have a slopeless/minimally sloped floor because otherwise, we’re going to have break up all our concrete. Either that, or have a curb. 😕
– Also, as asked above, what did you use to edge the tile in the vanity area, please?
– Totally love this bath. Just fabulous. I think we may just have to copy you. ☺️
Congrats on a job exceptionally well done!
Thanks so much Rachel.
To answer your questions…
– As asked above, can you give some stats on the glass divider?
The glass panel was an inclusion in the build contract and came from a local glazier. It’s oversized at 135cm wide x 213cm high x 1cm thick. I’m actually not sure on the individual cost as, like I said, it was a build contract inclusion which wasn’t individually specified. Based on my research the price of a standard 120cm wide x 200cm high x 1cm thick panel can be as little as $160.
– What if you coated the bright gold door handle with the ‘Gold Leaf’ Rub ‘n’ Buff, too? It’d take the shine off and tie it into the mirror.
My parents have these same handles throughout their whole house so it would be odd if we changed just this one. I really don’t mind the brightness of it anyway. In the context of the house as a whole they’re fine :)
– What was your slope for the shower? The photo makes the floor look level. We’re getting ready to redo our small bathroom and would LOVE to have a slopeless/minimally sloped floor because otherwise, we’re going to have break up all our concrete. Either that, or have a curb.
I’m not totally sure on the slope though I know it was discussed with the builder and tiler to ensure it met regs. It is there though it’s pretty minimal.
– Also, as asked above, what did you use to edge the tile in the vanity area, please?
We capped all of the tile with hardwood trim which we painted gloss white. Was originally going to use pencil tile though I liked the idea of the trim having a long unbroken line (plus it was much cheaper).
This looks so nice Kristine! I also like the wallpaper a lot. can you tell me how you decided on the grouts you used? I plan some white subway in a kitchen remodel and would never have thought of that light gray. Good job!
Thanks so much.
Deciding on the grout was actually pretty straightforward. Given we had small-ish format tiles on both the walls and floor we needed to be mindful of creating too much of a busy or cluttered look by using overly contrasting grout.
For the walls, although I do love the seamless look of white grout with white tiles, it can discolour easily and be hard to clean. For a small area it can work fine, though over a large expanse it can get painful. So, our next best option was a pale grey to compliment the floor tile and wallpaper.
For the floor, I wanted just enough of a contrast for the herringbone pattern to be highlighted (in person, the grout is actually a bit darker than it appears in the photos). I contemplated going a shade or two darker than the tile though settled on a mid grey instead to better tie-in with the other greys in the room. It just means everything has a bit of a “relationship” which helps the space as a whole feel well resolved and unified.
When you are doing your tiling, try rubbing some of the dry grout powder into the gaps between the tiles. It will give you an accurate indication of how the finished grout will look.
As someone who works in the interior design industry, I LOVE THIS! I love the softness of the white and the mix of the cool gray with the warm wood!! Kudos!!!
Gorgeous! What lucky parents you have. Loved watching this unfold.
Oh it’s beautiful!! The wallpaper! The towel hooks! The round mirror! So so beautiful!! xx
It’s really special. I love the light grained wood vanity with the grays.
Thanks Jody :)
Before I look closely at all the photos I must say I do love the wallpaper. Nice touch.
Love it. Simple and classic. Also nice touch on the wallpaper.
Another triumph. Well done, you are very talented.
I wanted to know if there had been a bath in this bathroom before and your parents decided not to keep and have a bigger shower? I love a bath but noticing more and more places having larger showers instead of a bath. I really think I would miss my bath even if I shower more but love a long bath some days.
This bathroom is part of a brand new extension to their home. They have a bath in their main bathroom :)
I personally think it’s always a good idea to have at least one bath in a home. Unless of course it’s your forever home and you never use one.
Absolutely stunning! The flooring and mural are perfection. So good.
Just lovely. Your mural is what makes the room so beautiful. I love your thoughtful choice of simply styled accessories. When I looked up a few things I discovered they were from Australia and they don’t ship internationally. I’m hoping to find some alternatives. Thanks for some great ideas.
Can’t remember if I already commented on this post so apologies if I’m repeating myself. But I love everything!!! The muted colours and yet the subtle contrast of the warmth of wood in there… I just can’t cope! But the wallpaper! THE WALLPAPER! I can’t wait for the DIY prints. I have wanted something like that wallpaper in my dining space for years but just cannot make myself pay the money they normally cost. Dying to see what you come up with.
And please stay safe down there. We’re still ok up here in the Sydney area but pretty much expecting a second wave. Don’t know what I’ll do if we have to homeschool again…;)
Kristine , your talent is truly amazing! Your parents bathroom is absolutely gorgeous. You have done a brilliant job and they must be so proud of you.
Your wallpaper is the highlight for me, it’s so subtle yet adds a POW to the room. The round mirror is perfect as is the vanity.
Congratulations, another huge success and step on your design and style journey xx
Hi! The bathroom is beautiful. I found you as I was googling idea for EXACTLY what you did with the wallpaper! We just moved in May in Virginia USA (in the middle of this pandemic :/ and I have a wall in our den that is visible from 3 active rooms. I don’t want to hang tons of art, and the TV is on that wall, so I started to think about what could add some subtle visual texture and I landed on vintage landscape illustrations…but came up against the same issue–my wall is 22′ long and I haven’t been able to find anything with a repeat! Thank you so much for sharing your ideas, and the information that I know it took hours to learn!! I have downloaded the same image you linked to from the archives-it is exactly what I wanted! I have gray-green walls and I want to try and do a gray-green wash version so that it will be really subtle overall. Did you ever happen to share your file of the repeated pattern, or would you consider selling the digital image? It must have taken you forever to create that repeat/seam and I would be willing to pay for the work you put into it! Otherwise I think I may be trying to do that myself in photoshop here when I can squeeze in time between mom-ing and work :) Thank you so much for the inspiration – it is pushing me to definitely pursue my vision!
Hi Sarah
Thanks so much for your lovely comment.
The problem I have with sharing the file is that it’s HUGE and I actually don’t have enough bandwidth on my blog, or space left on my Google Drive account! There are probably some ways around this (perhaps you have cloud storage I could upload to) though I’d have to have a think about the price. It feels like a tricky thing to value.
Otherwise, have you looked at Rebel Walls? They have a few seamless designs which could work for you.
https://rebelwalls.com/au/wall-murals/categories/nature/forest
Best
Kristine
I really love the design of your bathroom. So relaxing and it was truly inspiring.
Your bathroom looks absolutely fantastic, what a great inspiration. I especially love the colour of the stool and cabinet.
Your bathroom looks absolutely fantastic, what a great inspiration. I especially love the colour of the stool and cabinet.
Your bathroom looks absolutely fantastic, what a great inspiration. I especially love the colour of the stool and cabinet.