
I’ll be the first to admit that I’ve been a very bad blogger of late.
You’d think being stuck at home all day, every day, would open-up a world of spare hours, but I’ve actually found myself more time challenged than usual.
I know my seemingly relaxed approach to this blog might come across as indifference sometimes, though the truth is that I’m super passionate about my little slice of the web, and having shared nothing with you guys for the past few weeks has really been bugging me.
And it’s not even like I have nothing to share. On the contrary there’s been a bit going on, but like I said, finding time to blog amidst school holidays and remote learning and client work has been tricky, and, if I’m honest, my motivation levels haven’t exactly been peaking.
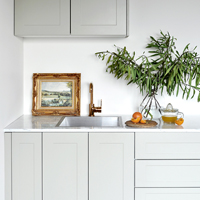
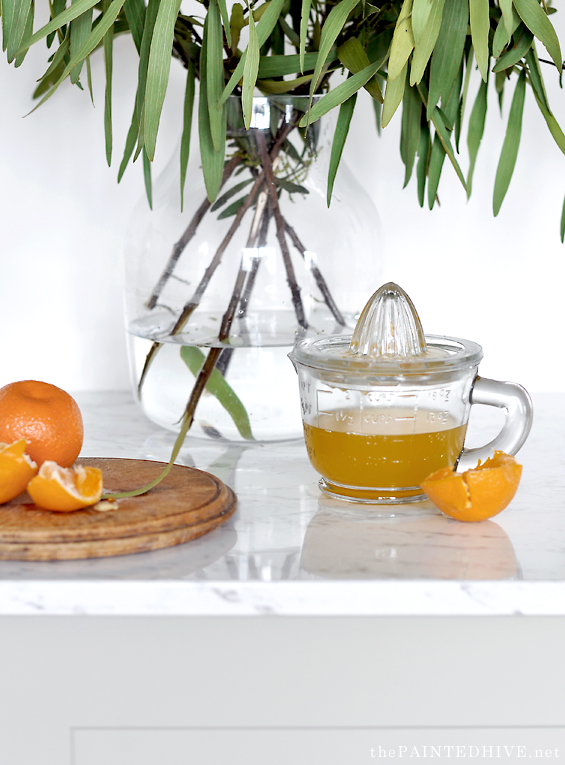
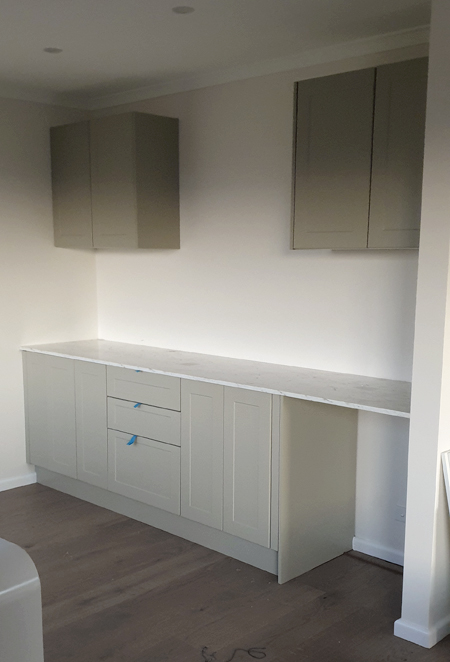
So it was refreshing to drag the camera out a few days ago, scour the fruit bowl for some pretty props, and take some nice pics of my parent’s new kitchenette, albeit unfinished.
We started planning this kitchenette months ago. Some of you may remember my rough 3D renderings from February…
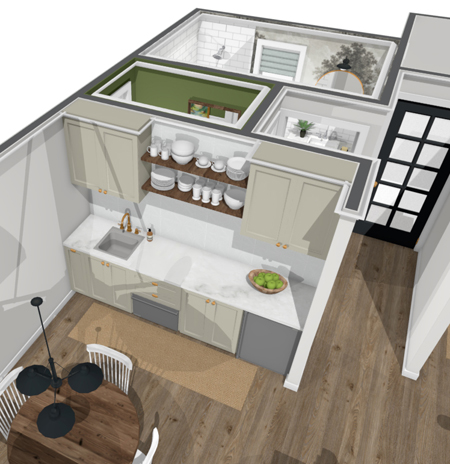
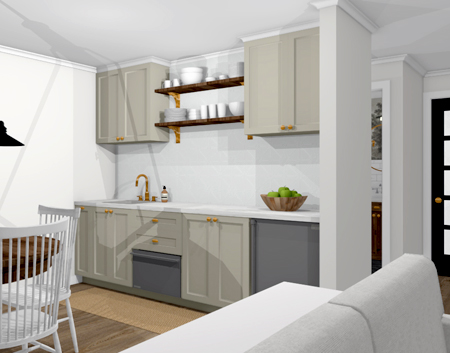
Although this was just a basic preliminary design, it’s pretty much exactly what we ended up going with – however we removed the roll-out dishwasher in favour of a pot drawer, and our wall cabinets don’t extend to the ceiling (which I did know was going to be the case anyway).
We chose to go through Kaboodle and have been really happy with everything. As with doing anything for the first time, some aspects of the planning phase and cabinetry install were a bit mind-bending and fiddly, though nothing was overly difficult, and it all came in at well under 2K.
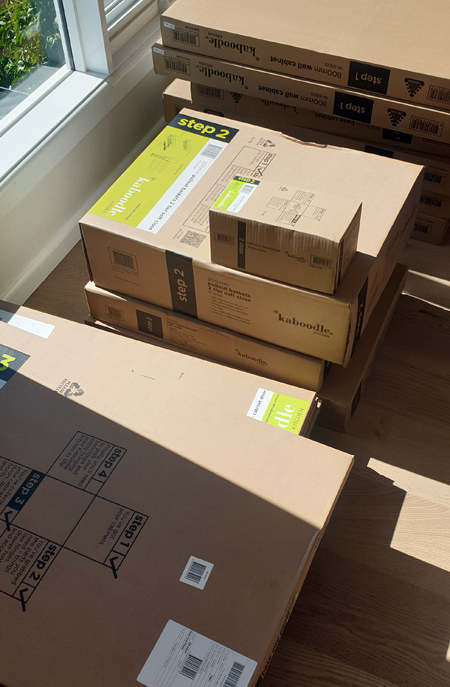
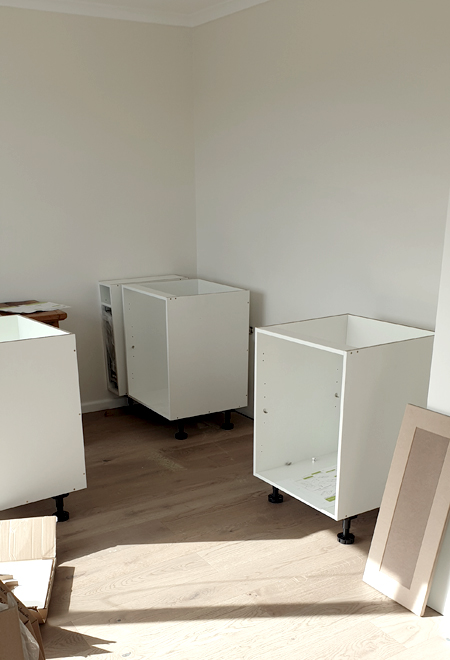
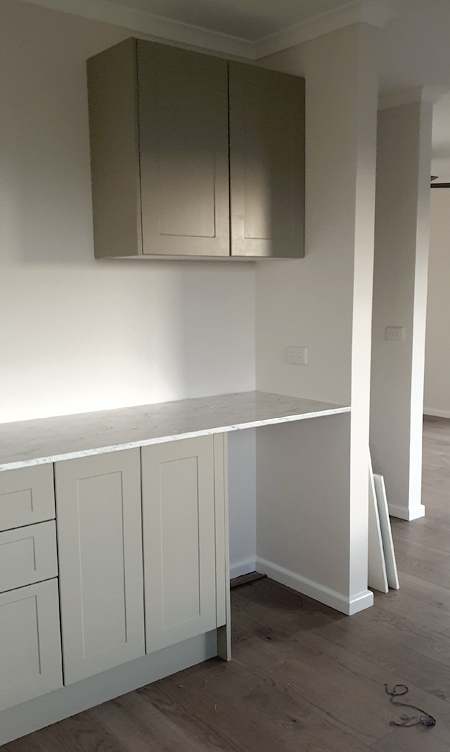
Sorry about the quality of these progress pics. Most were snapped at dusk using my phone.
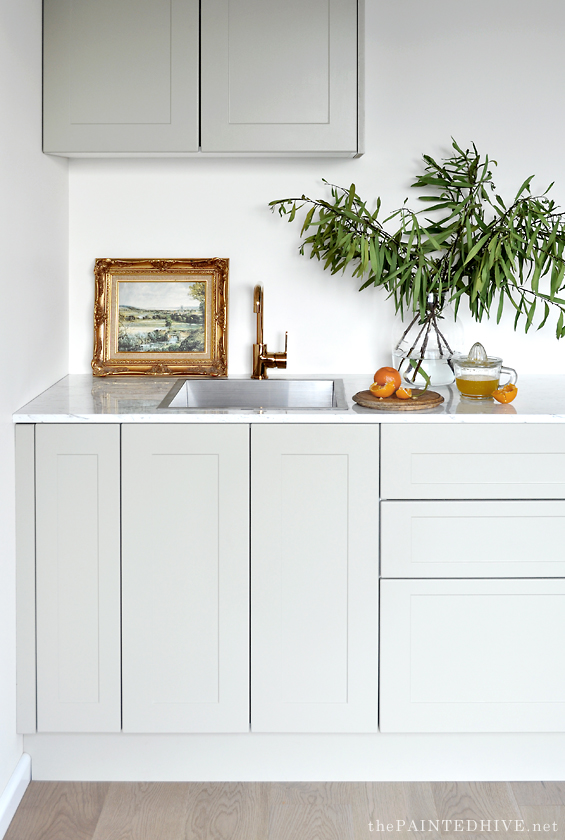
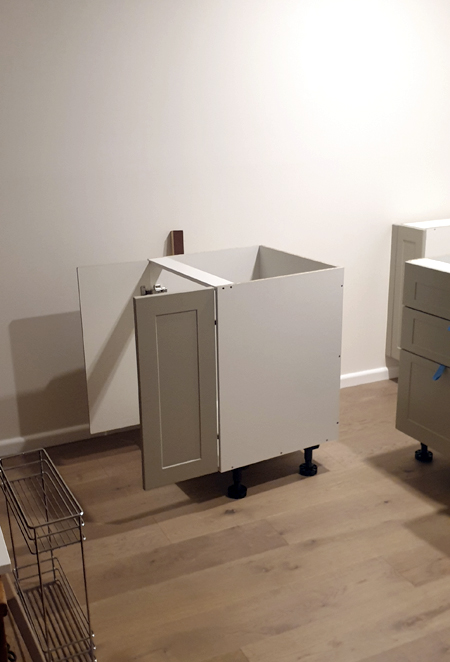
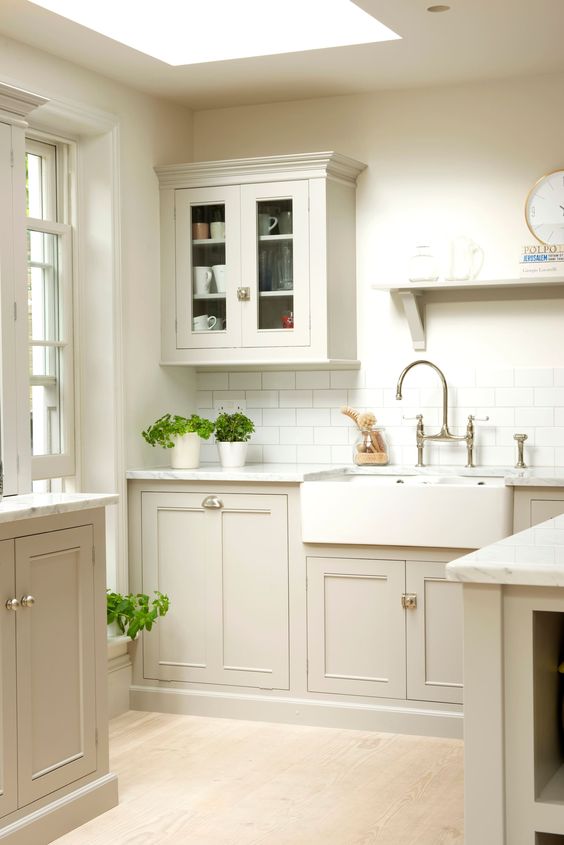
We knew we wanted simple shaker style cabinetry from the start so choosing the Alpine profile was a no brainer. We also decided to go with their Raw Board ‘Paint Your Own Doors’ finish so we could completely customise the colour, and can also easily re-paint in the future if we ever want a change.
The colour is Oyster Linen by Dulux, which is actually quite a bit darker than it appears in my photos, and we used Dulux Aquanamel paint in Semi-Gloss for a hard-wearing finish.
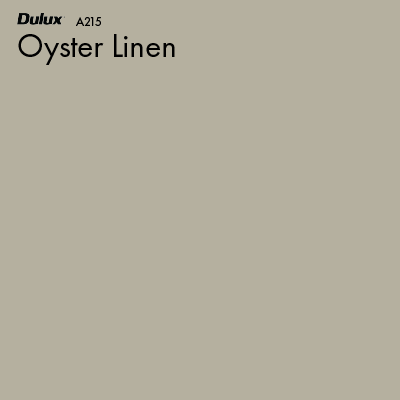
Given the amount of natural light in the space it can easily take the level of depth, and the soft beige-green compliments the wire-brushed oak floors so well!
Deciding on the benchtop was less straightforward. I went back and forth between light or dark and thin or thick. After a few days we eventually settled on light and thin, then basically ordered the Calcutta Gloss, before changing our minds and switching to Mayonella.
So glad we did because it’s just right!
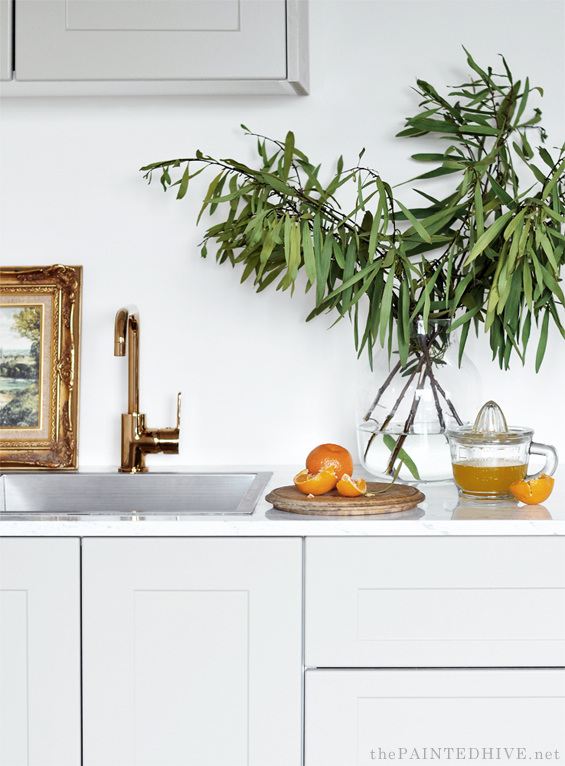
We bought the sink and mixer tap last year (because they were needed for the plumbing rough-in). They were both from Bunnings though unfortunately it looks like they no longer carry the tap in our particular finish (which is called Rose Gold however is actually more of a burnished antique brass). One of my brother-in-laws is a plumber so he installed the sink and tap last weekend.
And several months back we picked up this little retro style bar fridge (we got it from Catch for around $400 however it’s no longer listed there).
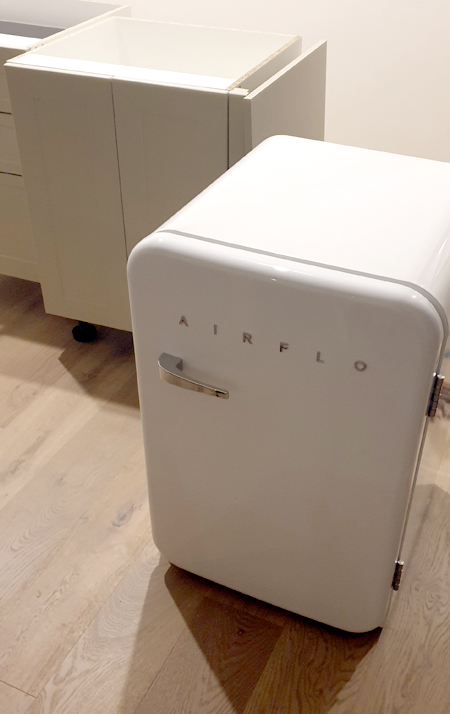
Isn’t it cute?
Clearly we still need to choose cabinet hardware and decide on a splashback.
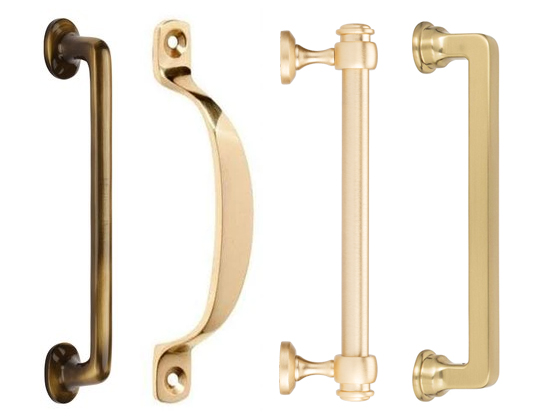
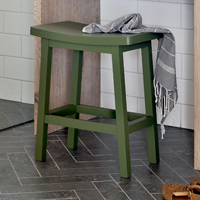
Was originally thinking we’d go with warm brass handles though due to the intense colour of the mixer tap, I’m now wondering if simple black might work better to allow the tap to pop and provide some contrast. I’m also not opposed to something different, like off-white ceramic. Either way they will have a simple heritage feel, with knobs on the uppers and probably pulls on the lower doors and drawers. This kinda style…
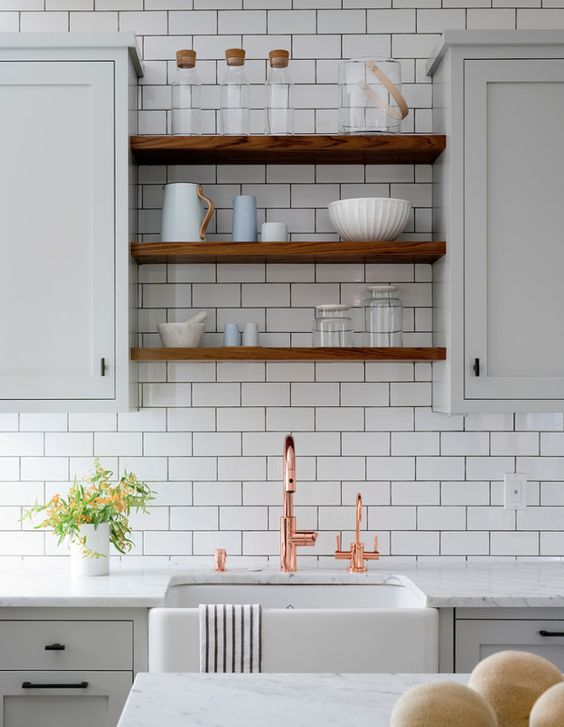
For the splashback we’re planning on doing the entire wall (behind the impending shelves, and above the upper cabinets) and are almost certain about using pressed tin. Mum has loved pressed tin since forever though has never used it in her home, so this is finally her chance!
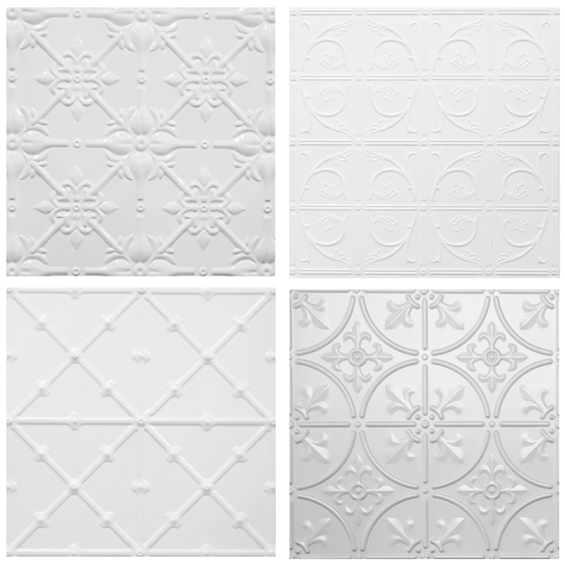
We haven’t narrowed down a particular design or colour yet, though it will be something somewhat subtle in a soft white.
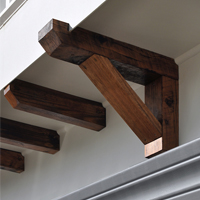
Of course we also need to install the wall shelves. At this stage we haven’t thought too much about them, and I’m not too fussed because there are so many lovely options. Initially I liked the idea of floating live edge timber shelves. If we can find some nice timber at the right price this may be what we end up choosing.
In addition, I’d like to add some crown trim to the tops of the upper cabinets, and maybe even some kind of moulding to the bases too, just for that more tailored look. The following examples aren’t perfect, though along these lines…

So the bulk of the hard work is already done, we just need those finishing touches to bring everything together.
![]()
Catch up on all of the other suite extension posts HERE.


Kaboodle kitchens are fantastic and super affordable. We’ve installed 2 kitchens and 1 part kitchen and I’m super impressed with how easy they were to put together as well as install. You’ve created a beautiful space. Well done to your whole family. I sorta figured you’ve been a busy woman. Stay safe.
Thanks so much. Yep, we found them great! Can’t wait to get the finishing touches on.
Love the colour on the cabinet doors. Love that it hints toward green a wee bit.
I wasn’t aware Bunnings had “paint your own” doors. It’s a great idea!
And I love pressed tin too and have been looking for somewhere I can use it in my house. Maybe laundry splash back? Maybe a whole bedroom wall? Can’t wait to see what clever designs you finish the kitchenette with.
Stay safe down there. xo
Thanks Anna. Yes, I wanted a slight nod to green though nothing too over the top, and the beige grounds it just enough to make it an earthy neutral.
Hope you’re well up there. It’s as good as it can be here :)
Perfect! How cute is that little fridge? I have been thinking of mayonella to replace our 25 year old bench tops. Whatever I choose has to be non absorbent to tea stains; that is the biggest problem with the old one. Looking forward to seeing more. :)
Thanks Julie.
What was your old benchtop? I can’t speak from experience yet obviously though this does seem to have a fantastic repellent coating.
I just love watching what you come up with. You are such a good daughter to help your parents dreams appear before their eyes. Love the fridge , color and cabinet choice. Thanks for sharing.
Thanks so much Marilyn :)
The kitchenette is coming together nicely. I do hope you’ll be able to find live edge shelves. They would add a wonder something something to the cabinets. Hopefully someone will have some old cypress or cedar planks they want to get rid of and post on craigslist.
Thanks Pat. Yes, I’ll have to do some shopping around. It’s all a bit tricky at the moment being in lock-down. Sure I can find something :)
This is looking so beautiful. I really like the cabinet colour – its such a nice, soft colour. Please don’t feel bad for not blogging more. With everything going on in the world, everyday life just takes up more of our time, effort and mental energy these days. I always enjoy everything that you share with us – thank you!
Thanks Leslie. I appreciate your understanding of my poor motivation – LOL!
Is that framed artwork vintage or a print you did?
Hi Anne. It’s just a print though I bought it as is from a vintage shop several years ago. One of my favourite pieces.
Hello !! Happy to see the finished product It’s beautiful. Always enjoy your sharing.
We are all super busy during these times as everything seems twice as hard.
Take care and stay well.
Yes, it’s strange. We sort of have less to do (no events, or activities, or outings, etc.), but somehow it all seems busier. Sure we will get there!
always fabulous!
Thanks Lee :)
Beautiful kitchen! I would love to use theses doors myself but don’t trust that I can paint them well enough so that they look as good as yours. Any hints for achieving a good paint finish on raw doors …?
Thank you 😊!
It’s honestly really easy. The doors and drawer fronts all come separate so it’s essentially just like painting any flat surface. Of course this particular style has a slight groove though it’s not sharp so the paint doesn’t pool in the recess. Just use a good brush and take your time, being sure to sand with fine grit paper between coats. It’s only paint so if you’re not happy with something you can always sand it back and try again. If you want to do a trial you can always buy one door and see how you go. The 200mm Alpine Raw Board doors are only about $25. Then you could always do something creative with it, like add hooks and make it a coat rack.
https://www.bunnings.com.au/kaboodle-200mm-raw-board-alpine-cabinet-door_p0049273
Or just buy a door in a size you will actually need and you can always use it if you decide to go through with things.
:)
Wow! You have done a simply amazing job, as always. Well done to you all. This is super, duper. Can’t wait to see the entire reveal, you have whet our appetites. By the way, you don’t have to say you are a bad blogger, you are under no obligation to us. We get to enjoy what you share and that is a bonus!
Love the orange display. Very attractive especially during these COVID days lol. Good job with your project. Watching the picture progress is very satisfying.
Very inspiring post. Thanks for sharing.
I miss you and your posts! Hoping you and yours are all healthy.
Thanks so much Rachel.
Yes, I’ve been wanting to get a new post together for a while now. Just finding it tricky at the moment. We’ve been in hard lock-down here in Melbourne for the past 14 weeks so I haven’t been able to continue with work on my parent’s house, or to begin any other new projects really. All unessential stores are closed so getting supplies isn’t easy, plus we’ve been unallowed to travel more than 5KM from home. So I’ve been working from home on design consults (which is what I’ve been meaning to get a blog post together about) amidst home-schooling the kids and trying not to go too crazy! But the kids have just gone back to school and it looks like we will be opening some things up after this weekend. Can’t wait to get stuck into some projects and have something new to share.
Thanks so much for the message. It’s lovely to know that I haven’t been forgotten…yet! :)
These are great tips for the DIY homeowner.
Awesome DIY piece.
I love the colors and the combination of the furniture in your kitchen extension. It’s a perfect match. Awesome!
I personally loved your ideas. Looking forward for more of your design. xo xo
I’m a sucker for anything with a light color theme + greenery. Nice job! And the oranges look great in that setting as well.