Firstly, thank you all so much for the beautiful response to my last post. I was totally overwhelmed and uplifted by your lovely comments which have really stirred me to get a move on with sharing more of the flip house!
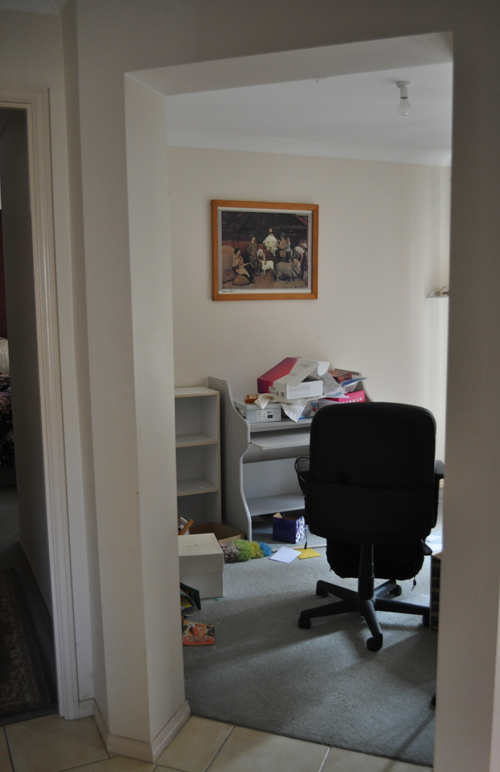
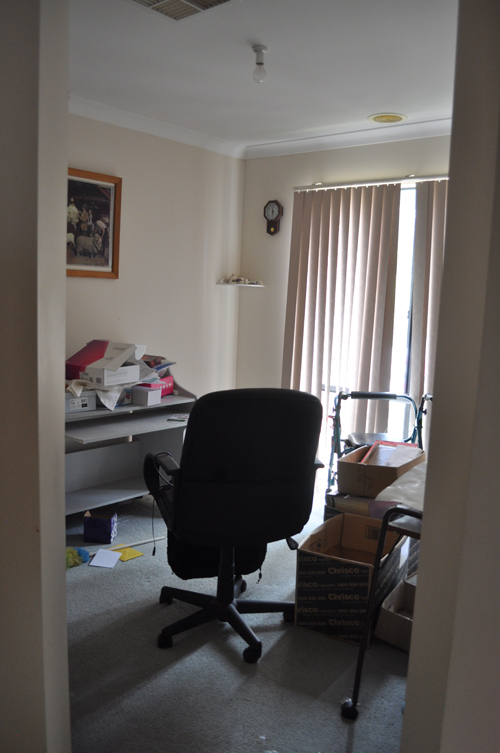
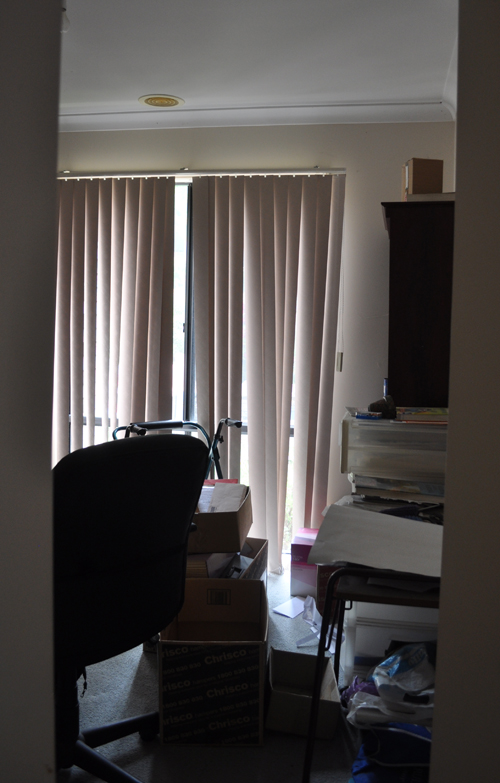
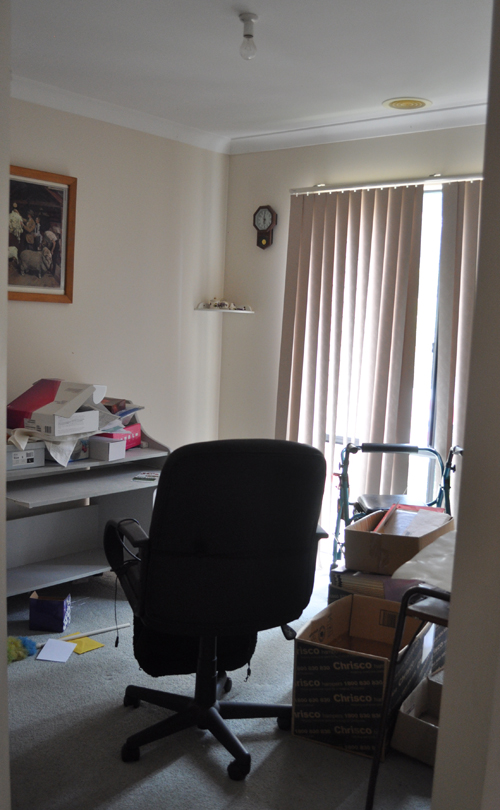
Carrying on with my ‘front to back’ tour, I’m moving just right of the entrance into the fourth bedroom/home office (you can find the floor plan HERE if you’d like to get a better sense of the layout of the house). Here’s how it looked before…
Sorry, they aren’t the greatest before pics.
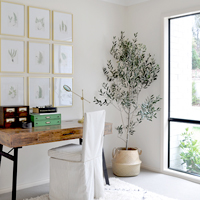
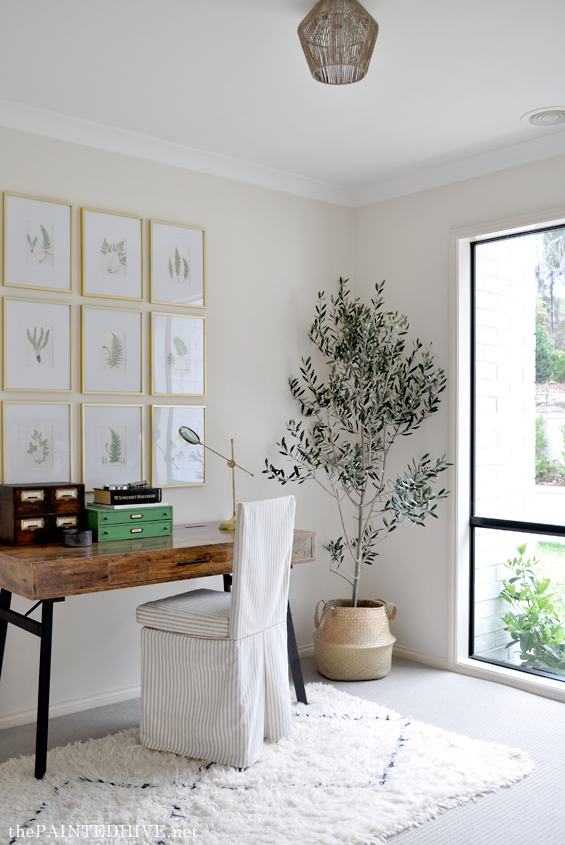
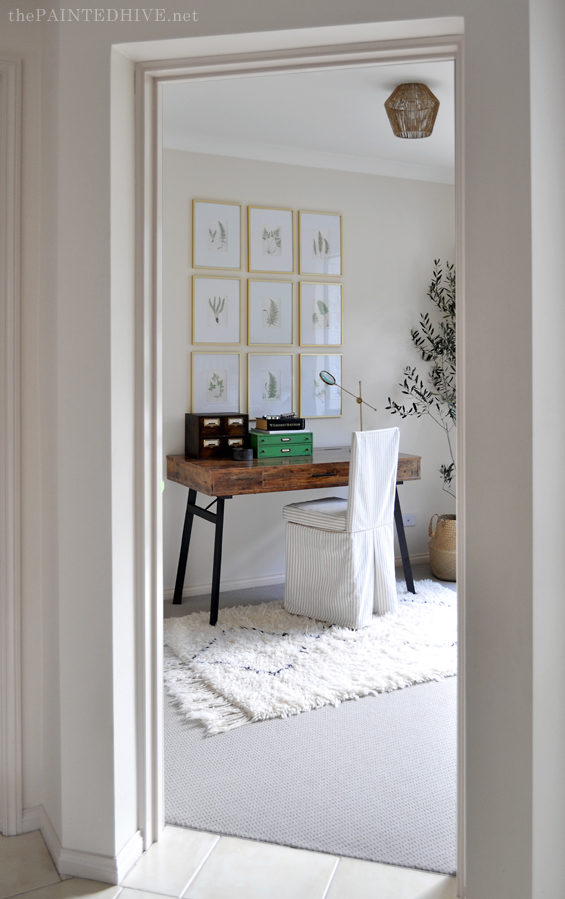
And here it is now…
You can find side-by-side before and after images toward the end of the post.
As mentioned in previous posts, one of the big changes was adding a door. Not only does this allow us to market the property as having four bedrooms (instead of just three and a study), it gives the new home owners the option of closing the room off – whatever they decide to use it for.
I was tossing-up between dressing this area as a nursery, a guest bedroom, and even a multi-purpose space with a daybed and a desk (which would have been pretty cool), however in the end I kept things simple by going with a basic study.
Once I decided on the study route, I had a pretty clear vision of what I wanted (I know, super strange for me!).
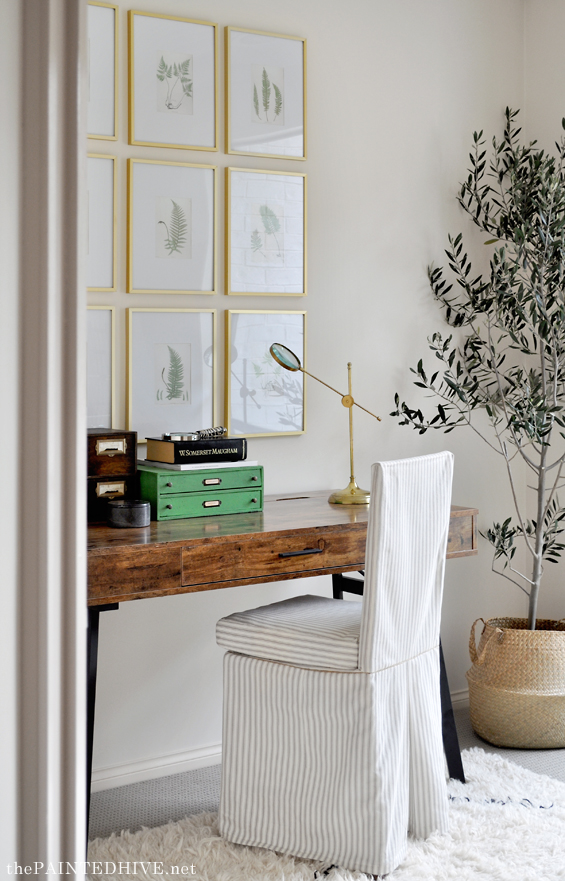
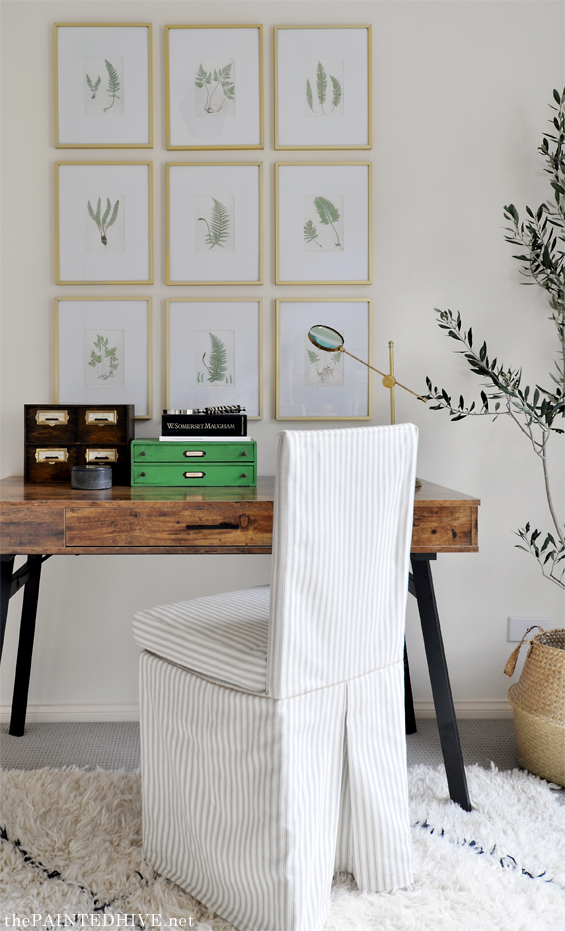
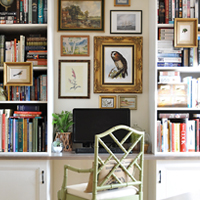
I saw a grid of art over a desk, a slip-covered parson chair, a plush rug, a large tree and a cute bookshelf.
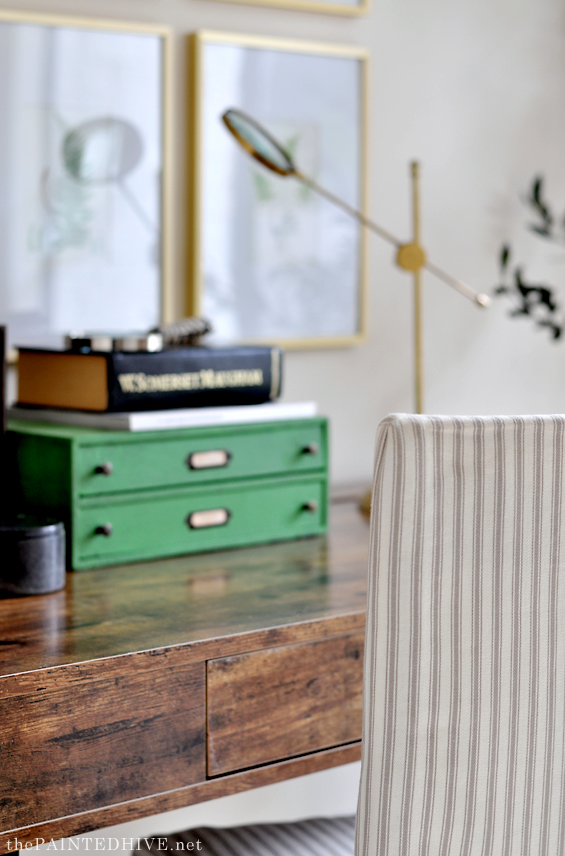
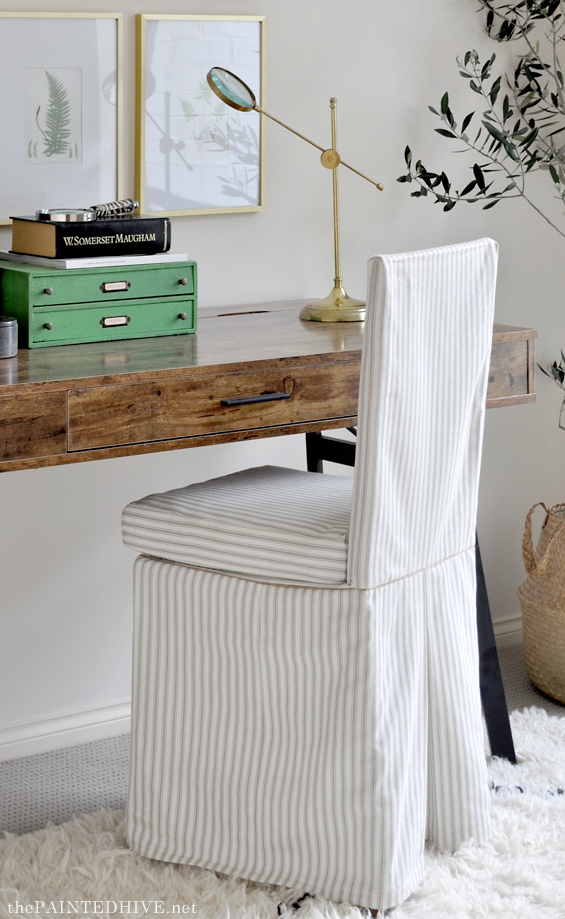
I was struggling to find a desk I liked when I came across this one in Officeworks. The shape mimics the entry console I built perfectly, and the modern, slightly masculine style works to ground some of the more pretty and vintage touches in the room. Love it!
The chair is from my mum’s house.
I wanted something with a skirted slip-cover to harp back to the ottomans in the entry. I was seriously considering buying an almost identical chair from Ikea when mum reminded me she had this one. It’s just a regular timber dining chair which she recently sewed a slip-cover for and added a DIY seat pad to.
At first I wasn’t sure about the ticking (I do ADORE ticking though in my mind saw plain cream linen) though it adds a subtle dash of pattern which actually works really well.
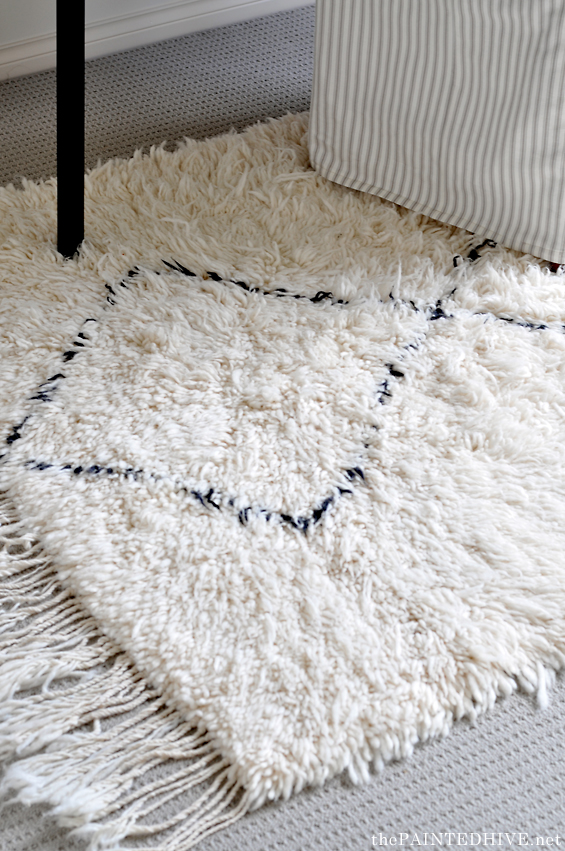
I was lucky to be gifted the gorgeous rug a few months back. It’s from We Berber and is the most lush thing in the whole wide world. For reals.
We Berber hand-weave their rugs in Morocco from natural wool and using ethical, fair-trade means. They are so lovely.
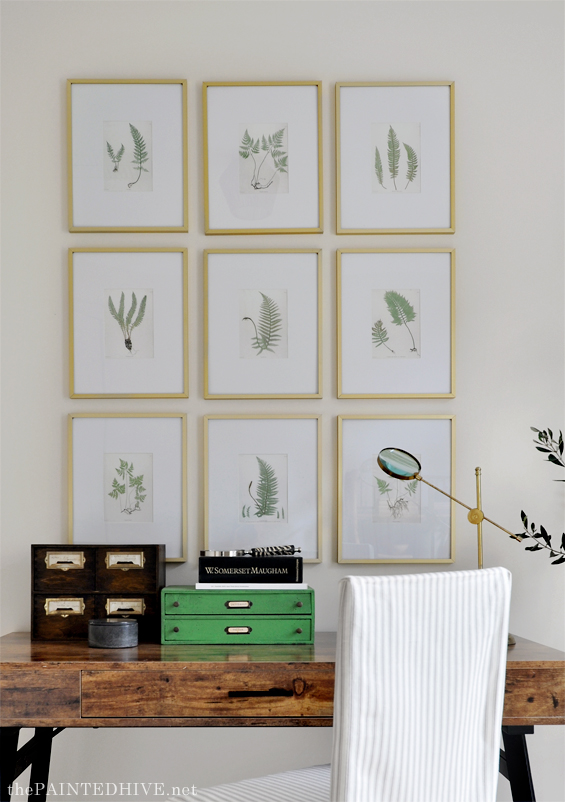
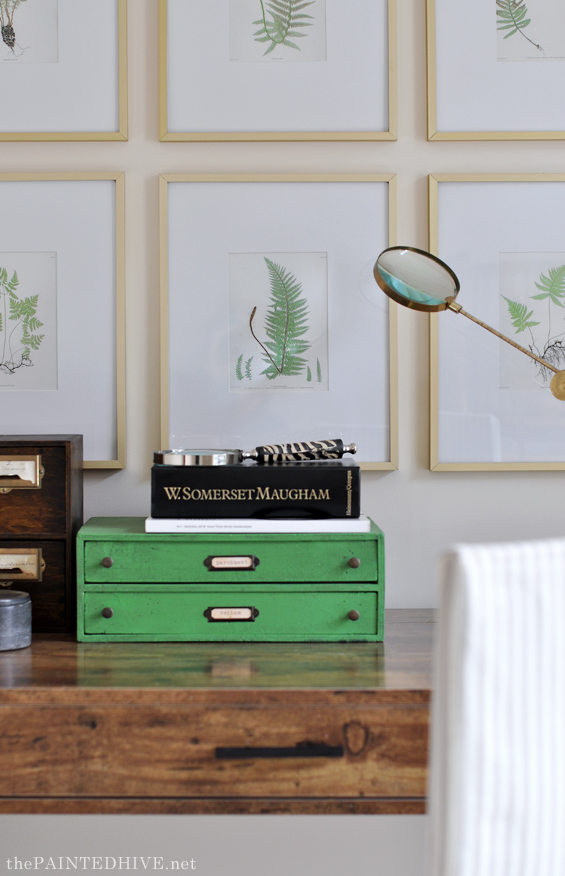
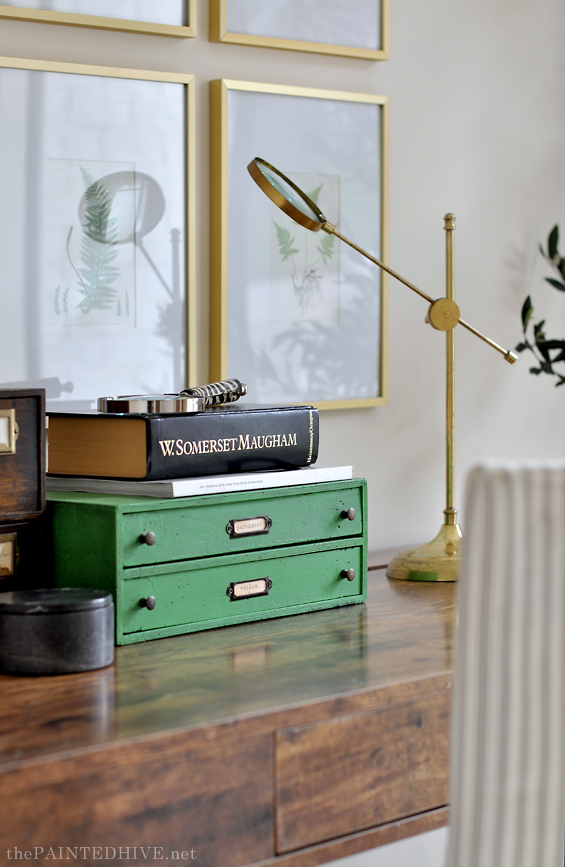
The artwork grid uses gold frames from Kmart and my free printable ferns.
I almost backed-out when I realised the frames were going to cost me almost $100, but I bit the bullet and just went for it. I could potentially have bought slightly cheaper frames and spray-painted them though decent gold spray paint is fairly expensive anyways so in the end I wouldn’t have been that much better off. Plus it would have added yet another project to my compiling list.
Thankfully the prints only needed to be quite small and cost me less than $4 in total from Officeworks. Score!
For a while I wasn’t sure whether to go with edgy abstracts or soft botanicals, however in the end I figured the house already had enough abstract art. I like creating a sense of continuity though sometimes you also need to break things up. I’ve used botanical prints in one of the bathrooms too so they are echoed elsewhere (which saves them from being lost and lonely in here).
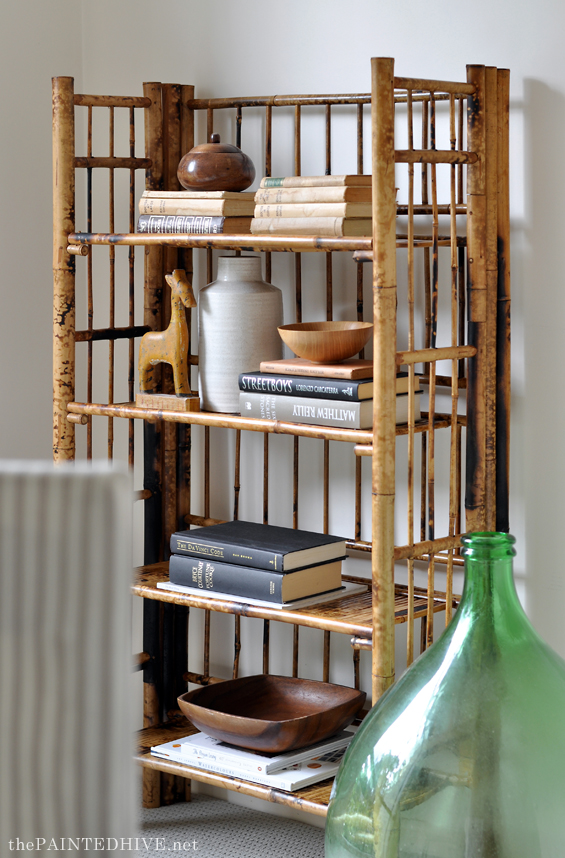
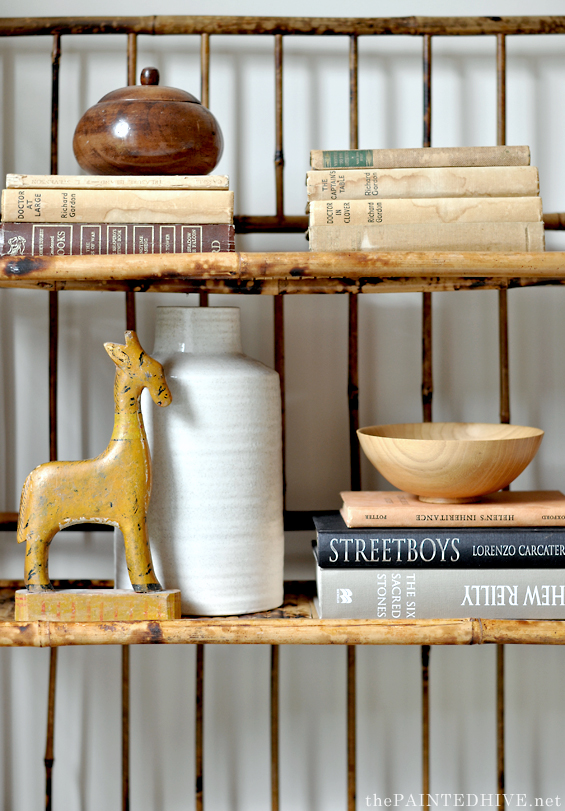
On the wall opposite the desk I positioned this cute bamboo shelf which I picked-up from Marketplace for $50.
I love this shelf and have always wanted one. It’s staged with a variety of items we already owned. I stuck with mainly books to reinforce the office feel and plopped this large green demijohn beside it for a touch of colour and interest.
Even with the desk, chair and shelf, there was still quite a bit of empty space in the room and for some reason I decided a tree was called for.
I’ve never used a tree in an interior before however it’s not exactly anything new. Problem was, trees generally aren’t cheap and I was pretty much out of coin.
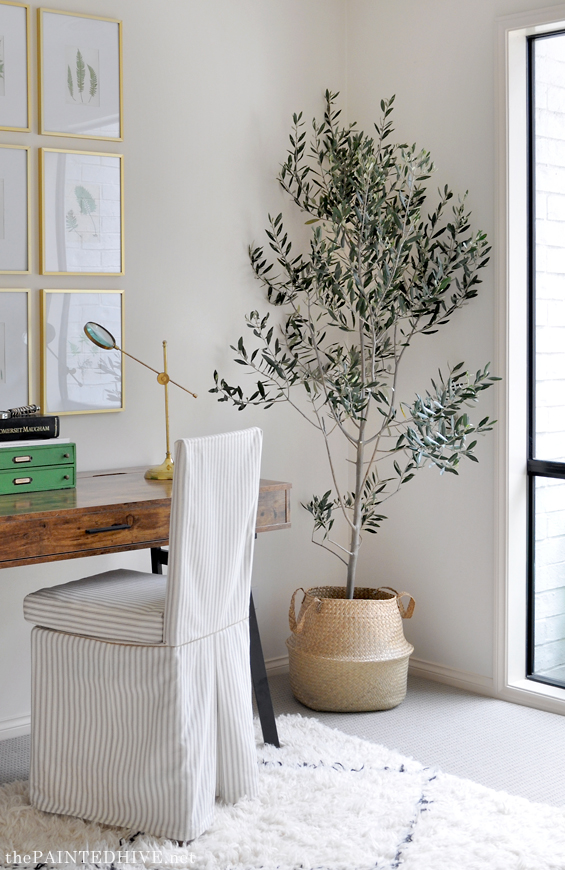
Enter this branch (okay, perhaps small limb) from one of my parent’s established olive trees.
I have it sitting inside a narrow, tall glass vase filled with water to help sustain it, which is sitting inside a standard, plastic pot filled with rocks to help weight it, which is sitting inside the Kmart belly basket to help make it look nice.
Apparently the branch should last for many months. What a great free way to fill a void in a room and add instant earthiness and life to any space.
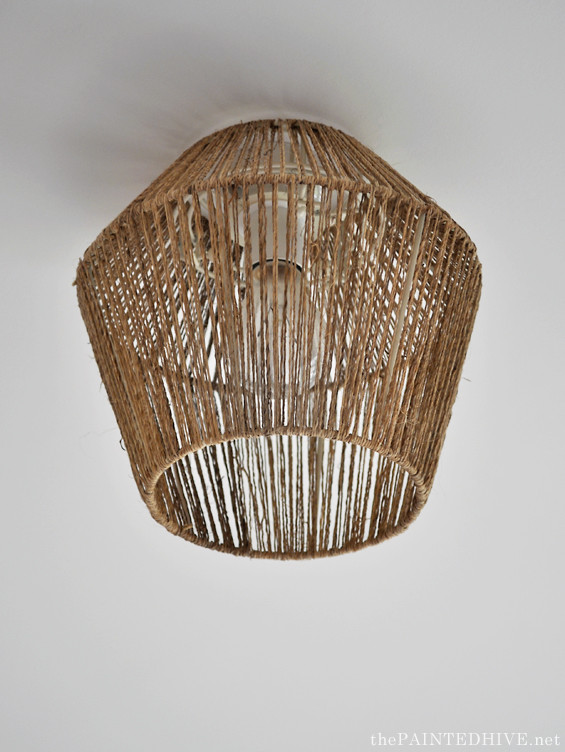
The simple light fitting is from Bunnings and adds just the right hint of casual texture.
Finally, the decor on the desk consists of items we already owned.
You may recognise the green flat file drawers and timber card catalogue from my previous DIY posts.
The brass magnifying stand is out of my little man’s bedroom (originally from TK Maxx) and the black stone canister is stolen from my mum’s laundry (originally from Kmart).
PRICE & SOURCE LIST
New Door & Frame | Professionally Installed | $585
Carpet | Beaulieu Daytona in ‘Green Beige’ | $380
Desk | Rustic One Drawer Computer Desk from Officeworks | $159*
Chair | Already Owned | $0
Floor Rug | OOAK from We Berber | $350*
Bamboo Shelves | Facebook Marketplace | $50
Ceiling Light Shade | Cali String Batten Fix from Bunnings | $52*
Olive ‘Tree’ | Clipping from Garden | $0
Belly Basket | Already Owned (originally from Kmart) | $0
Gallery Grid Frames | Kmart | $90
Botanical Prints | Officeworks | $4
Decor | Already Owned | $0
TOTAL $1,109
*We were super lucky to be gifted some items from Bunnings, Officeworks and We Berber.
I’ve provided their costs however they are excluded from the total.
Here are the comparison images…
So happy with the way this room came together. Given it’s right at the front of the house I especially love the way it looks through the window from the street.
I’ll be back soon to share the master bedroom and ensuite!
Find all of the previous flip house posts HERE.
In other news, it looks like the house will be Open for Inspection this coming Saturday! I’ll be sure to let you know more once things come to light. Would love to see you there if you’re able!



Simply beautiful. Wow, just wow. Can’t wait to see the rest xx
Thanks Cathy :)
I love this study. I could really see myself getting some work done here. What a lovely serene workspace. Thanks for sharing it, especially the tip about the olive branch. I may have to try that.
Awesome, thanks Penny :)
Simply perfect!
Thank you Julie :)
Yeah!!! What a lovely way to start a Sunday. The new carpet makes such a difference in lightening up the room. Very simple and clean. The olive branch adds a calming touch and fills the space just enough so it doesn’t feel to spars. I can’t wait to see the master bedroom!
Oh, I forget to mention on the sitting room post that the “lamps” were genius. Not so much on how you DIY’d them, but that you went for the “look” and didn’t get hung up on the “functioning “.
Thanks :)
The olive branch makes the space. Love it!
Thanks so much. It totally does and it’s so simple!
Wow, a dream room, seriously.
Thanks heaps :)
I feel like I can breath fresh air in that room just by looking at the photos…So relaxing! Classic unforced elegance. Very very nice Kristine! And indeed a big surprise finding a new post today…a real treat for me!
Thank you!
Every element is special in its own way, adding up to a spectacular total. But I especially like the way.the green file drawers set things off.
What an amazing transformation—you really have a talent. The tree is a smashing idea; I’m stealin’ that idea!!
Absolutely perfect! Love, love, love the tree branch in water standing in for a live tree. All around great staging. You, Are. Good. ;)
How did you hang the grid arrangement? Are there directions for this somewhere? I’ve looked online and can’t find anything specific. I’ve done one with six items hanging vertically, but made so many holes in the wall! What’s the secret?
Sorry, no directions. It actually went up really easily. Only had to re-nail one that was a bit too low. I was honestly surprised!
I’m not sure what the trick is though I’ve definitely gotten better at it over the years. I remember hanging six above my couch many years ago and I had to make so many holes! LOL!
I just started center bottom, held the next frame beside it in place, marked the wall at the centre top with a pencil, removed the frame then measured down the distance to the hanger. Then I continued until it was all hung, making sure the spacing was even. Definitely easier with a second person and with decent frames where the hanger is consistently positioned.
You can get little hanging gadgets that help if you really struggle.
A serene and classic look. Well done!
great job!
Another beautifully done room -I love ALUCY the decor choices that you’ve made. I also love how the way that you’very decorated both rooms emphsizesa the beautiful lines of the windows . You’ve really transformed these spaces ! Love it!
Thanks so much :)
Such a gorgeous space and that “olive tree” branch is brilliant!!!
Thanks :)
This is awesome. Especially love the desk…and that tree!
Thanks so much.
I would never normally put that modern desk in a pretty room like this though it’s so perfect. You are GOOD! And so right about it knocking back the feminine edge a bit. I’m heading to Officeworks lol!!!
Ha, ha. Thanks so much :)
Thank you for sharing such a post!
Absolutely amazing! Love everything, well done!
You ALWAYS do such a FANTASTIC job! I really need to get a design plan from you! I’ll always remember how close I was until you had to be bed-ridden with your first baby. So glad it all worked out and you had a second! Crazy how the time flies! These posts are continued reminders how much I LOVE your work and could still use your design brilliance! ;)
Aw, thank you. Yes, I remember that!
Feel free to get in touch if you ever need some design help.
Cool I thought that was an olive branch !! We had those in CA where I used to live. It looks fab in the corner. Thanks for the tip!! I love everything about this room.
Simply awesome :)
I love the gallery grid wall! The frames look so lovely with the fern prints. Would love some more info!
What size are the frames? What size did you have the ferns printed? Did the mats come with the frames?
The frames are no longer on the Kmart website so I can’t double check the dimensions. I’m guessing they are around 20cm x 25cm/8″ x 10″ and they come with the mats which are around 13cm x 18cm/5″ x 7″. I just had my images printed to fit :)
Impressive!
Isn’t it cool?
Thanks.